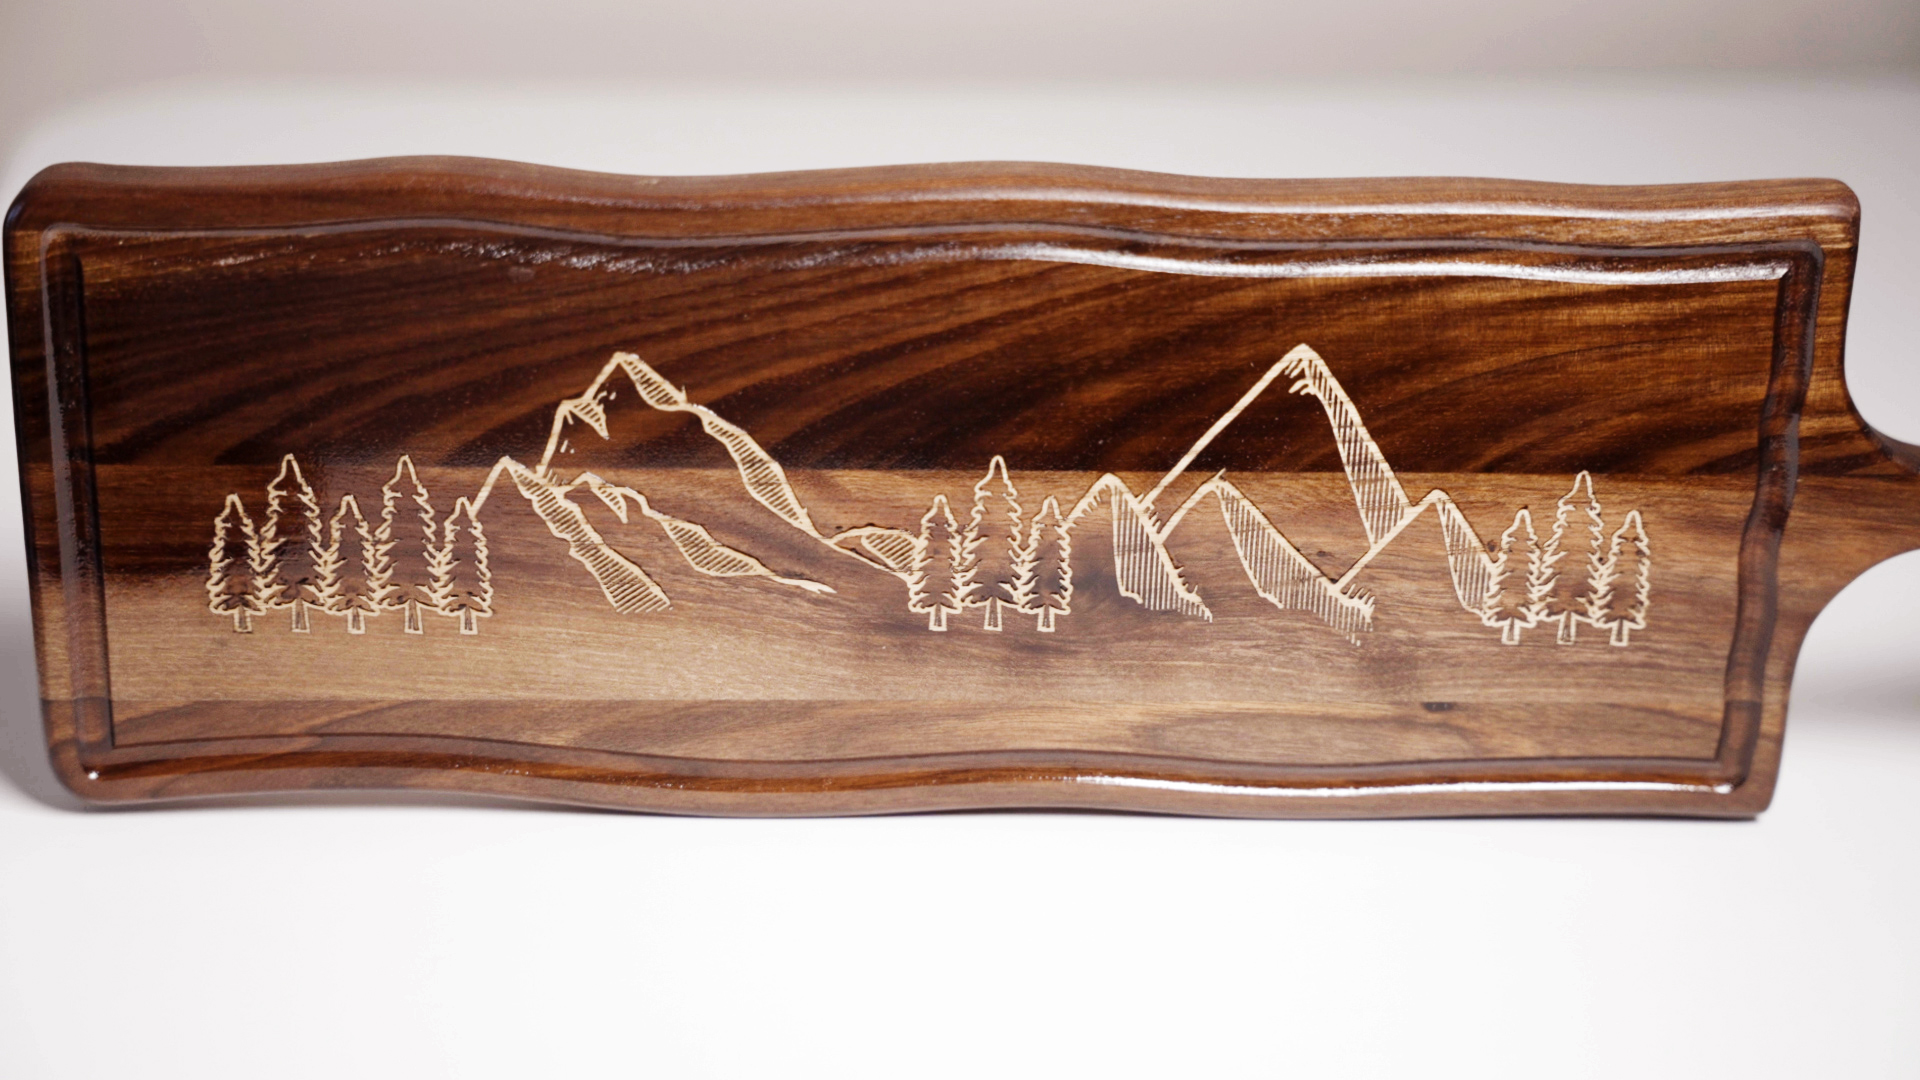
Step 1: Engrave the Cutting Board
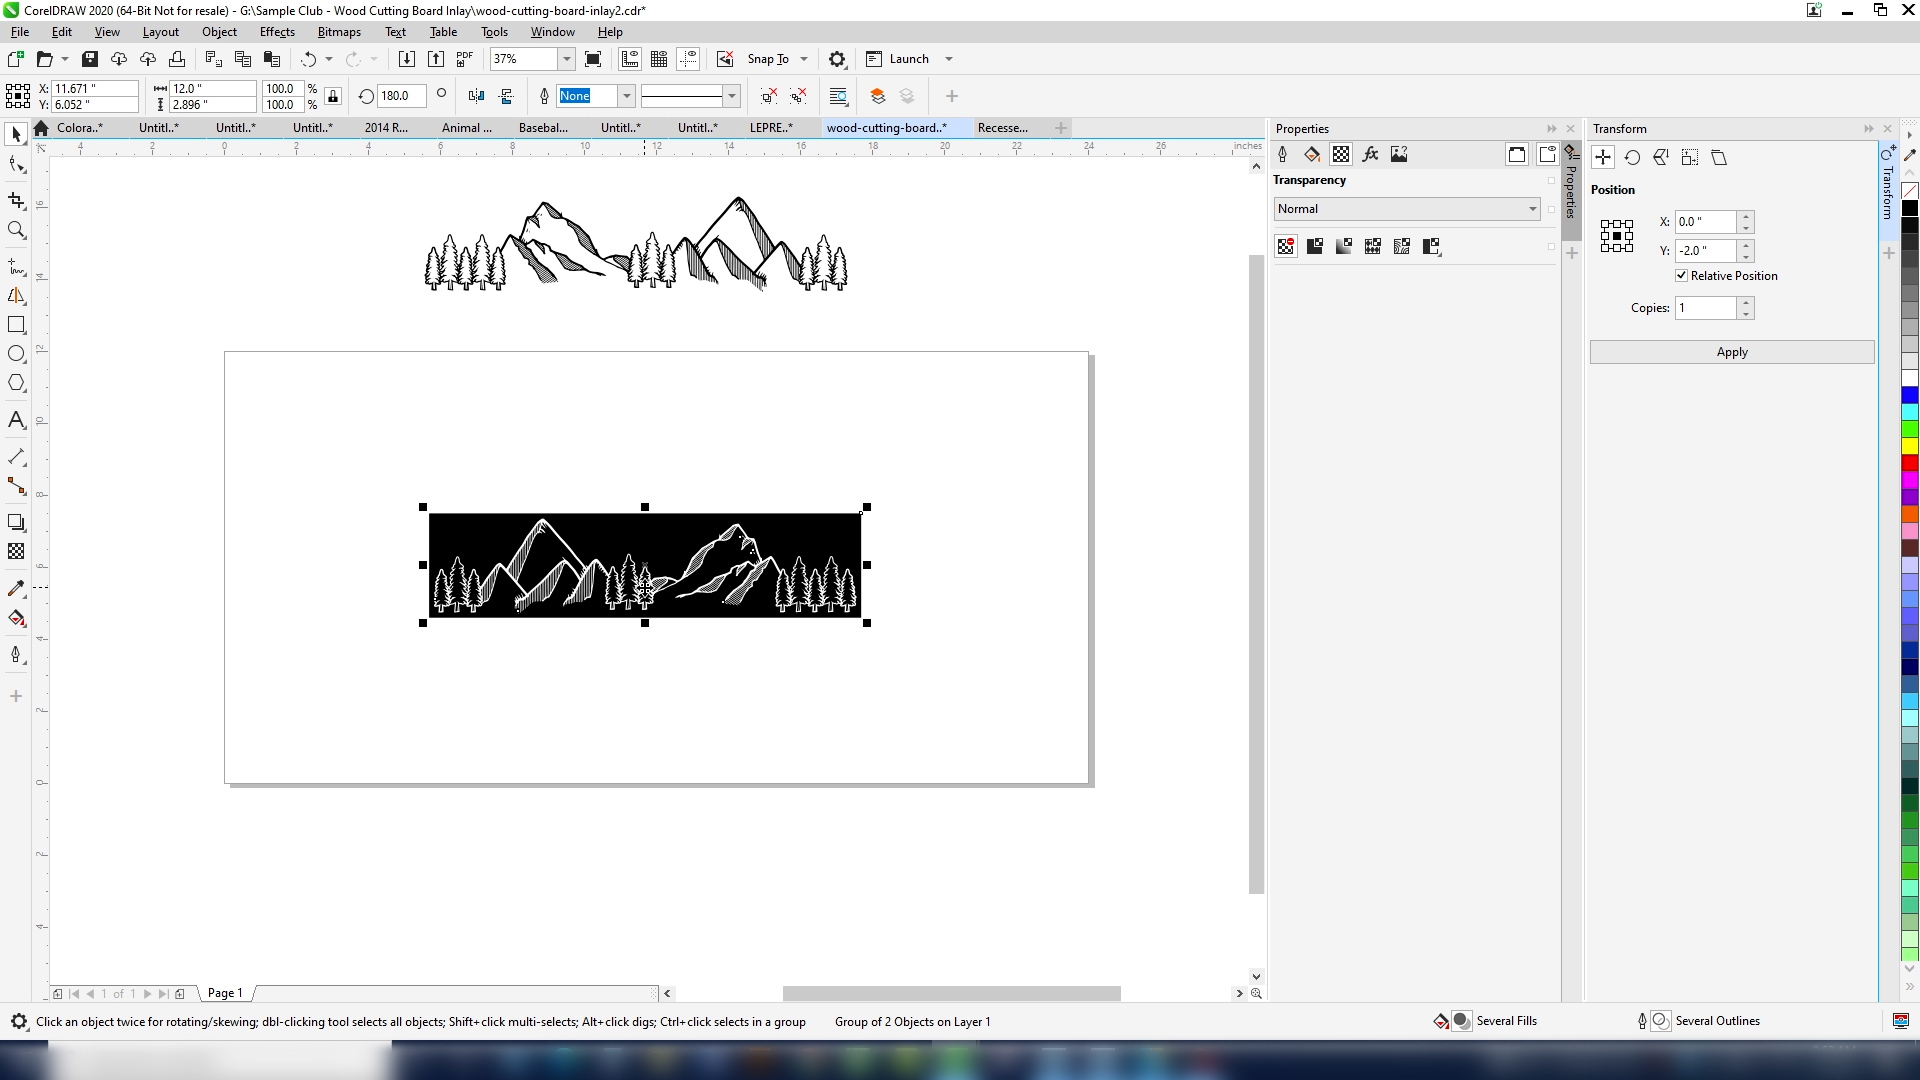
Start by opening the file and selecting the engraved version of the file.
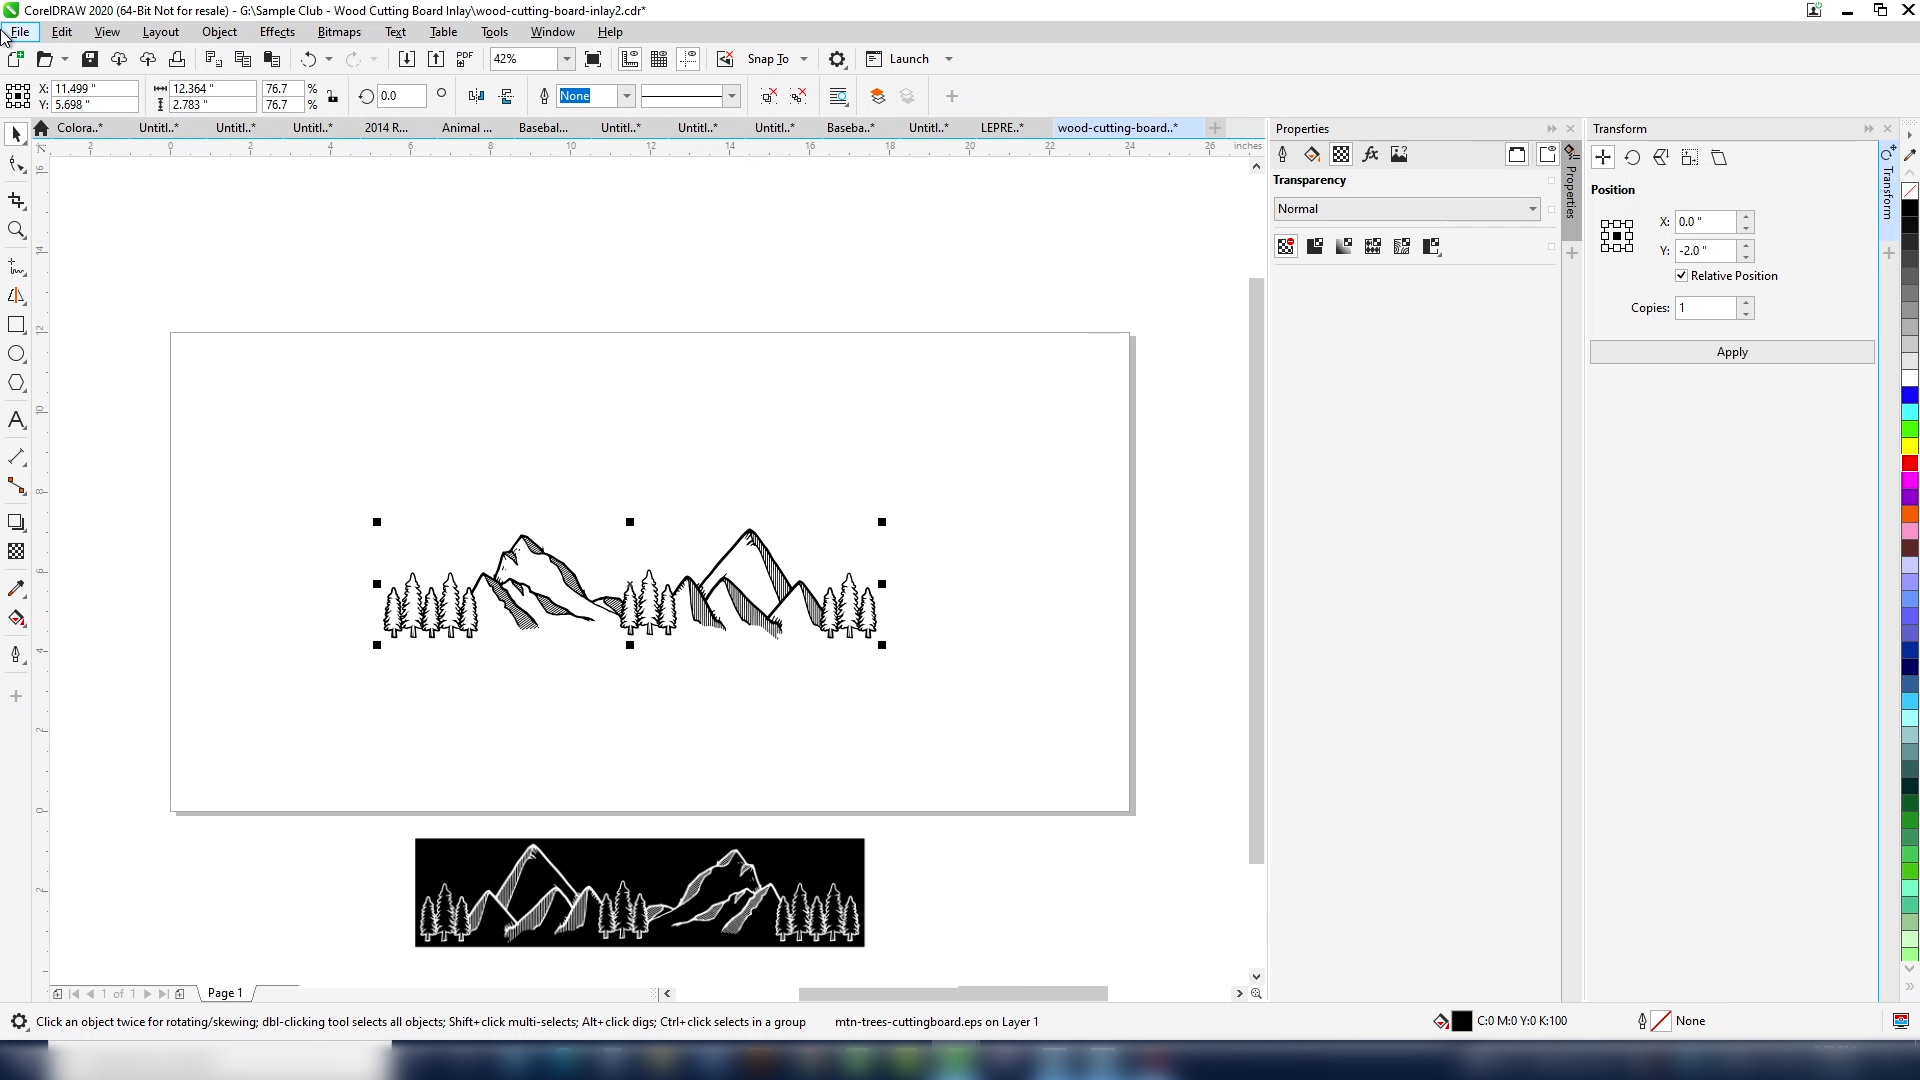
Print this to the laser dashboard, selection only.
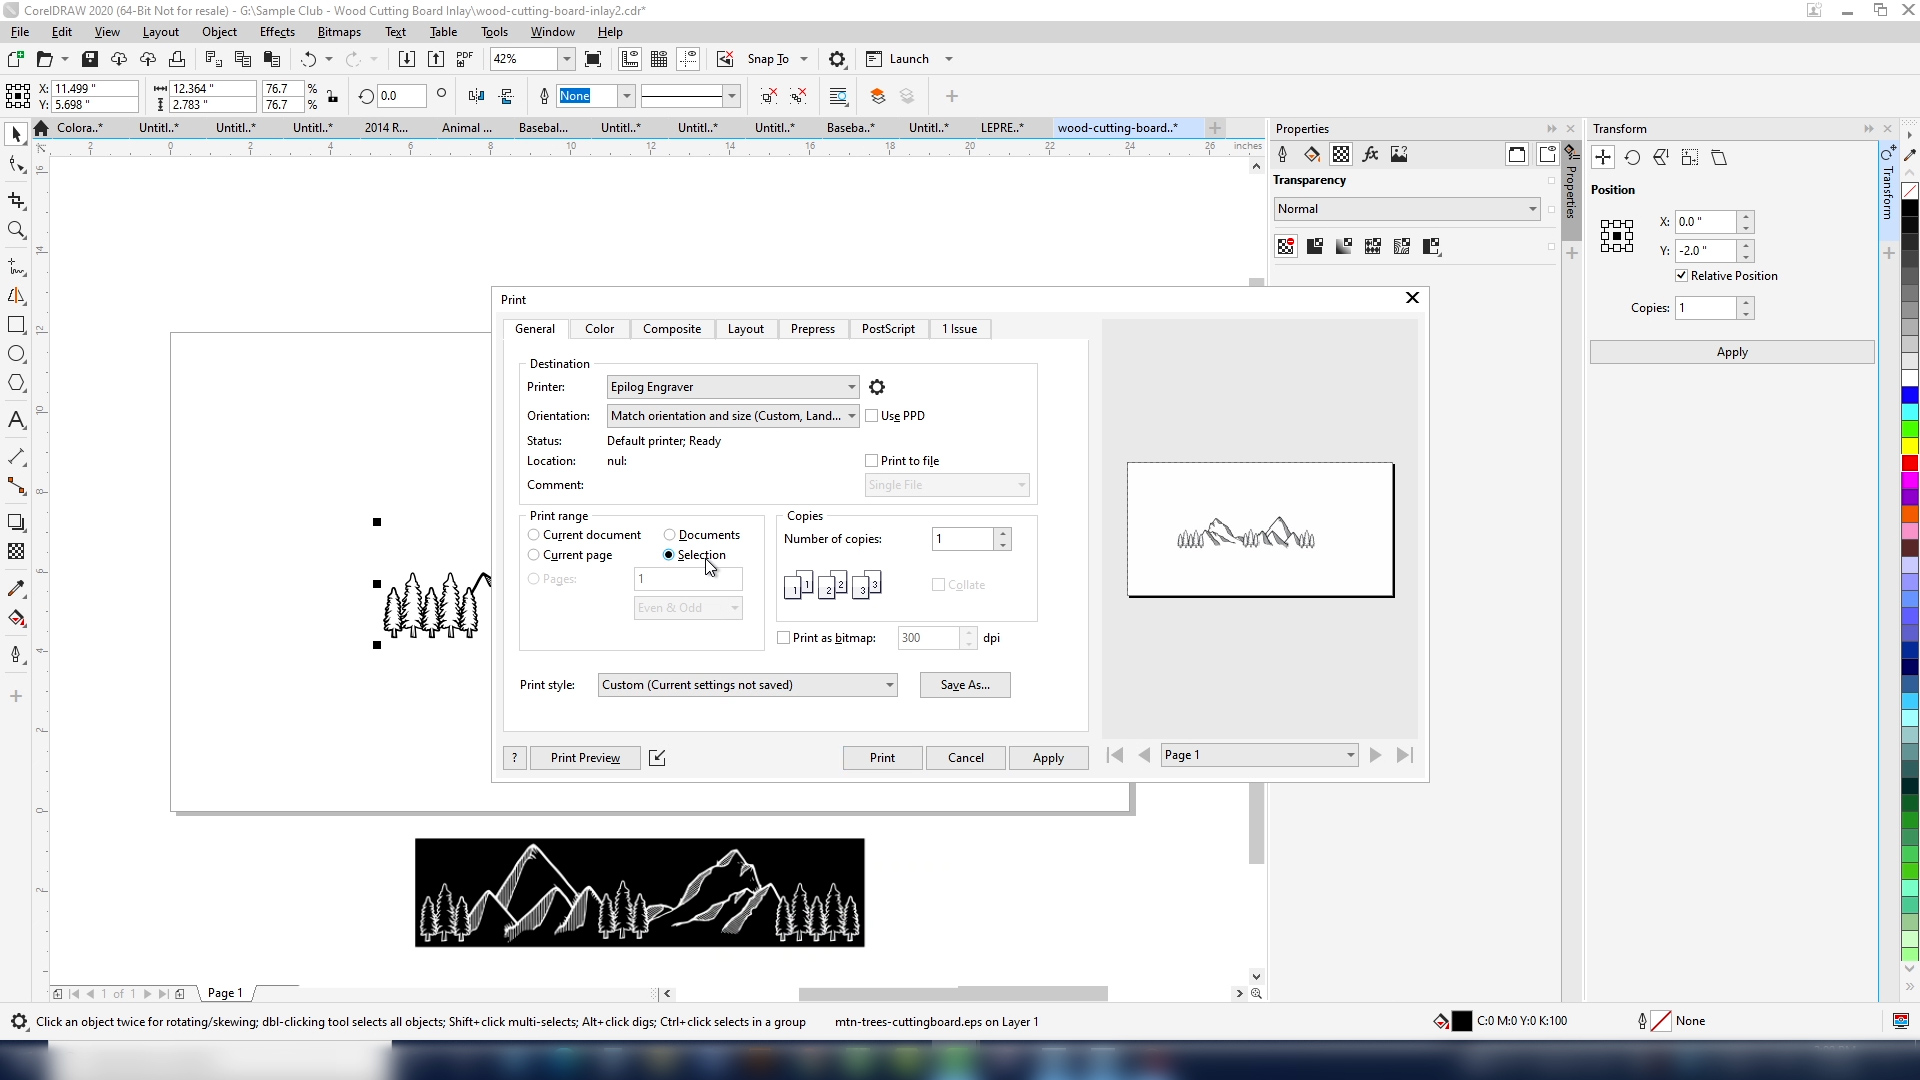
In the Laser Dashboard choose your settings. We’re using a 30 Watt Fusion Maker, so we’ll use settings of 1200 dpi, 50% speed, and 100% power to engrave a deep pocket to inlay our wood veneer.
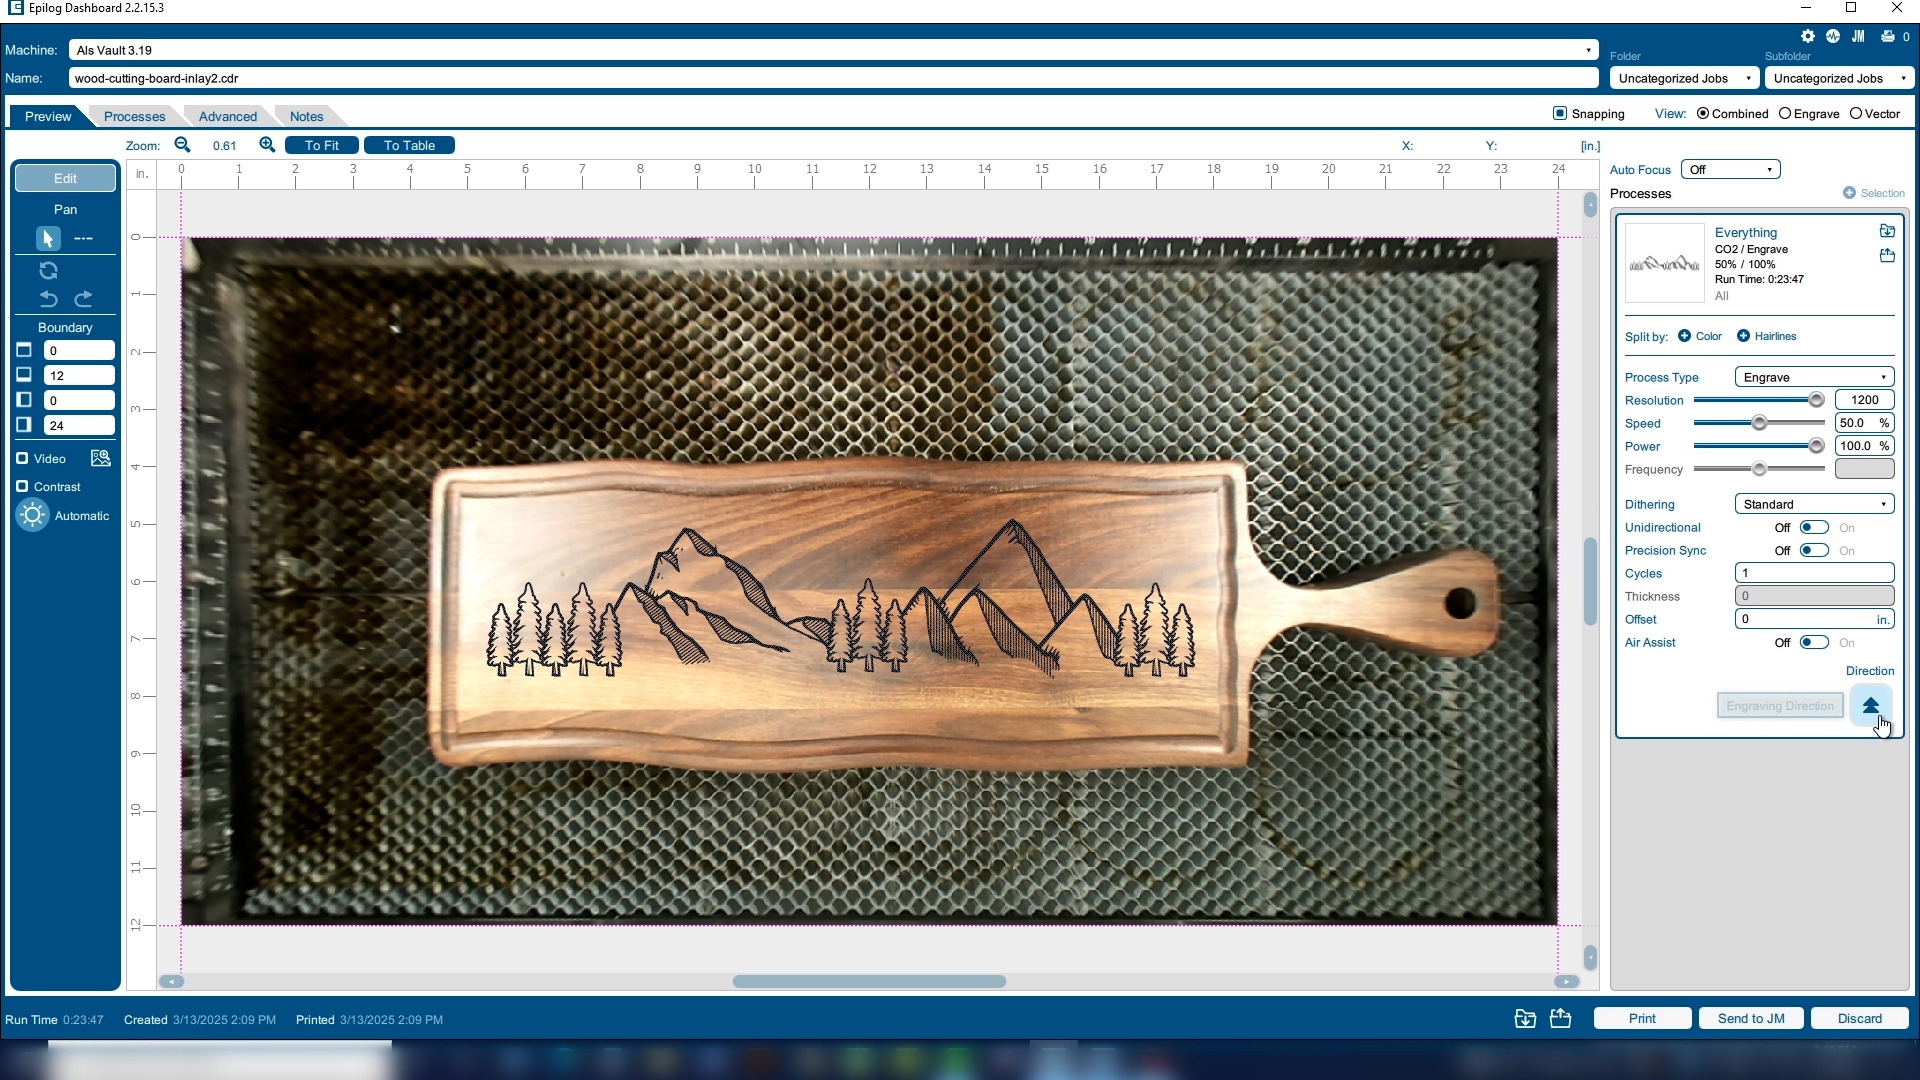
Position the artwork on the cutting board using the camera and print the file to the laser. Run the job at the laser.
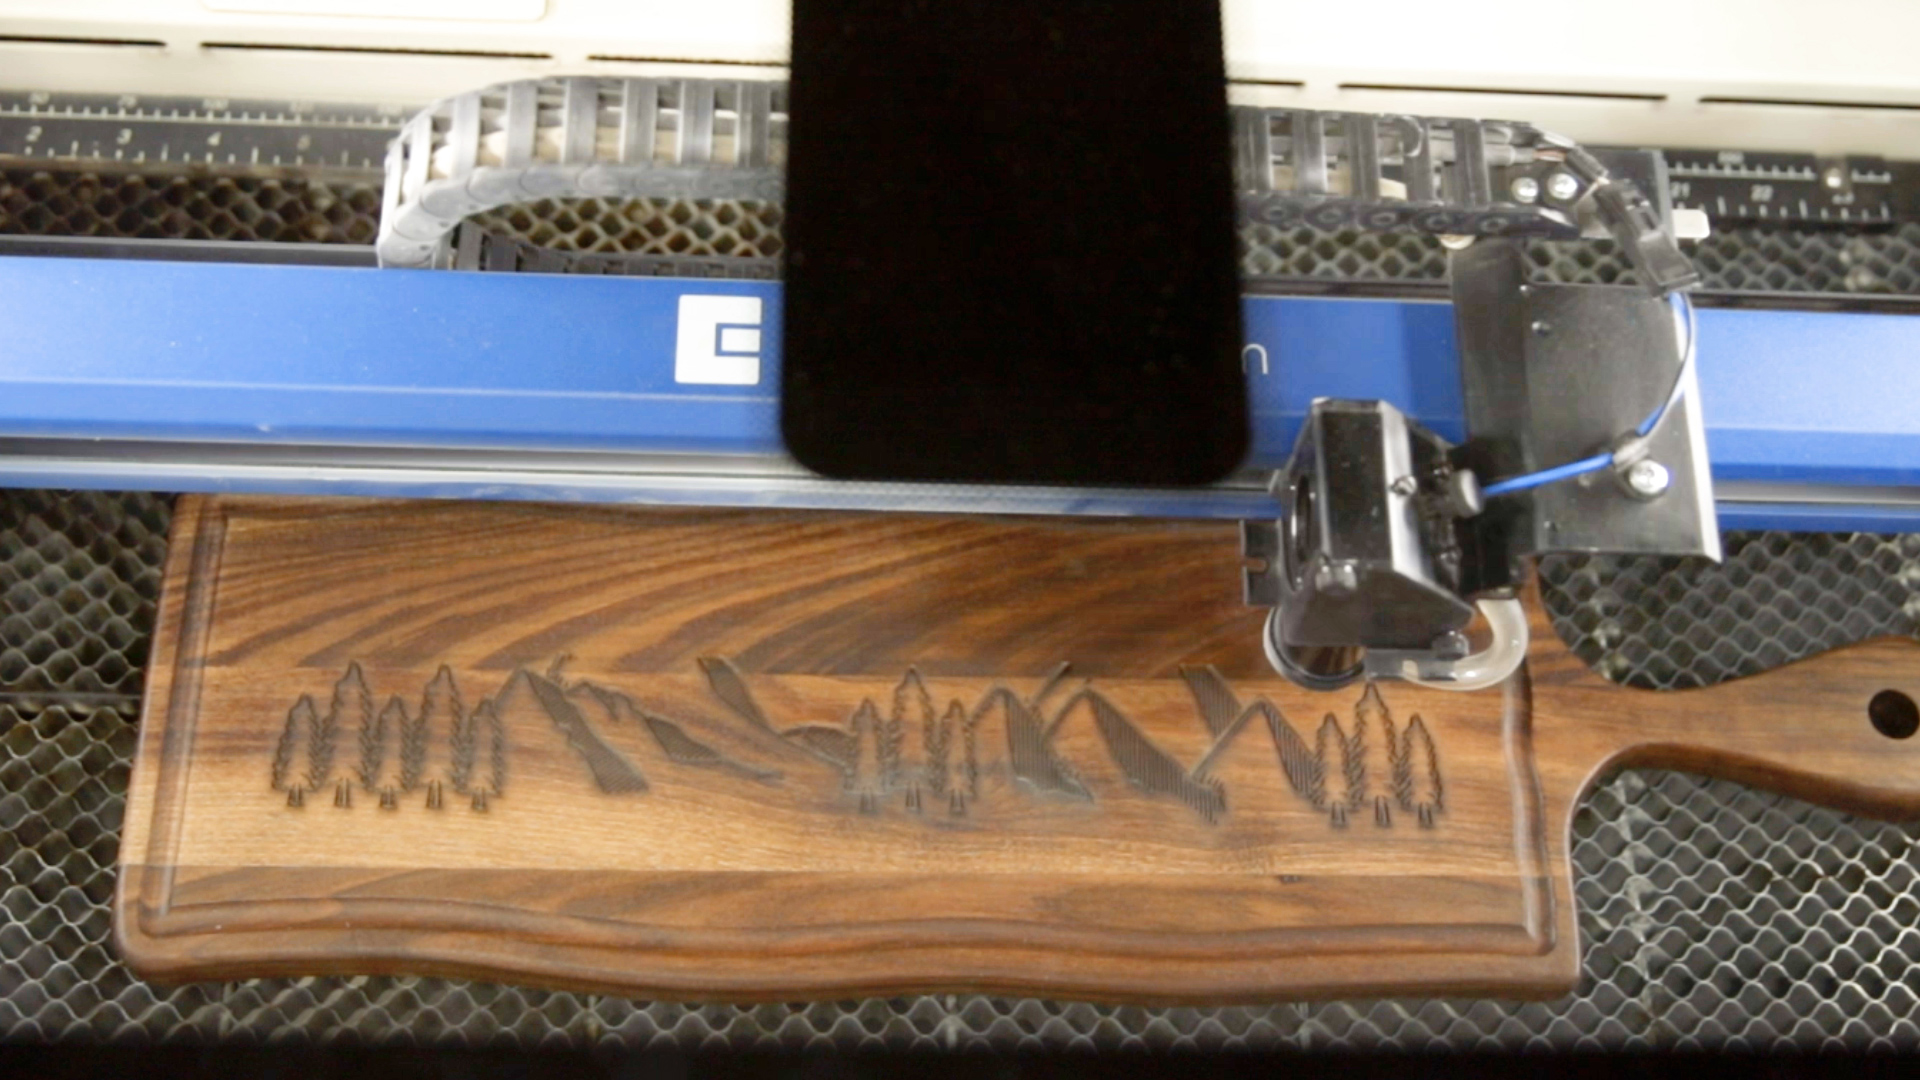
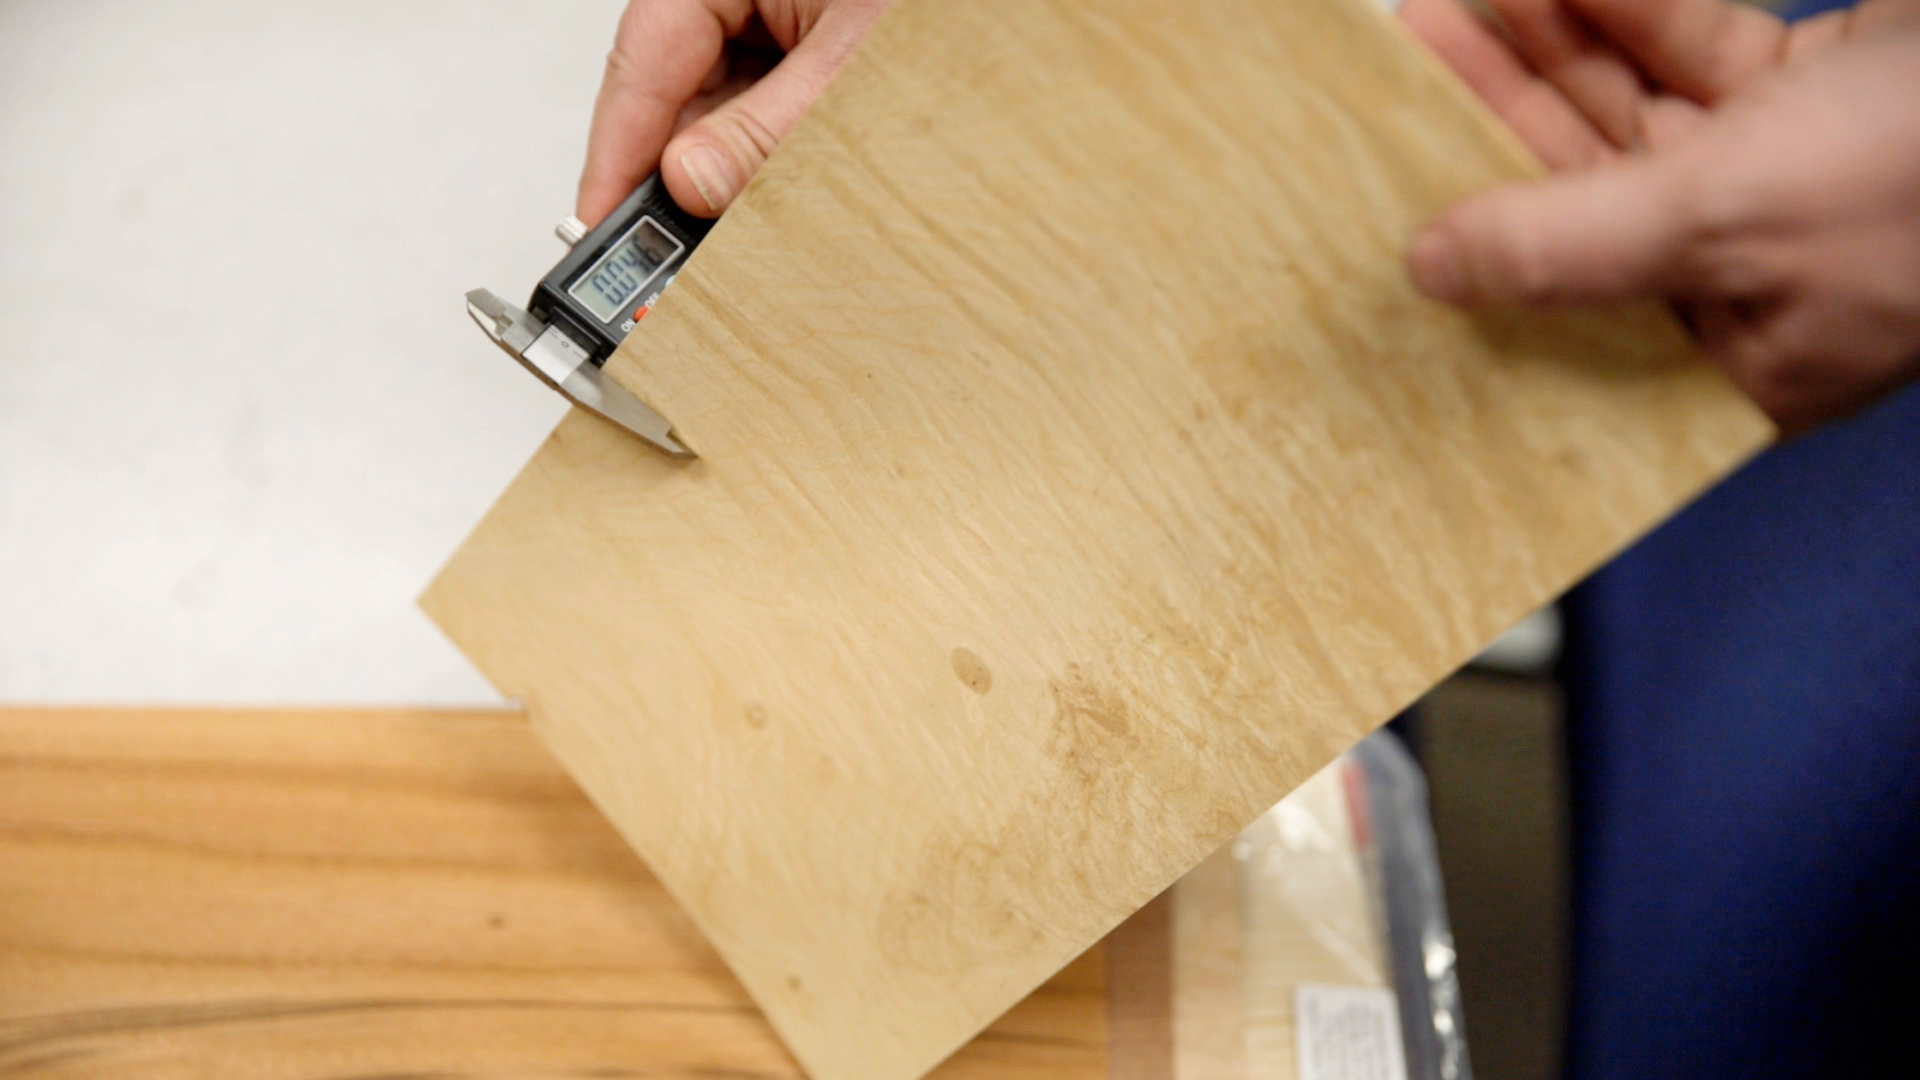
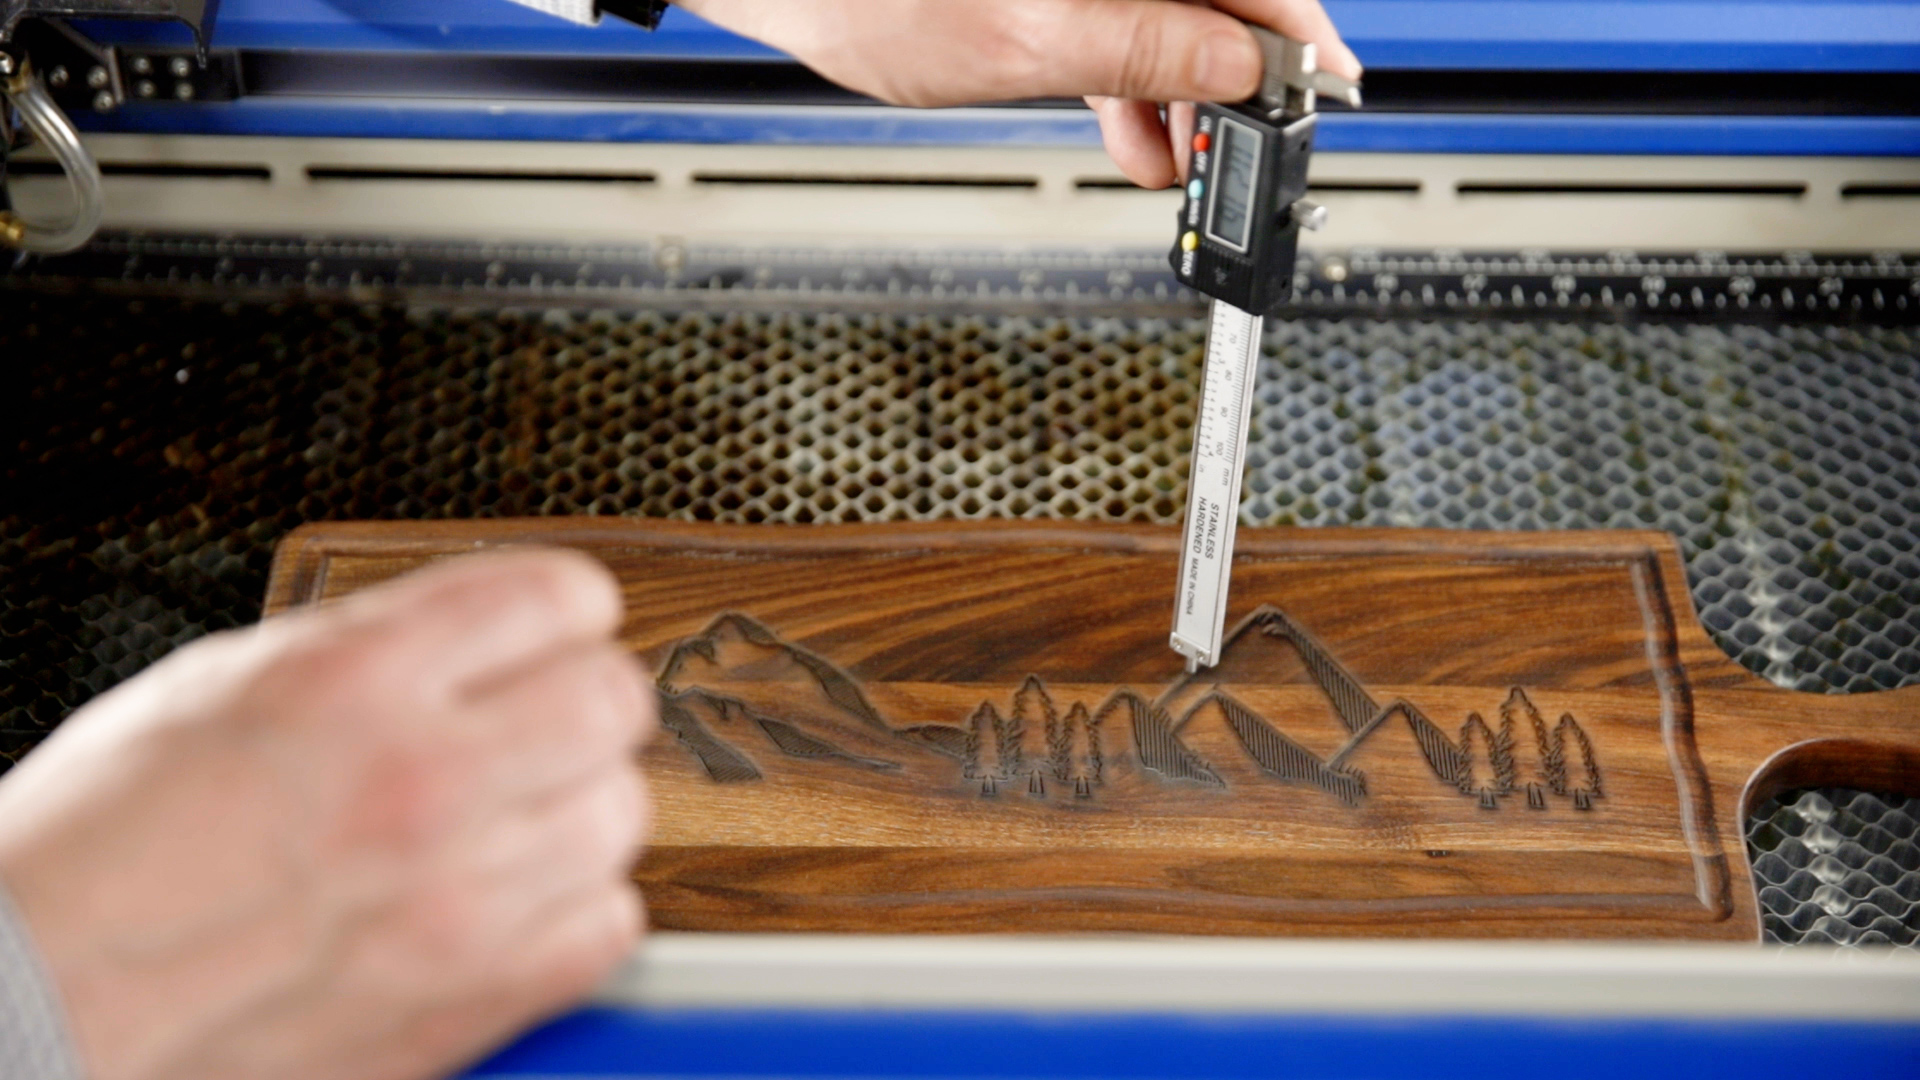
You may need a second pass to get to the correct depth. You can use a set of calipers to measure both your veneer thickness and the depth of the pocket.
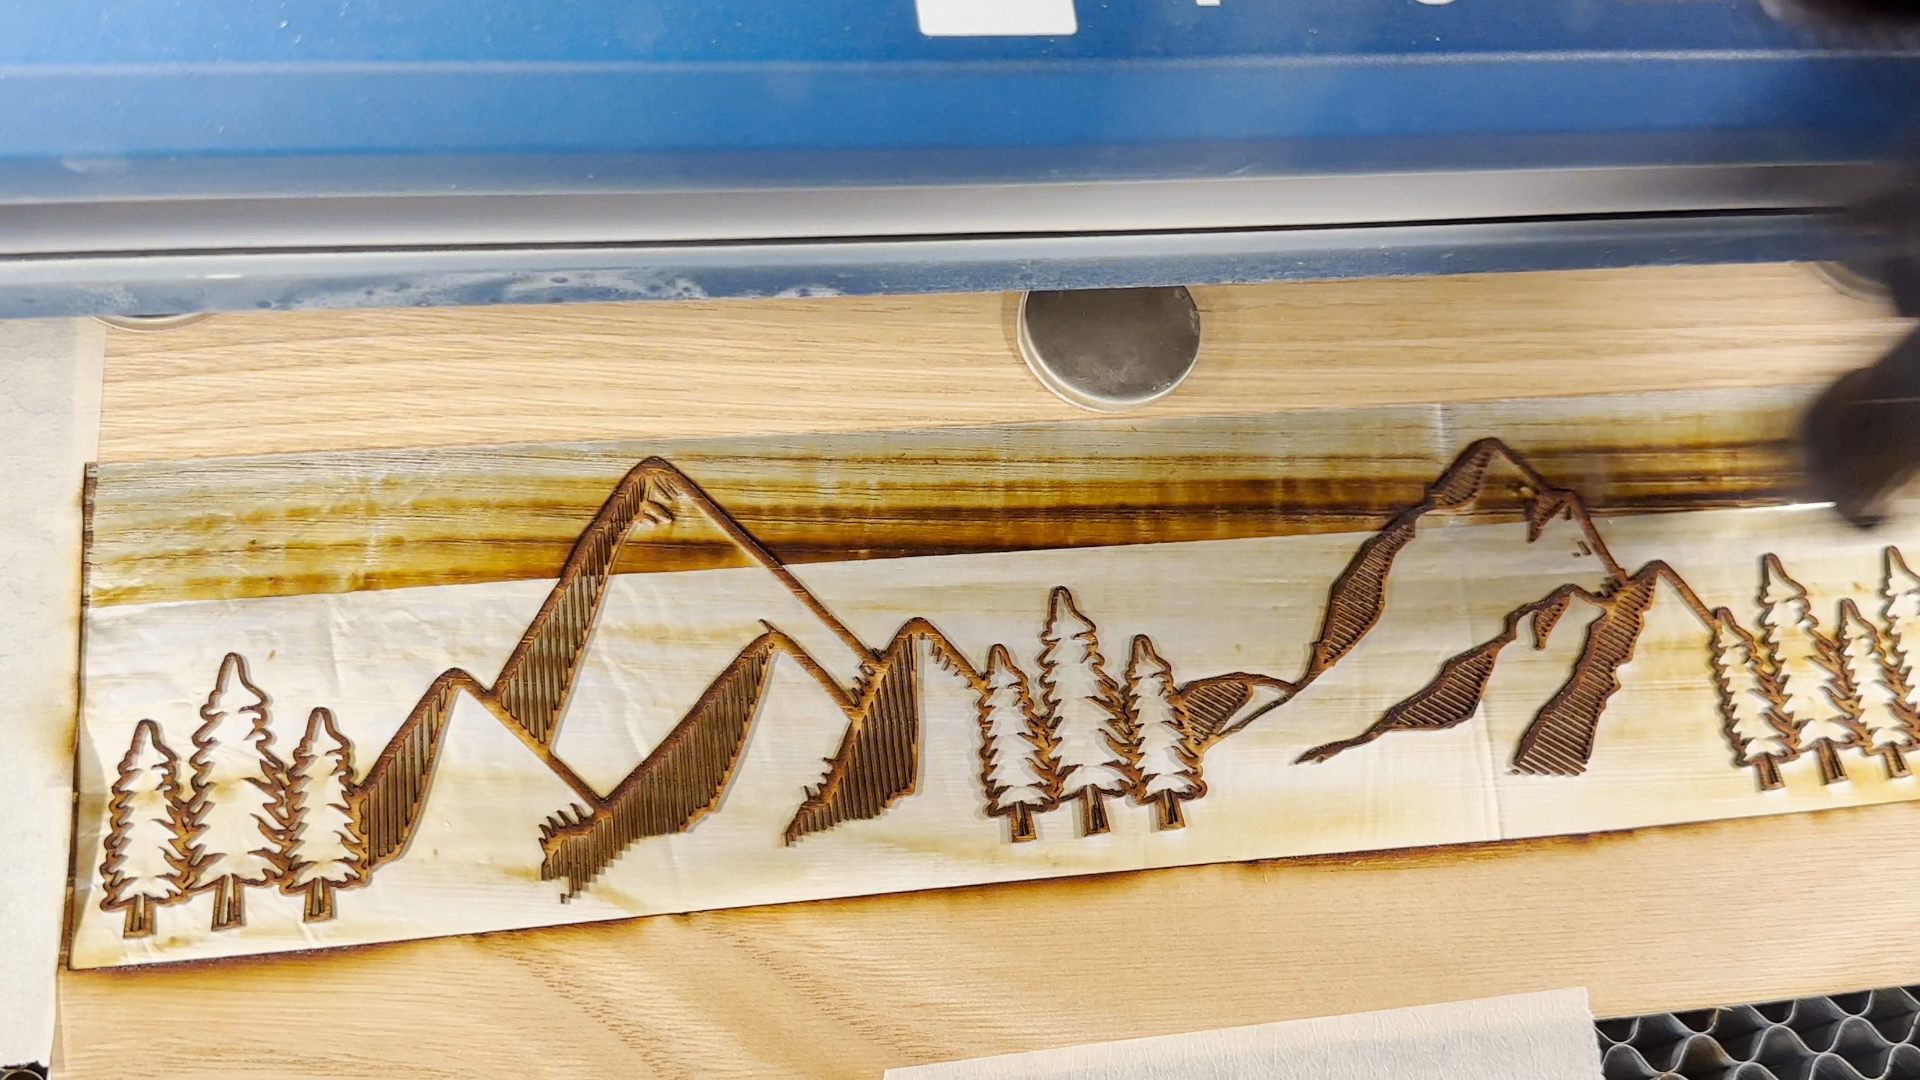
Step 2: Engrave the Veneer
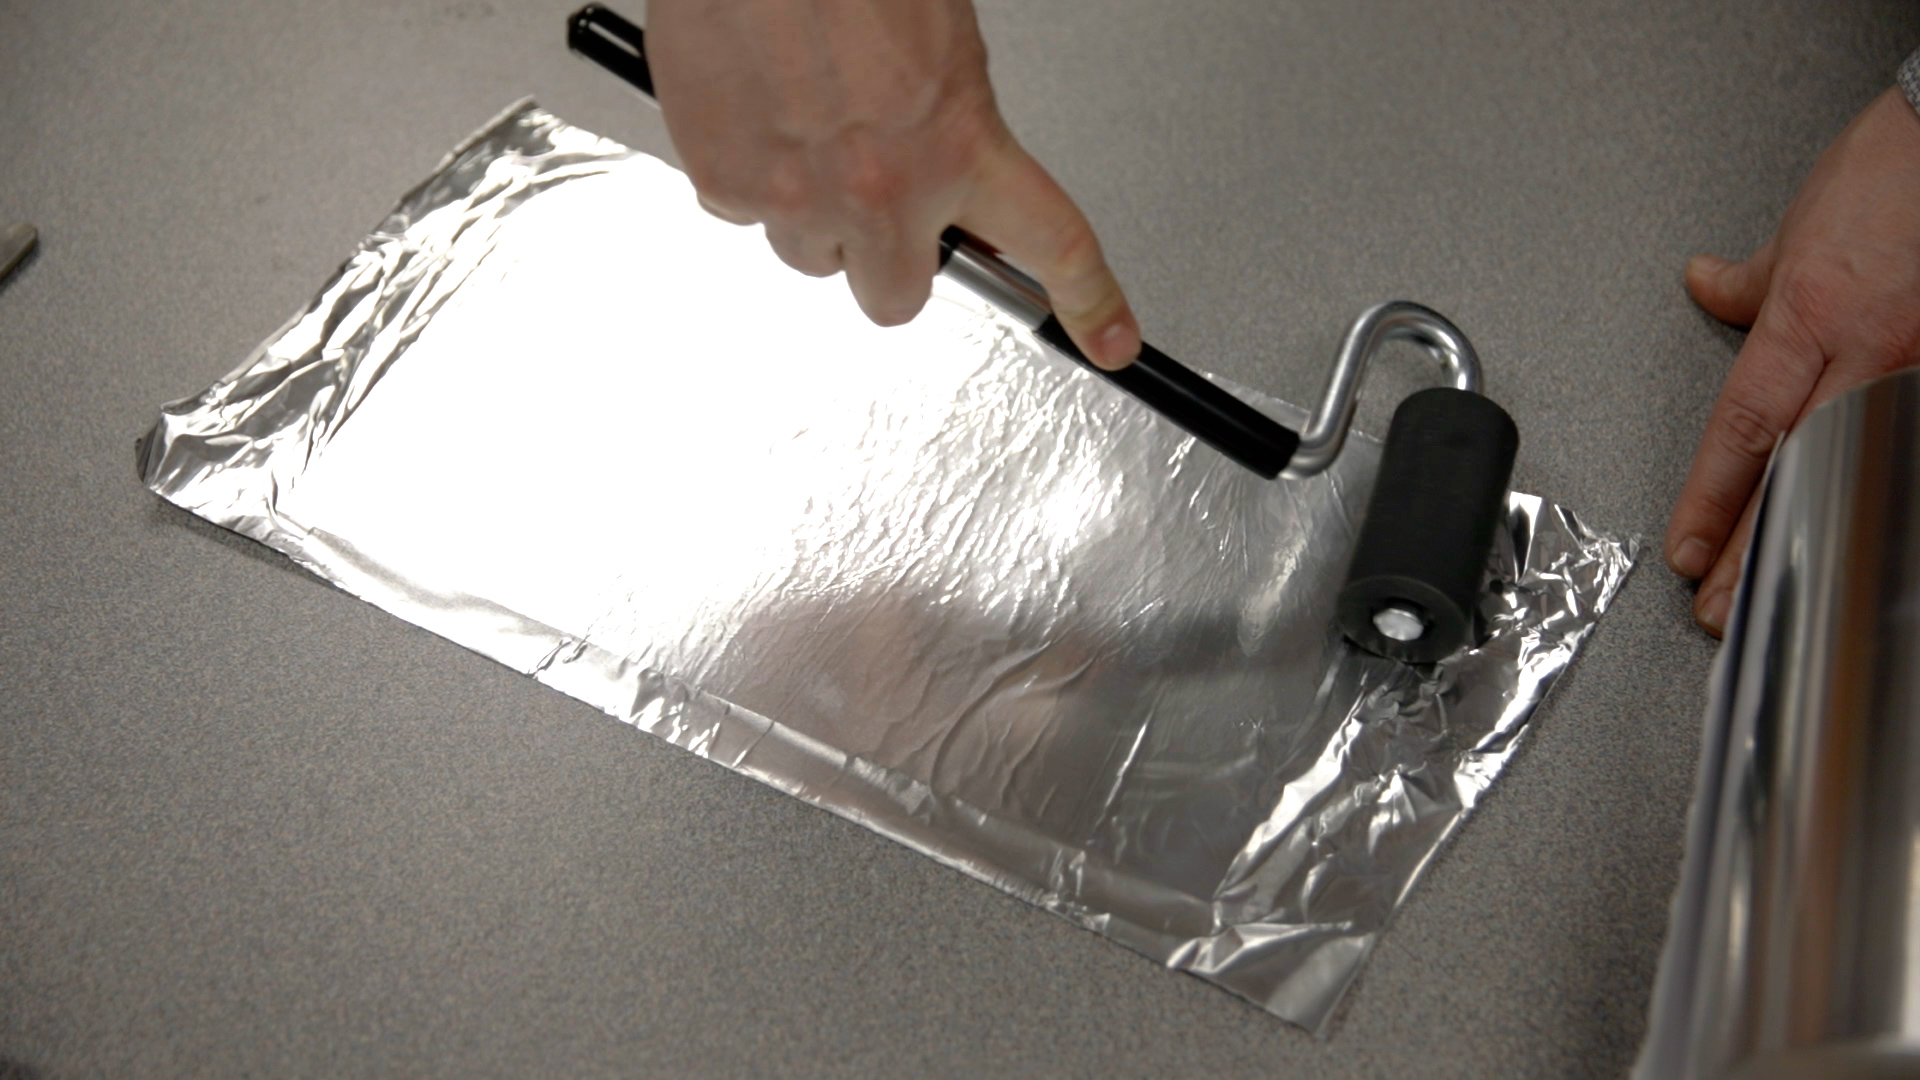
Next we’ll prepare the veneer for engraving. Using aluminum foil tape, cover the back of your veneer piece. Use a roller to ensure your tape is flat to the piece and properly secured. Cut off the edges of the tape.
Place the veneer on the laser bed and secure it with tape and magnets as necessary.
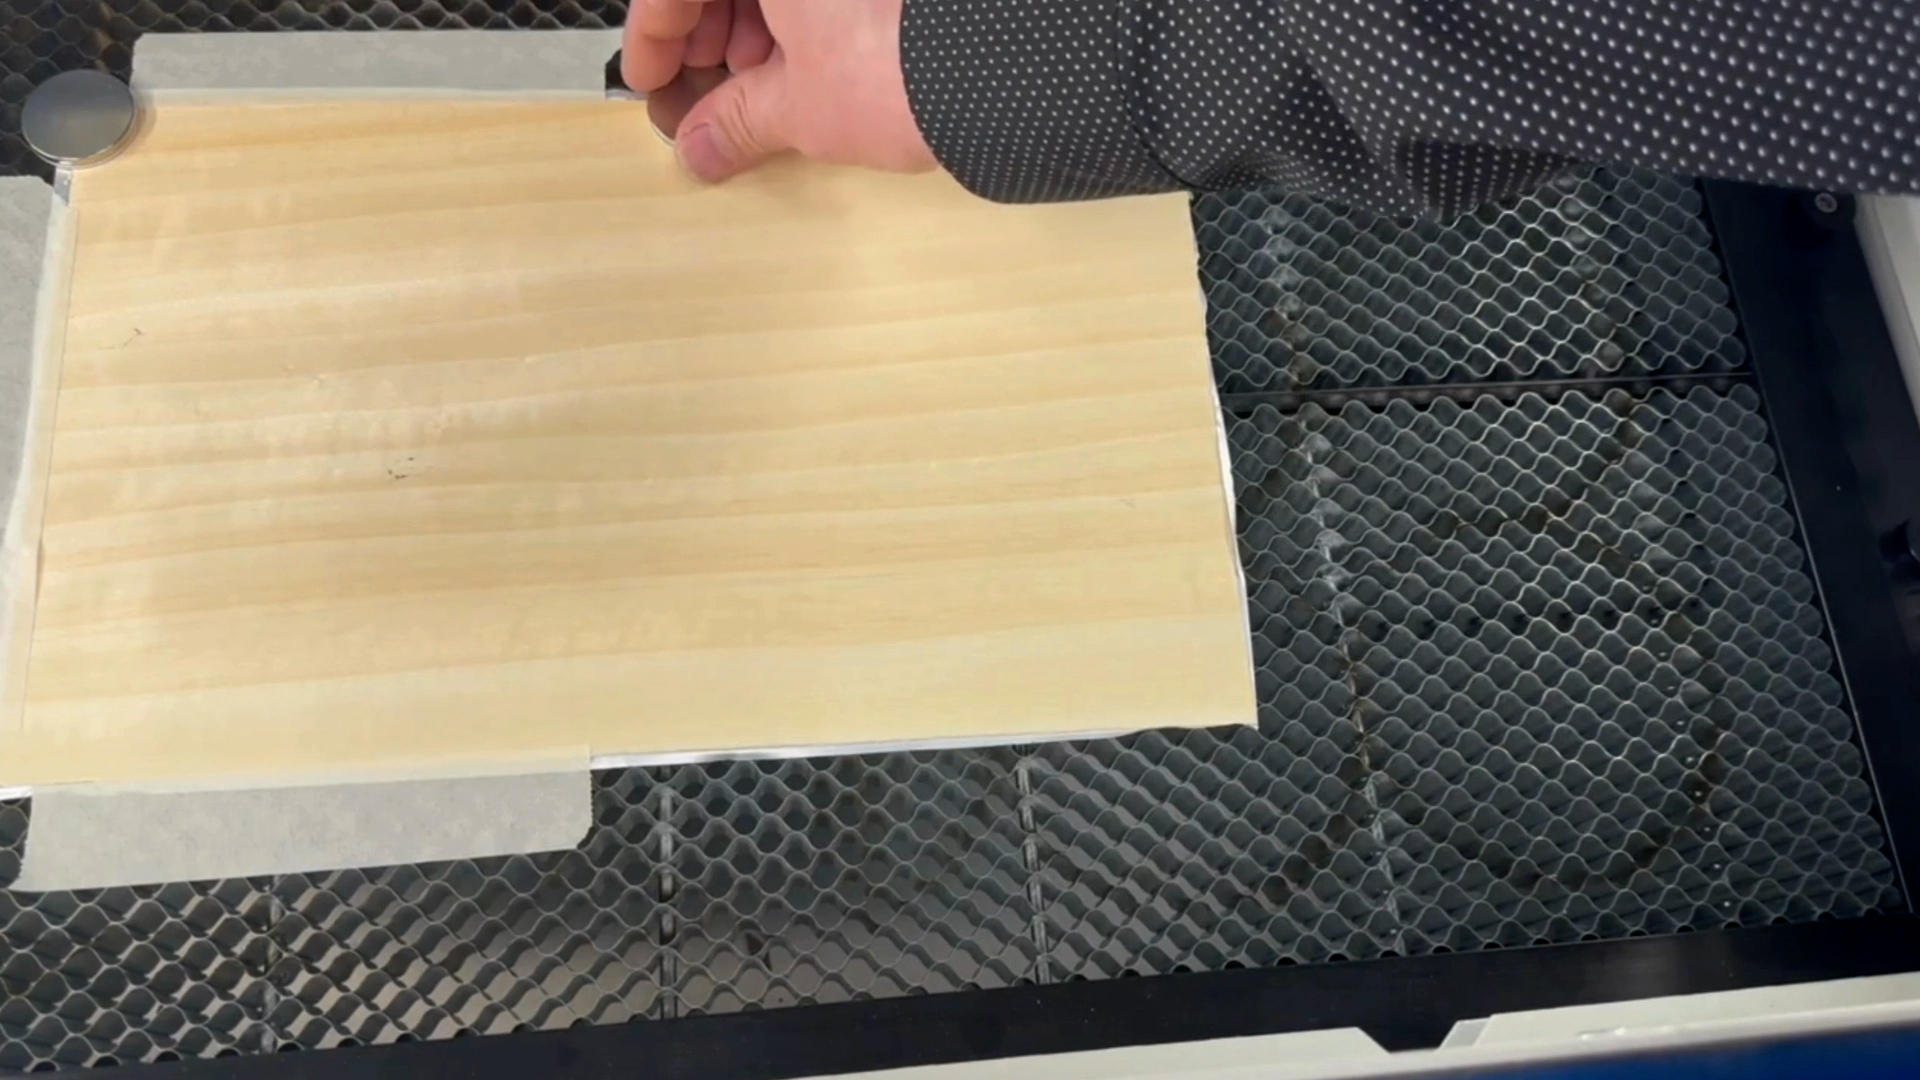
Select the second design and print it to the laser dashboard. This image is a mirror image of the engraving file.
In the Laser Dashboard, place your file on screen using the cameras, then use the same settings we used previously.
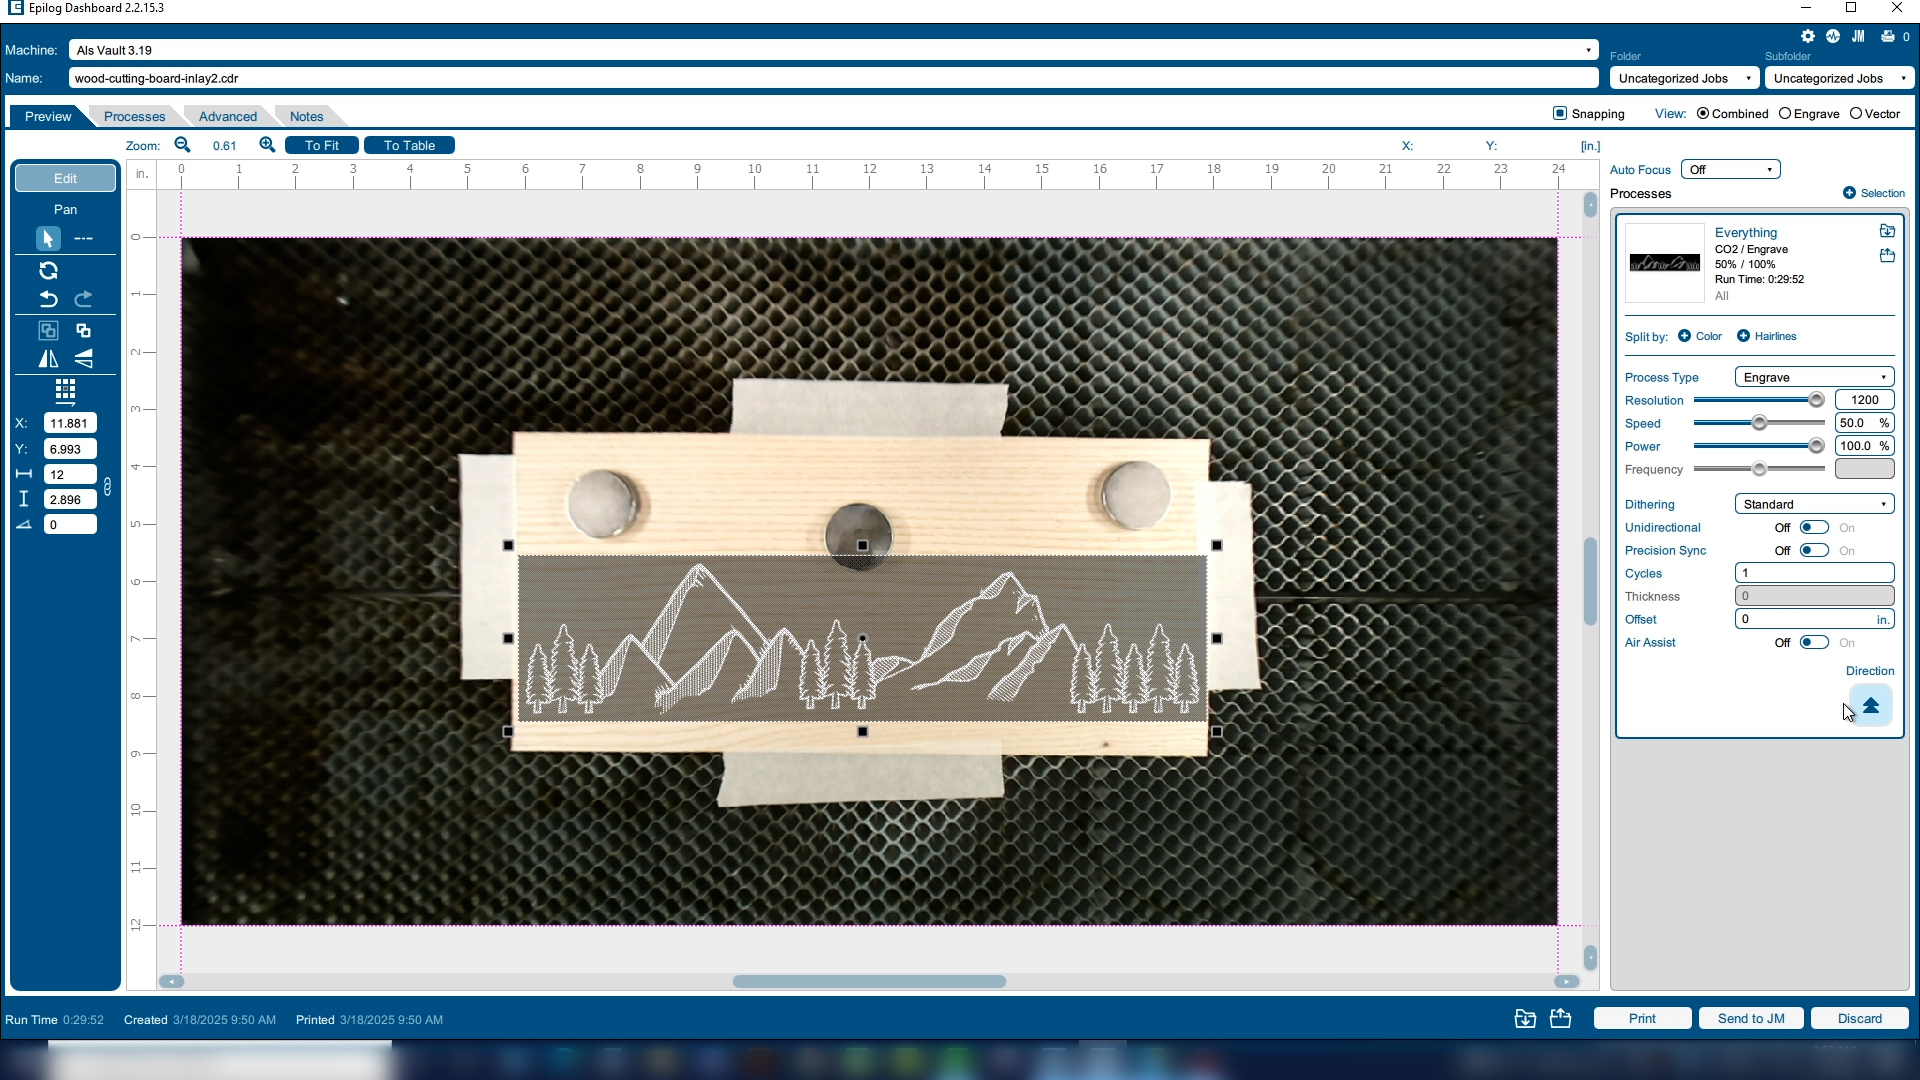
We will engrave away all the way through the veneer, exposing the aluminum underneath. This may take more than one pass to remove all of the veneer.
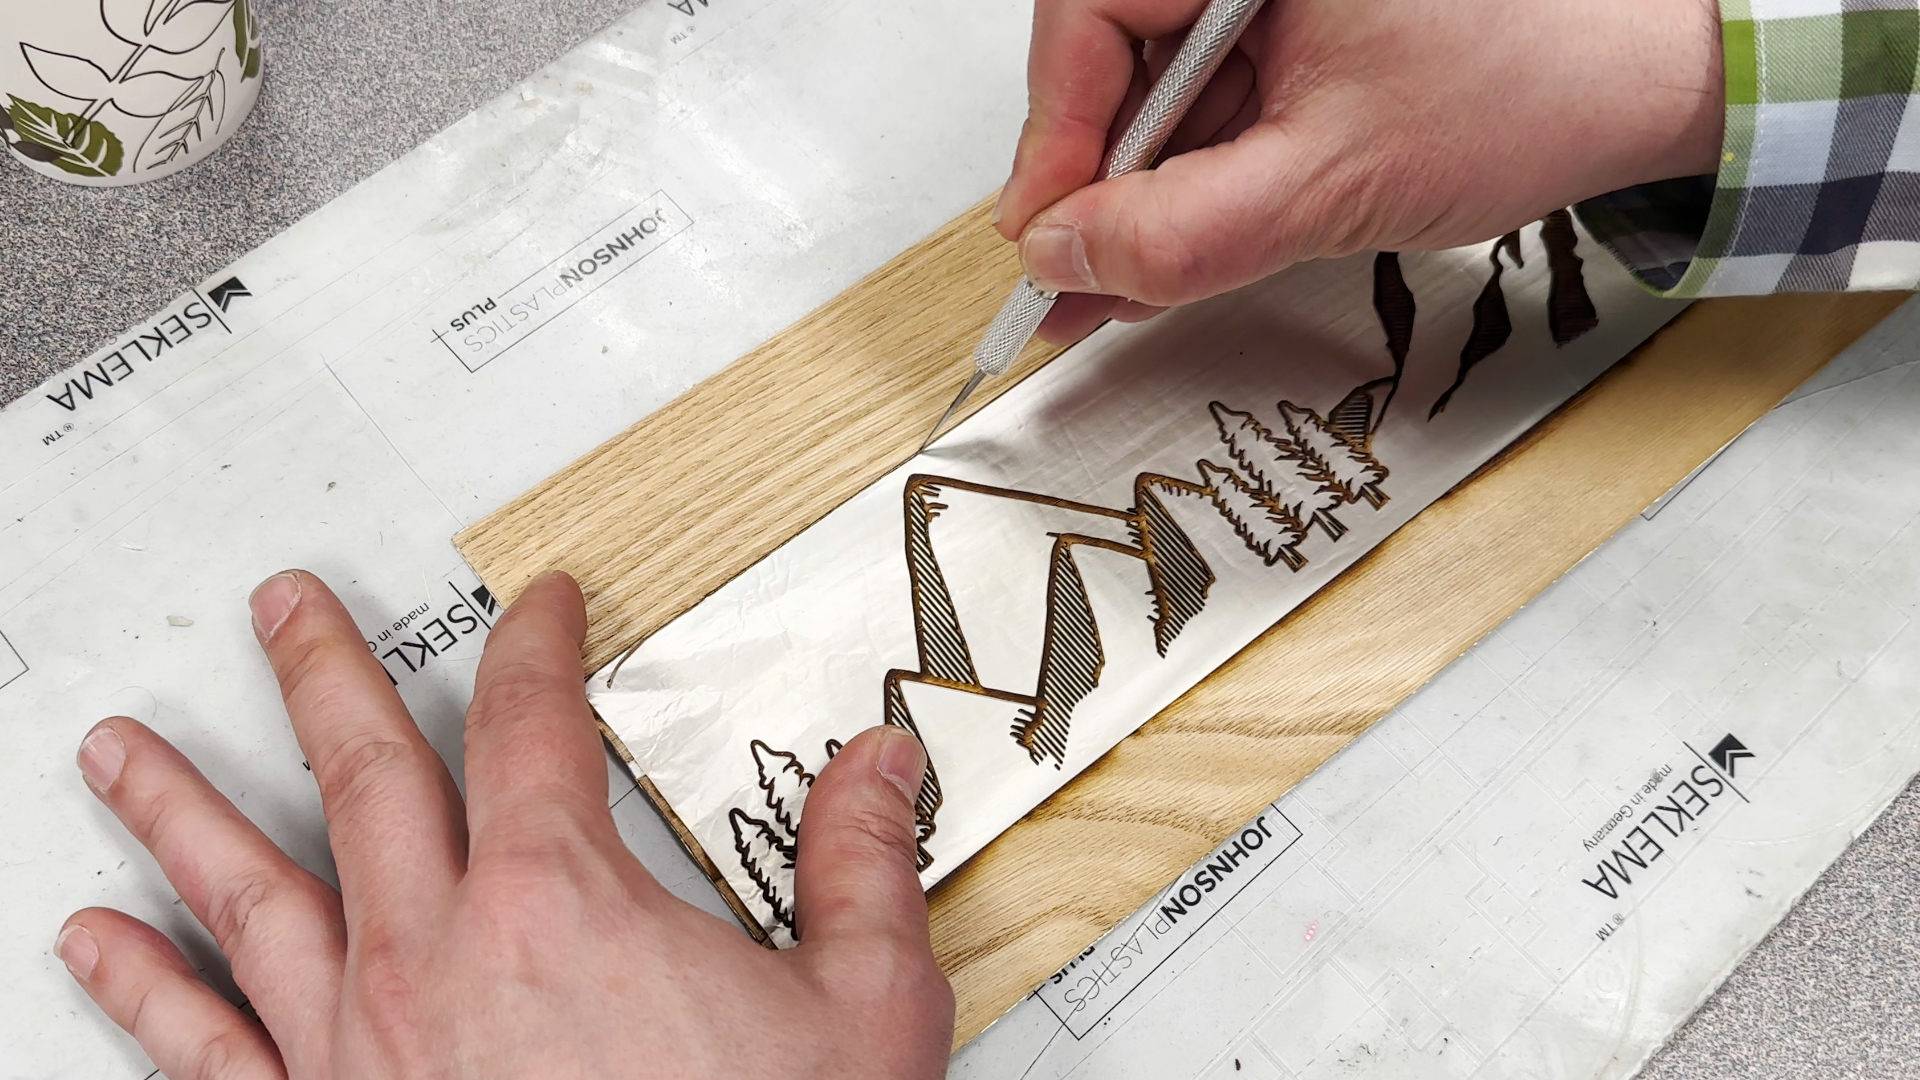
Step 2: Apply the Veneer
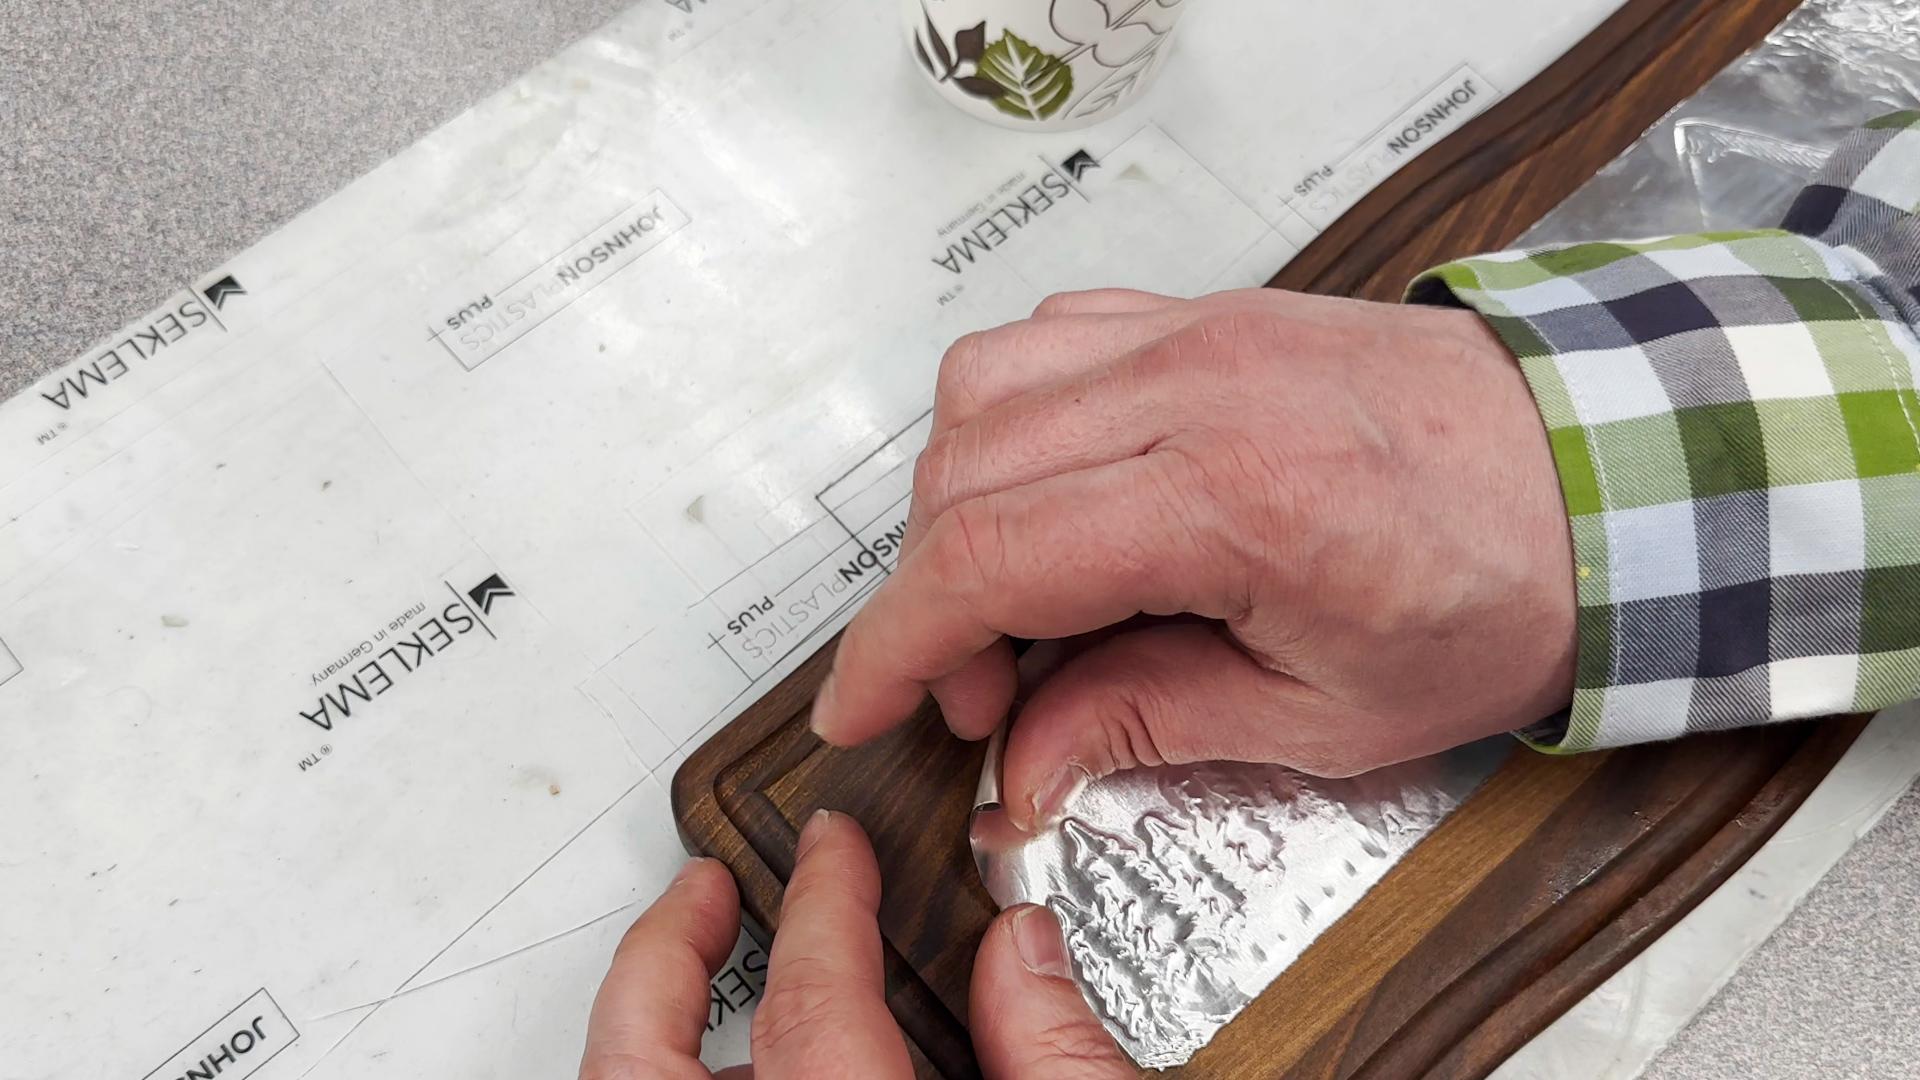
Cut around the engraved portion of the tape.
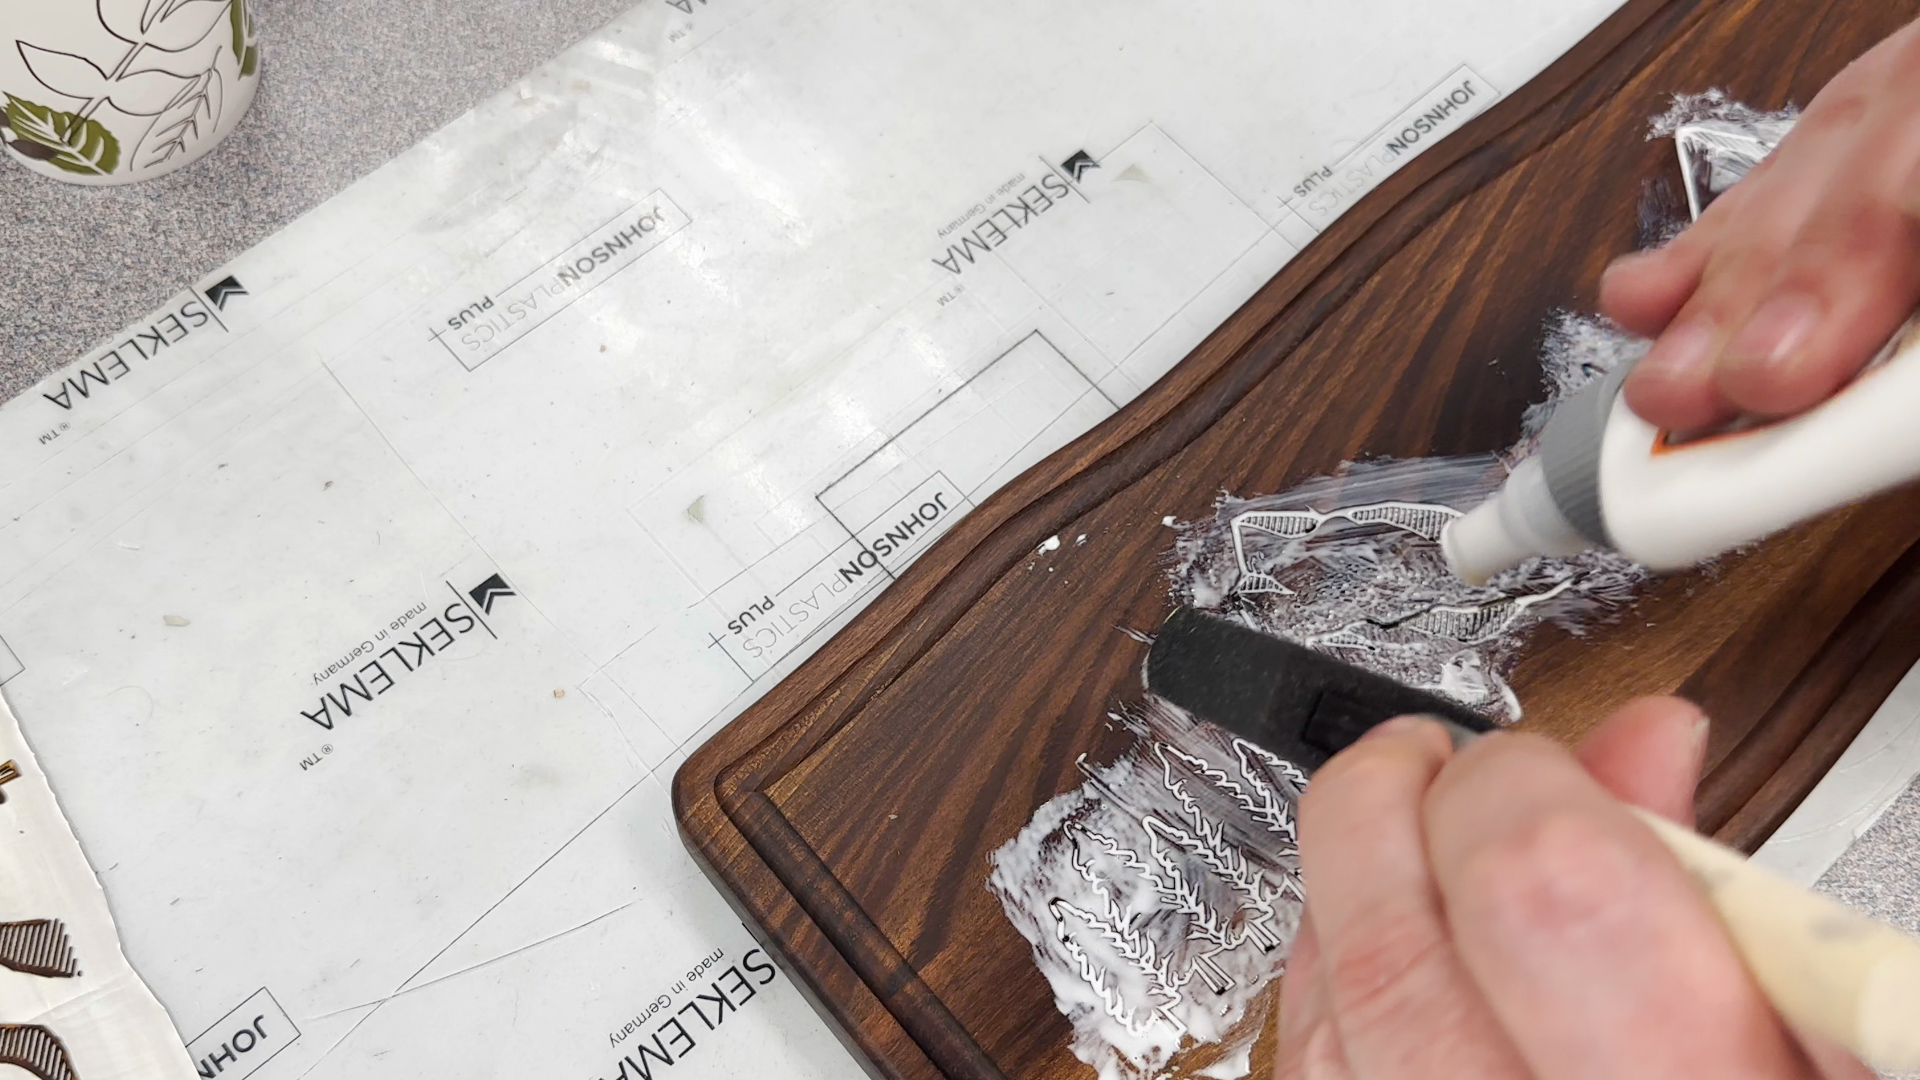
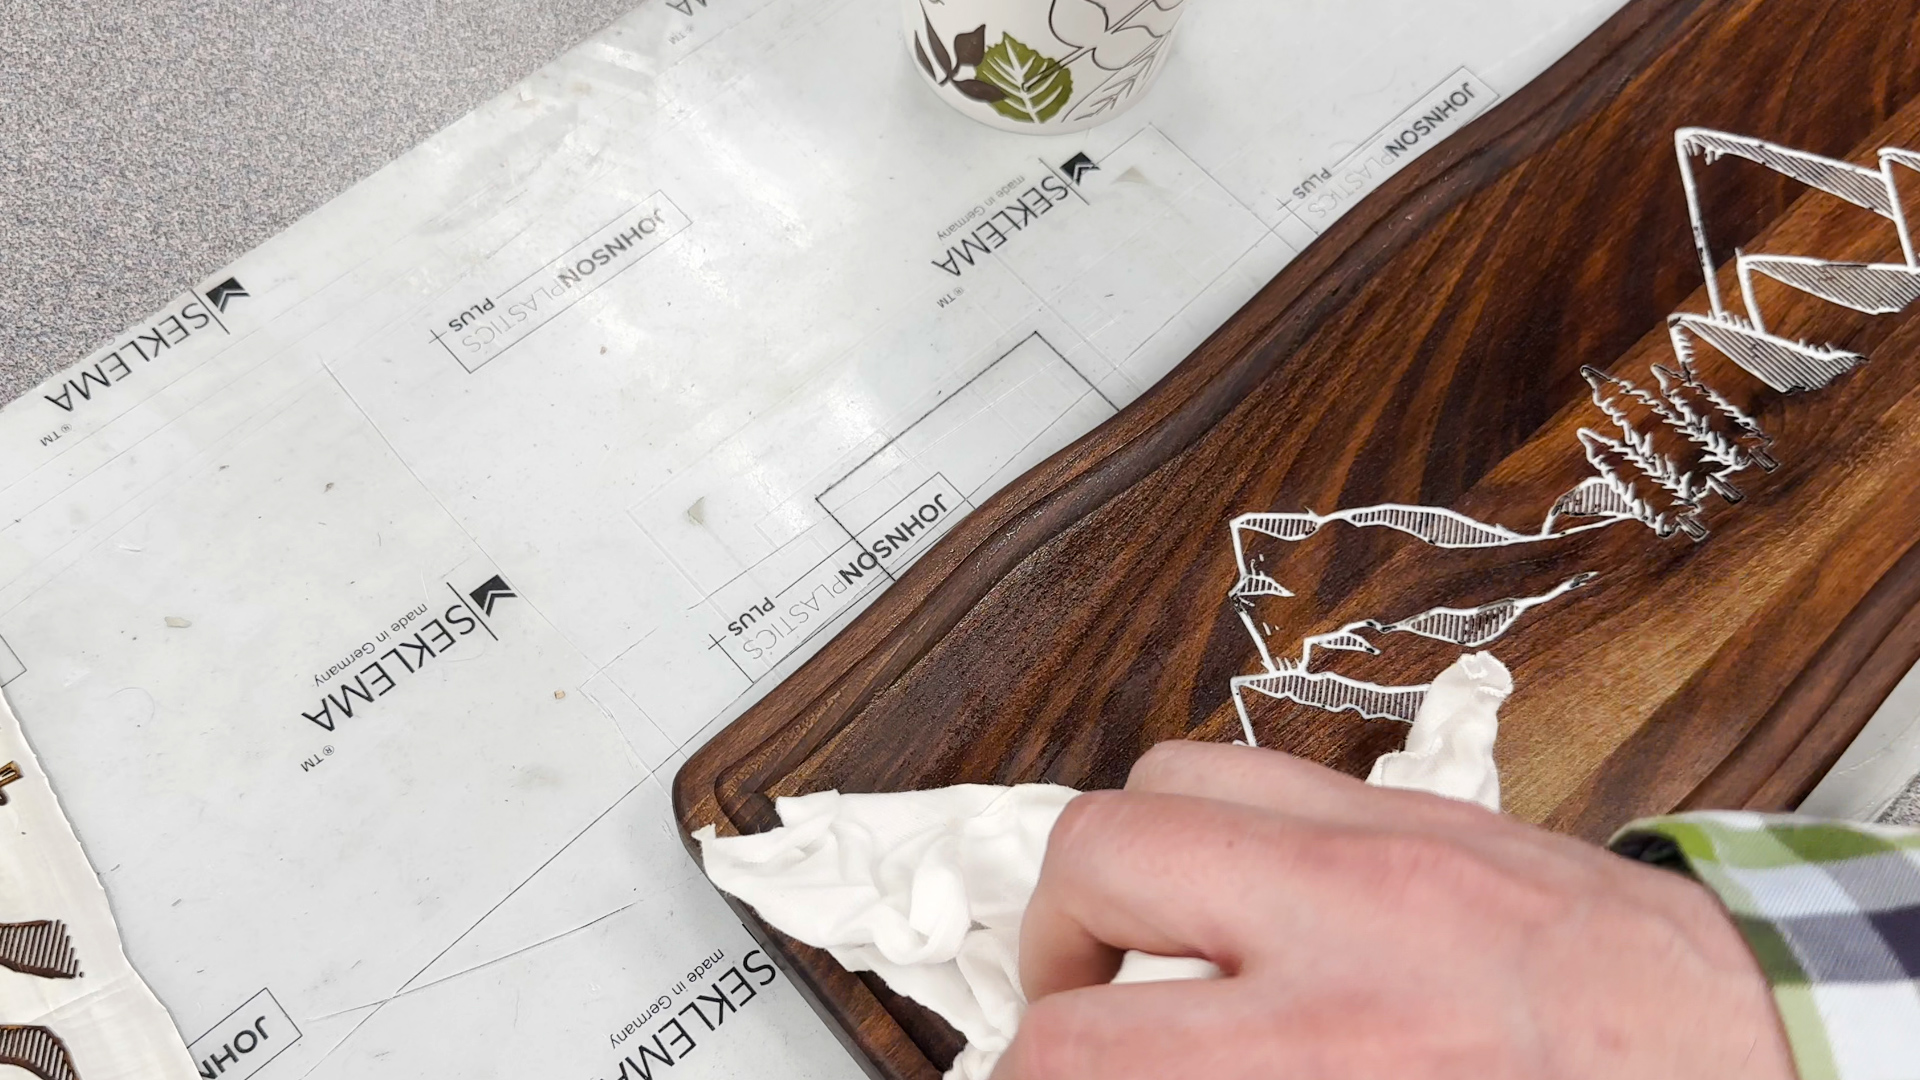
Apply wood glue to the engraved cutting board using a foam brush to get the glue into all of the engraved areas. Then wipe off the excess glue.
Place your veneer into the pocket, using your fingers to make sure it is fitting into the grooves correctly. You can carefully lift the corners of the tape to see if it is an exact fit in the corners.
When you’re happy with your veneer placement, use the roller to flatten the veneer.
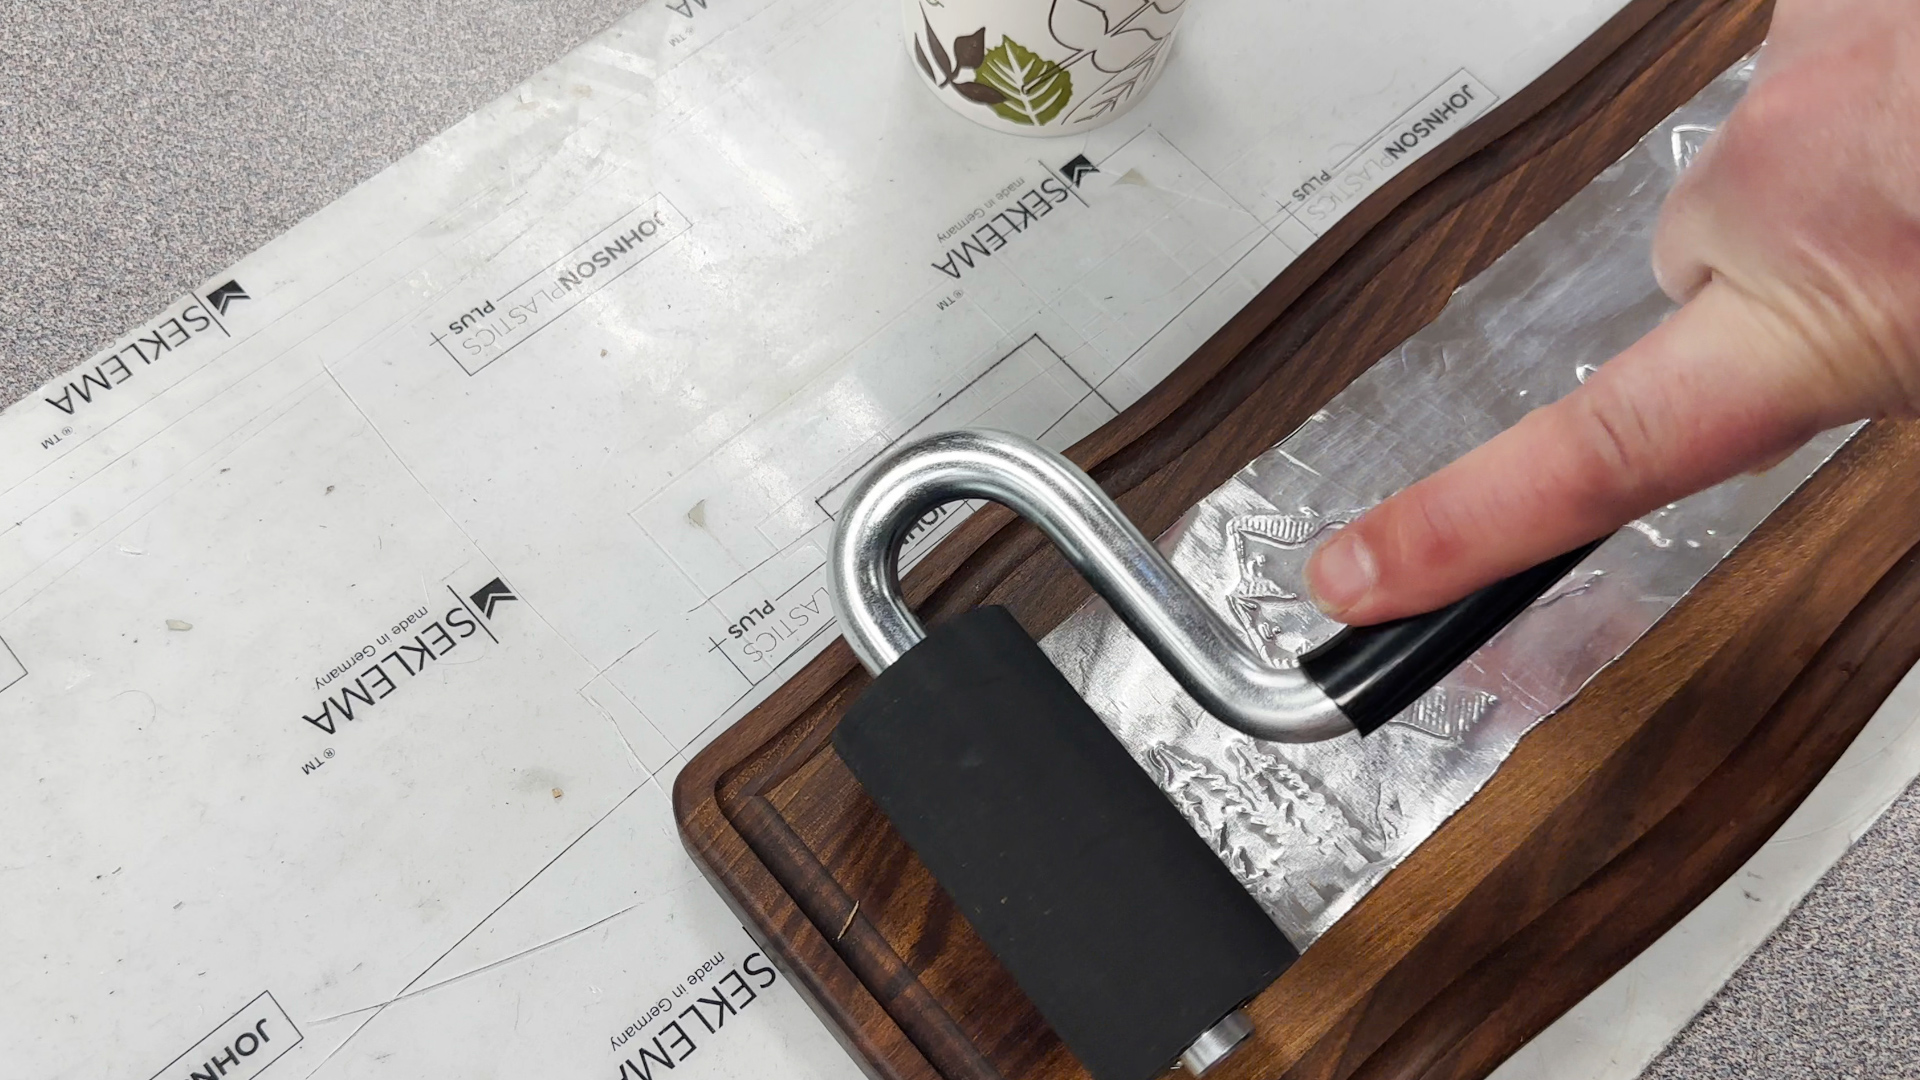
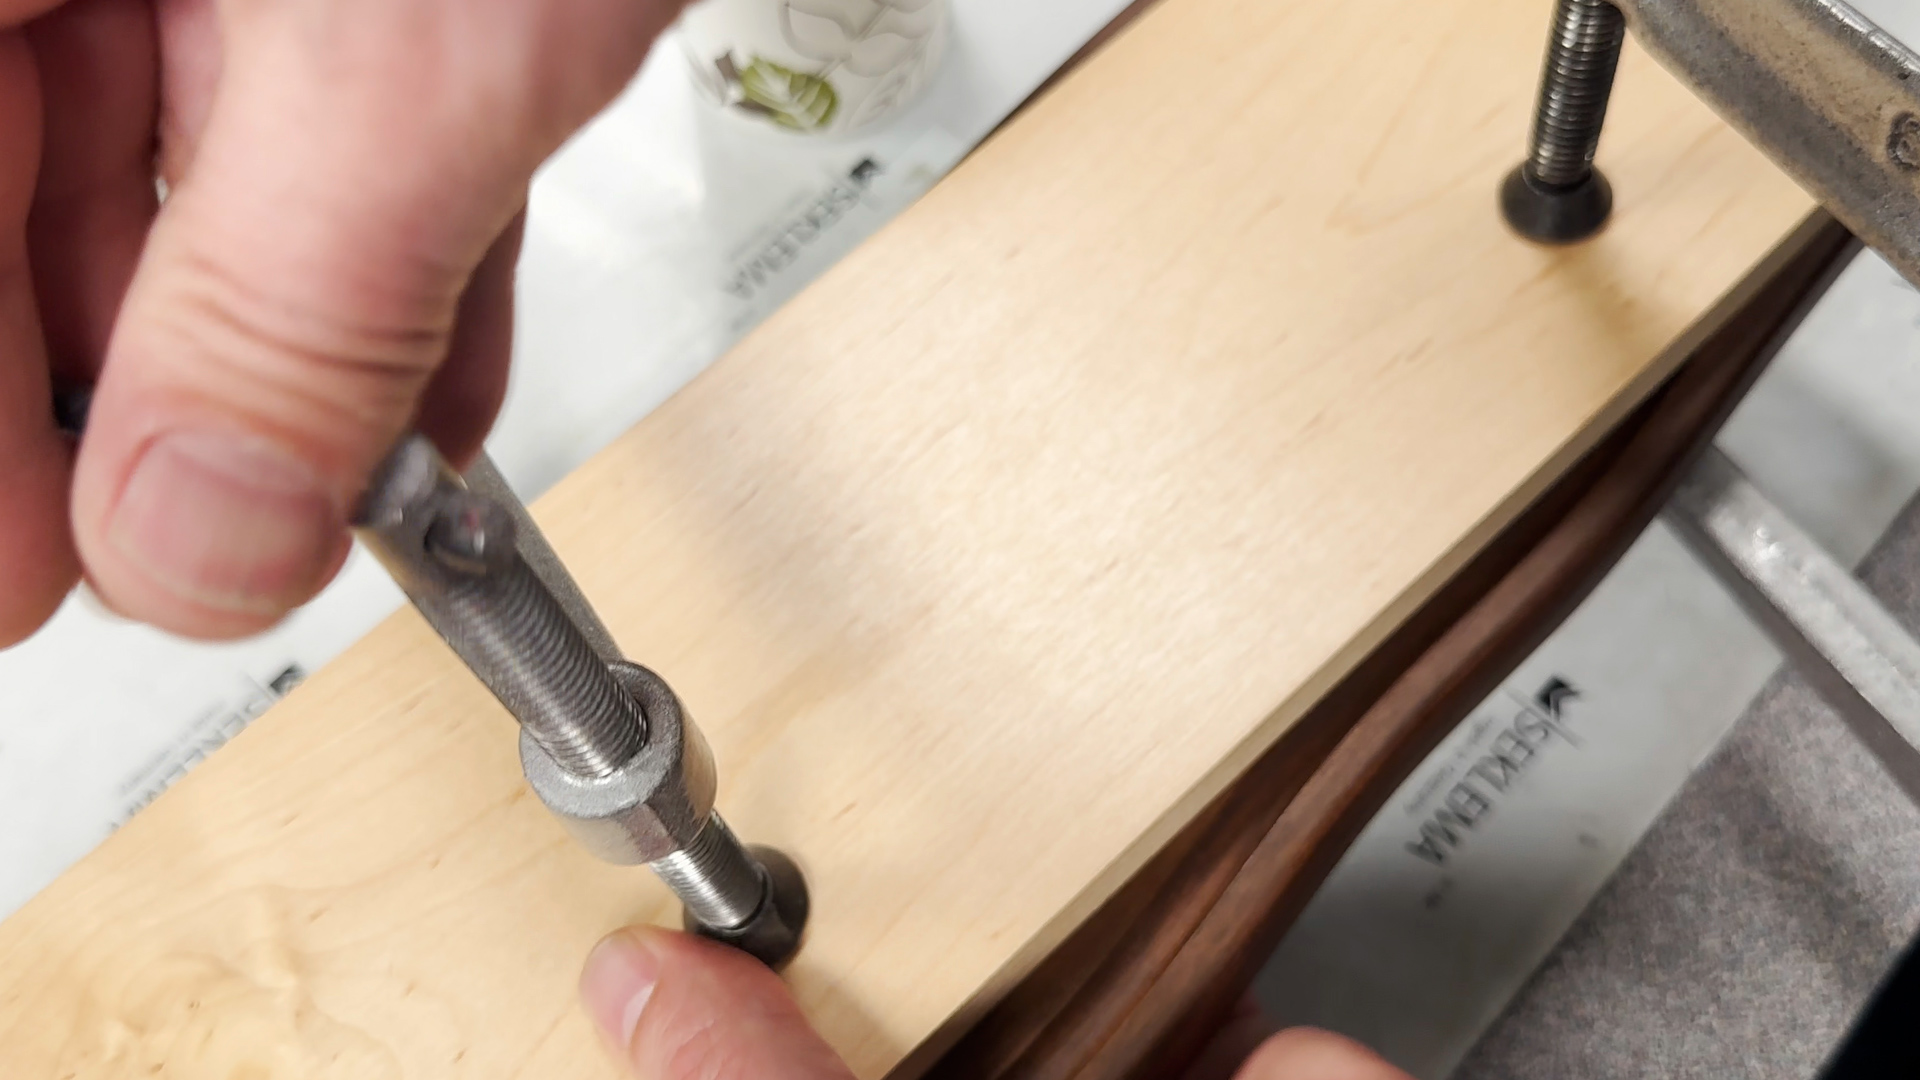
You can clamp a piece of wood over the inlay while it is drying. When it is dry, remove the clamped wood.
Carefully peel back the tape to see your perfectly placed inlay!

Step 2: Add Finishing Touches
To finish the piece, lightly sand the cutting board.
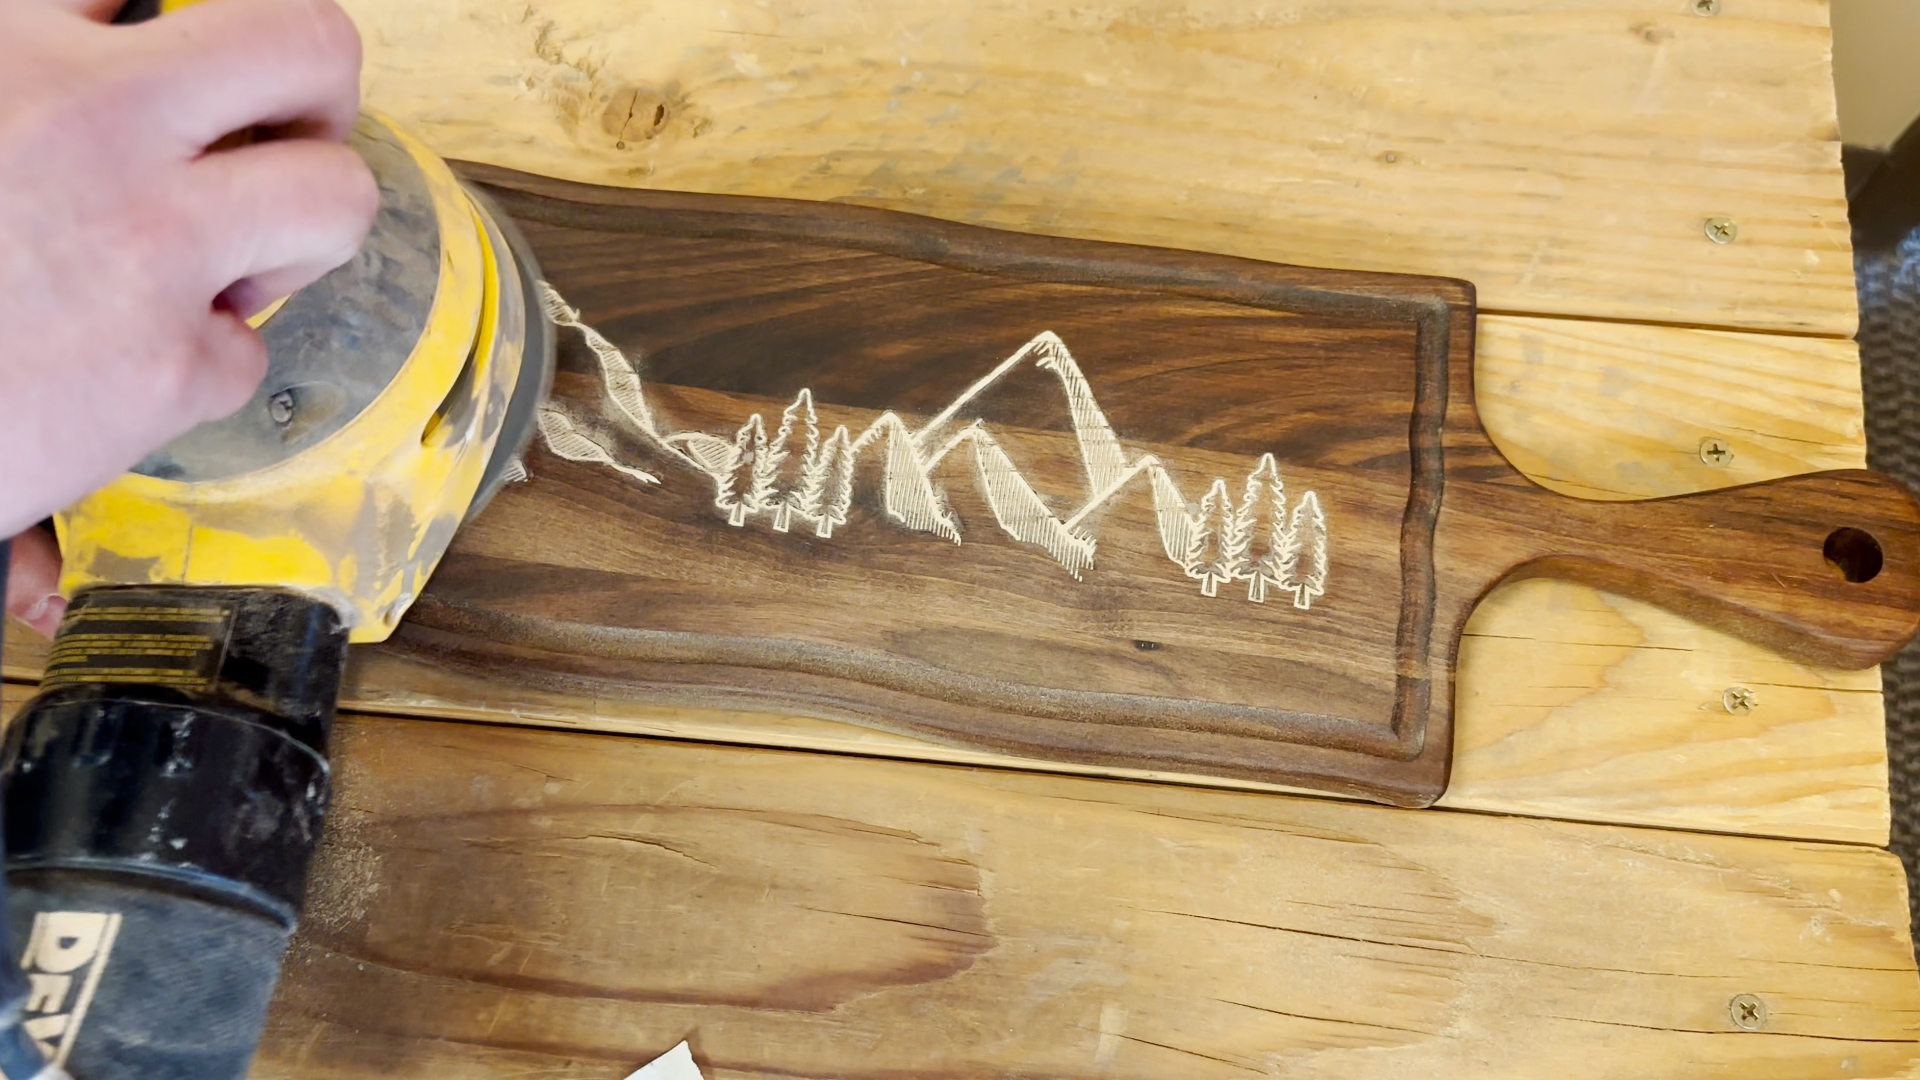
And finish with several coats of shellac to protect your finished design.

Now you have a one-of-a-kind inlaid product for your customers. You can use this same technique for multiple inlaid products.
For a complete tutorial, check out this in-depth video on our YouTube Channel!
You can sell custom engraved and inlaid cutting boards both online and in-person. Here are some great places to consider:
Online Marketplaces:
- Etsy
- Amazon Handmade
- eBay
- Facebook Marketplace & Groups
- Instagram & TikTok Shops
- Shopify
- Crafts and Maker Websites
Local and In-Person Sales:
- Farmers Markets
- Craft Fairs & Art Shows
- Boutique and Gift Shops
- Kitchen Supply Stores
- Personalized Gift Shops
- Local Restaurants & Bakeries
Custom & Bulk Orders:
- Corporate Gifts & Promotional Products
- Wedding & Event Planners
- Real Estate Agents
- Subscription Boxes