How to Laser Engrave and Color Fill Wood Charger Plates
Wood
Introduction
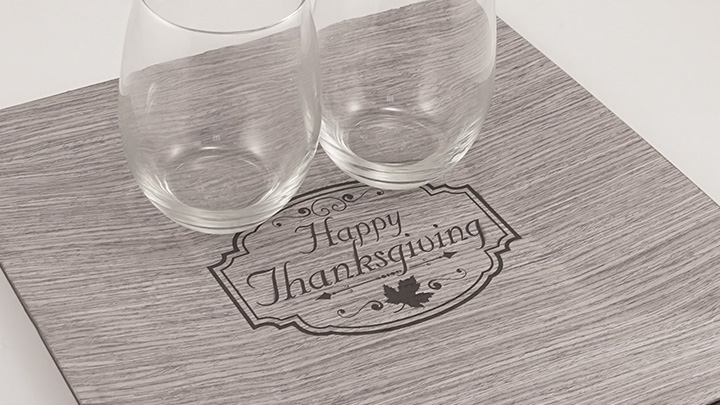
Incorporate your personal style into any occasion with these sleek faux-wood chargers. Designed with Thanksgiving in mind, we masked the charger, engraved our Thanksgiving message and then color-filled the design.
Whether you use our design or your own original artwork, these charming custom chargers will be a welcome addition to any gathering. Read on to learn how we did it!
Project Settings
-
(We purchased ours from amazon.com)
-
Spray paint
Prepare the Artwork
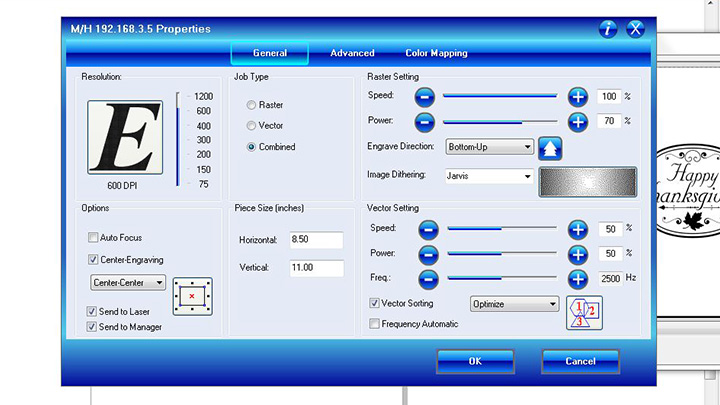
Click the “Download Now” button above. This will open a zipped folder that includes the artwork files. Adjust the print settings according to you laser’s wattage and choose Center-Center Engraving.
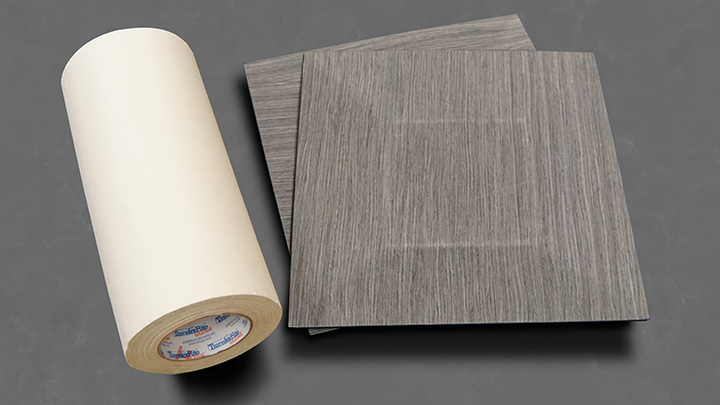
Apply the masking tape to the charger plate. This will allow for a clean and precise color-fill once the charger is engraved.
Locate the center of the charger plate and set it as the Home Position.
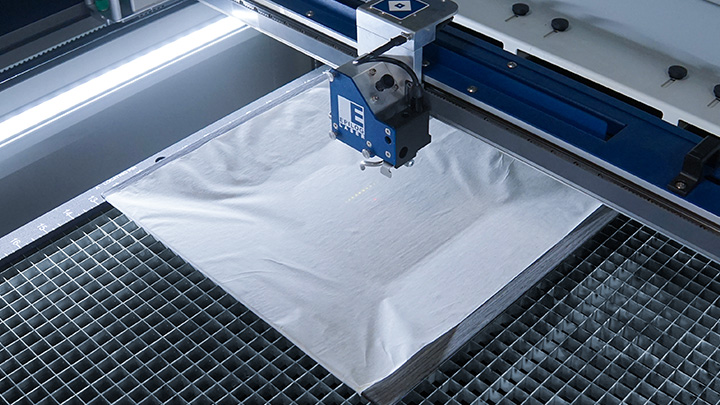
Send to the Laser
Print the file using Center-Center Engraving. Press Go!

Final Touches
Smooth out any edges that may have come loose during the engraving process.

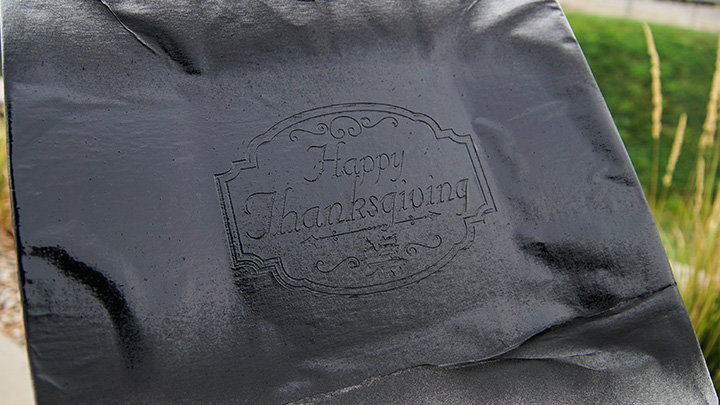
Apply a small amount of spray paint in multiple coats to avoid bleeding. Once dried, remove the mask
Enjoy
Have fun experimenting with the color-fill process. You’ll quickly learn how fast and easy it is to take your engraving projects to the next level with this popular technique.
