Laser Engraving Wine Tumblers
Metal
Introduction
Project Settings
-
Magic Eraser
-
Rotary Accessory
Prepare the Artwork
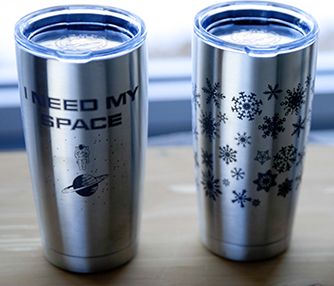
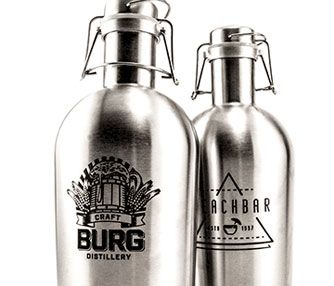
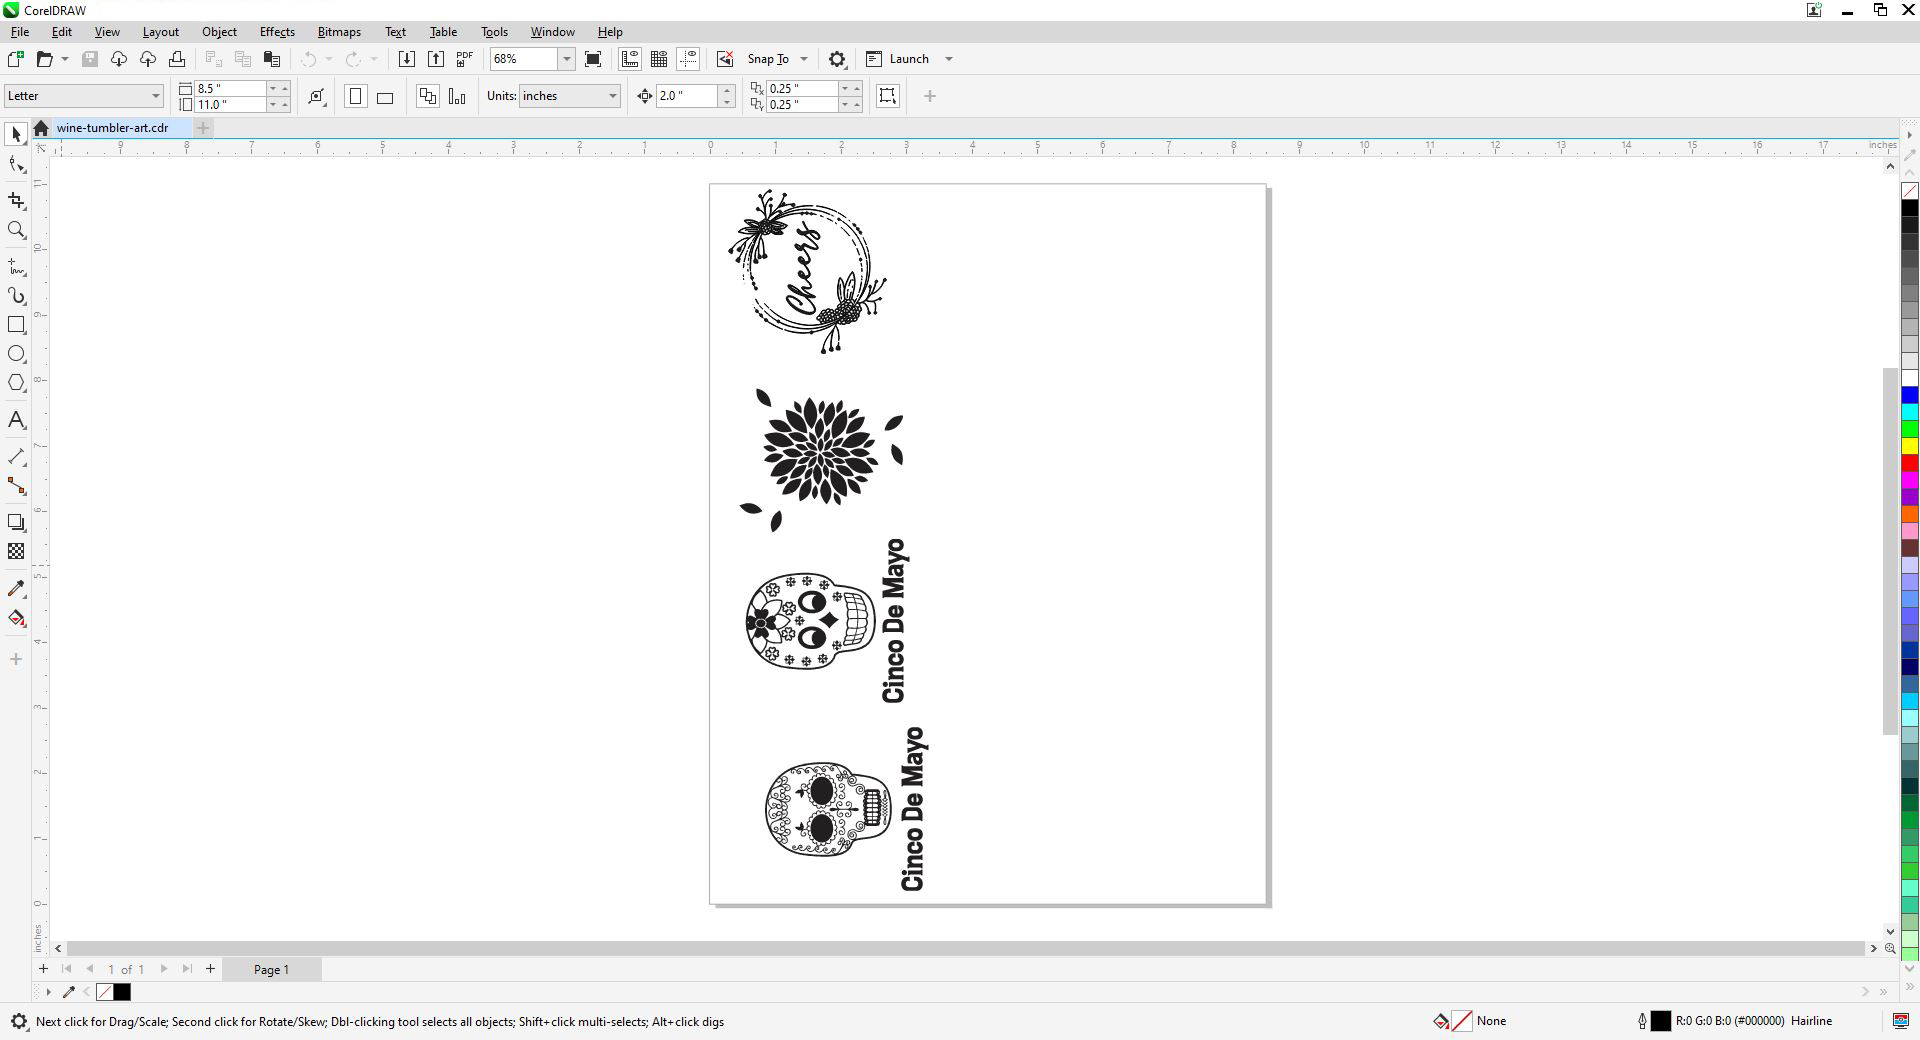
Start by measuring the tumblers and customizing your artwork as necessary. Because there is a curve to the tumblers, it’s best to size your artwork so that it remains on the upper portion of the cup. This will ensure the laser doesn’t go out of focus on the curve of the piece when engraving.
Install your Rotary
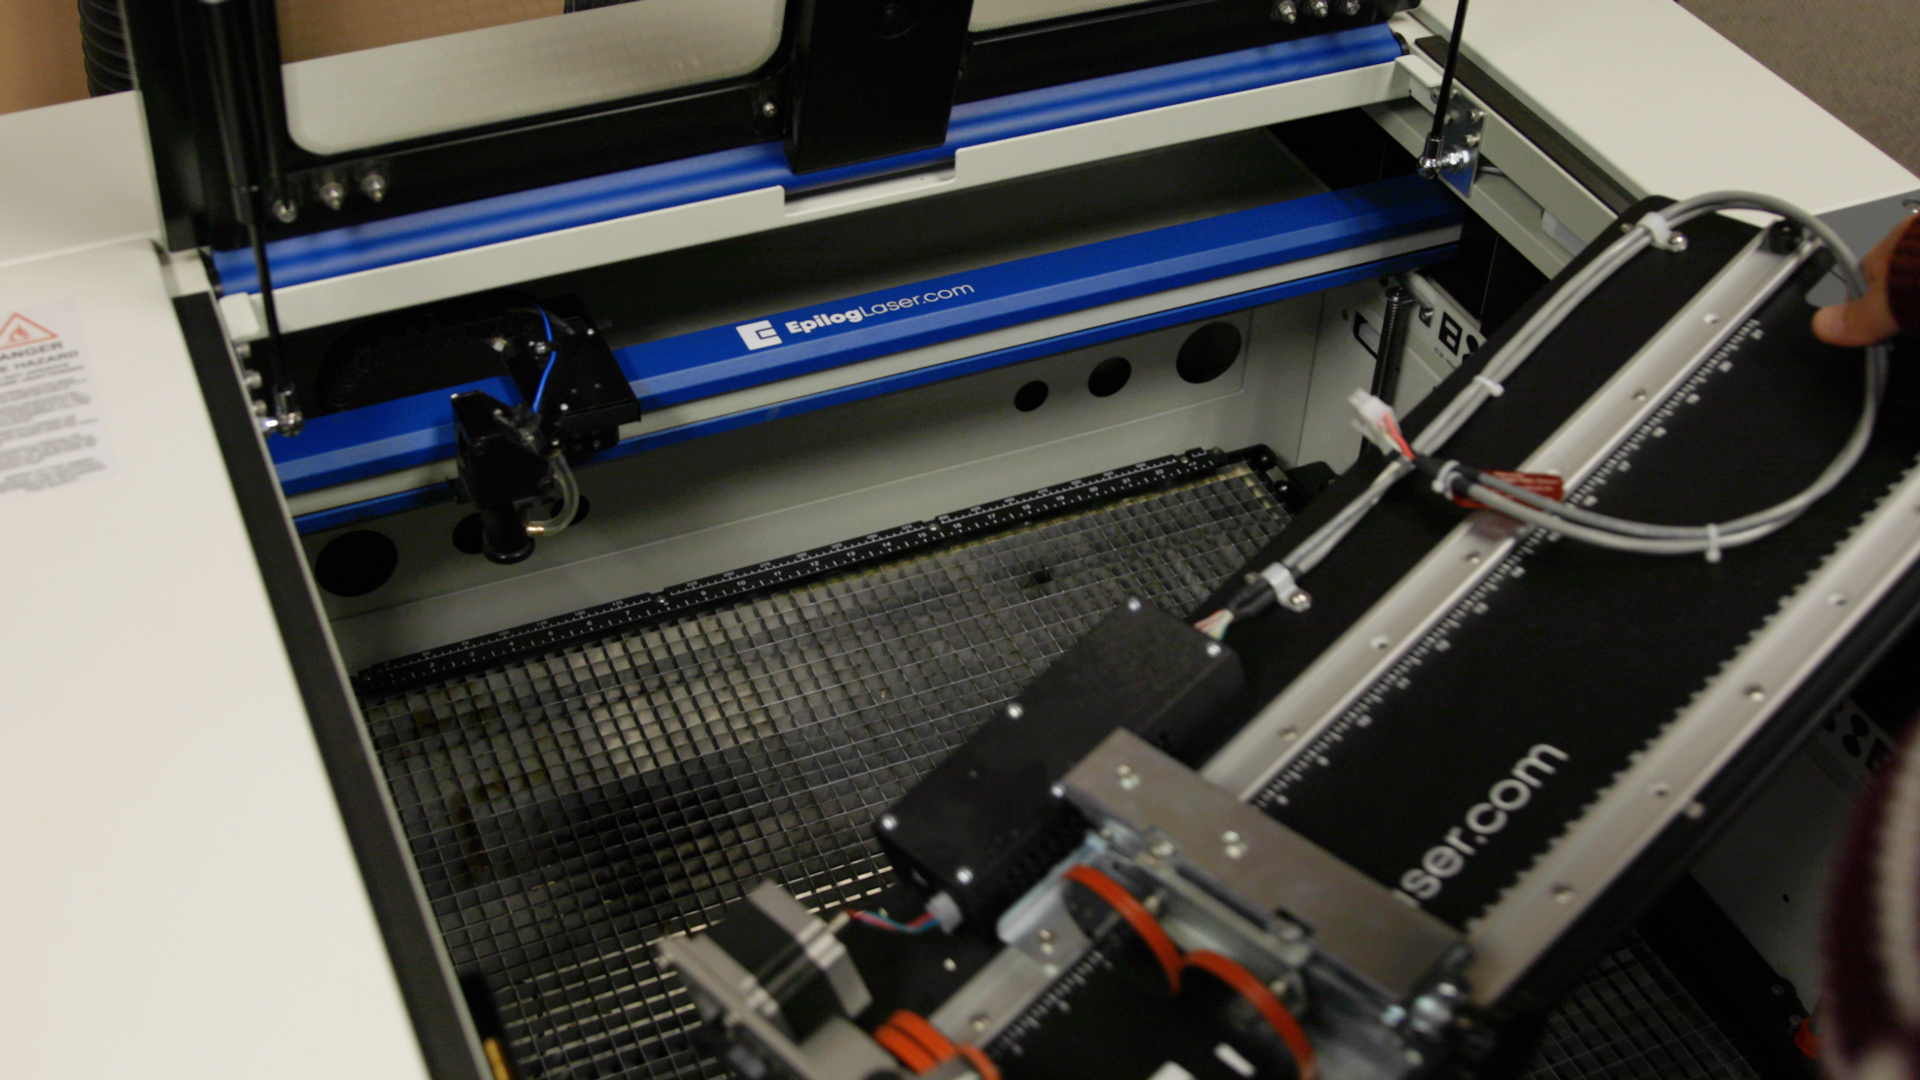
Before installing the rotary, be sure to lower the table enough to make room for it, then power off your machine. Place the rotary in the upper left corner of the table and plug it in. Now you may power the laser back on.
Determine your Parameters
Test different speed/power/frequency settings for your tumblers. We used 50% speed, 80% power, and 500 DPI on an 80-watt Fusion Pro 24.
Prepare your Material
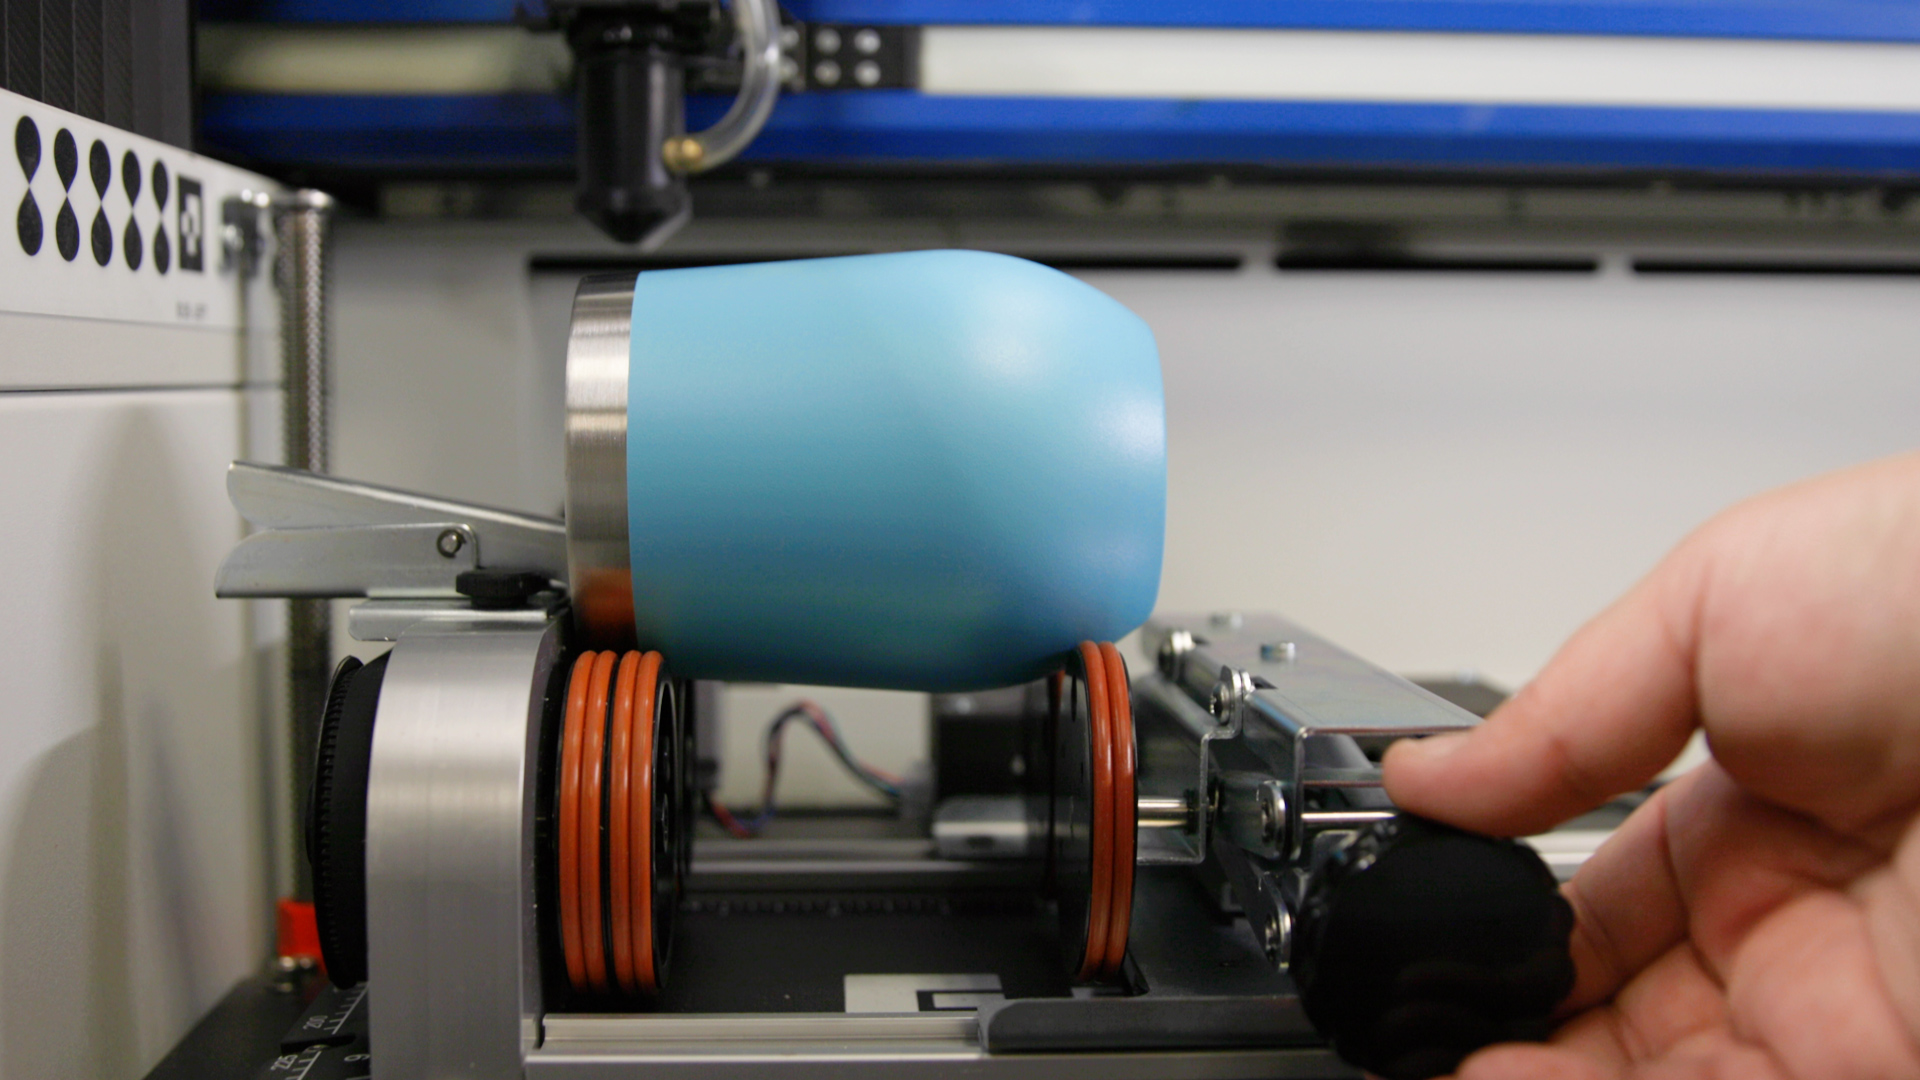
Place your tumblers on the rotary and level them. Focus the table, close the lid and run the job.
Clean
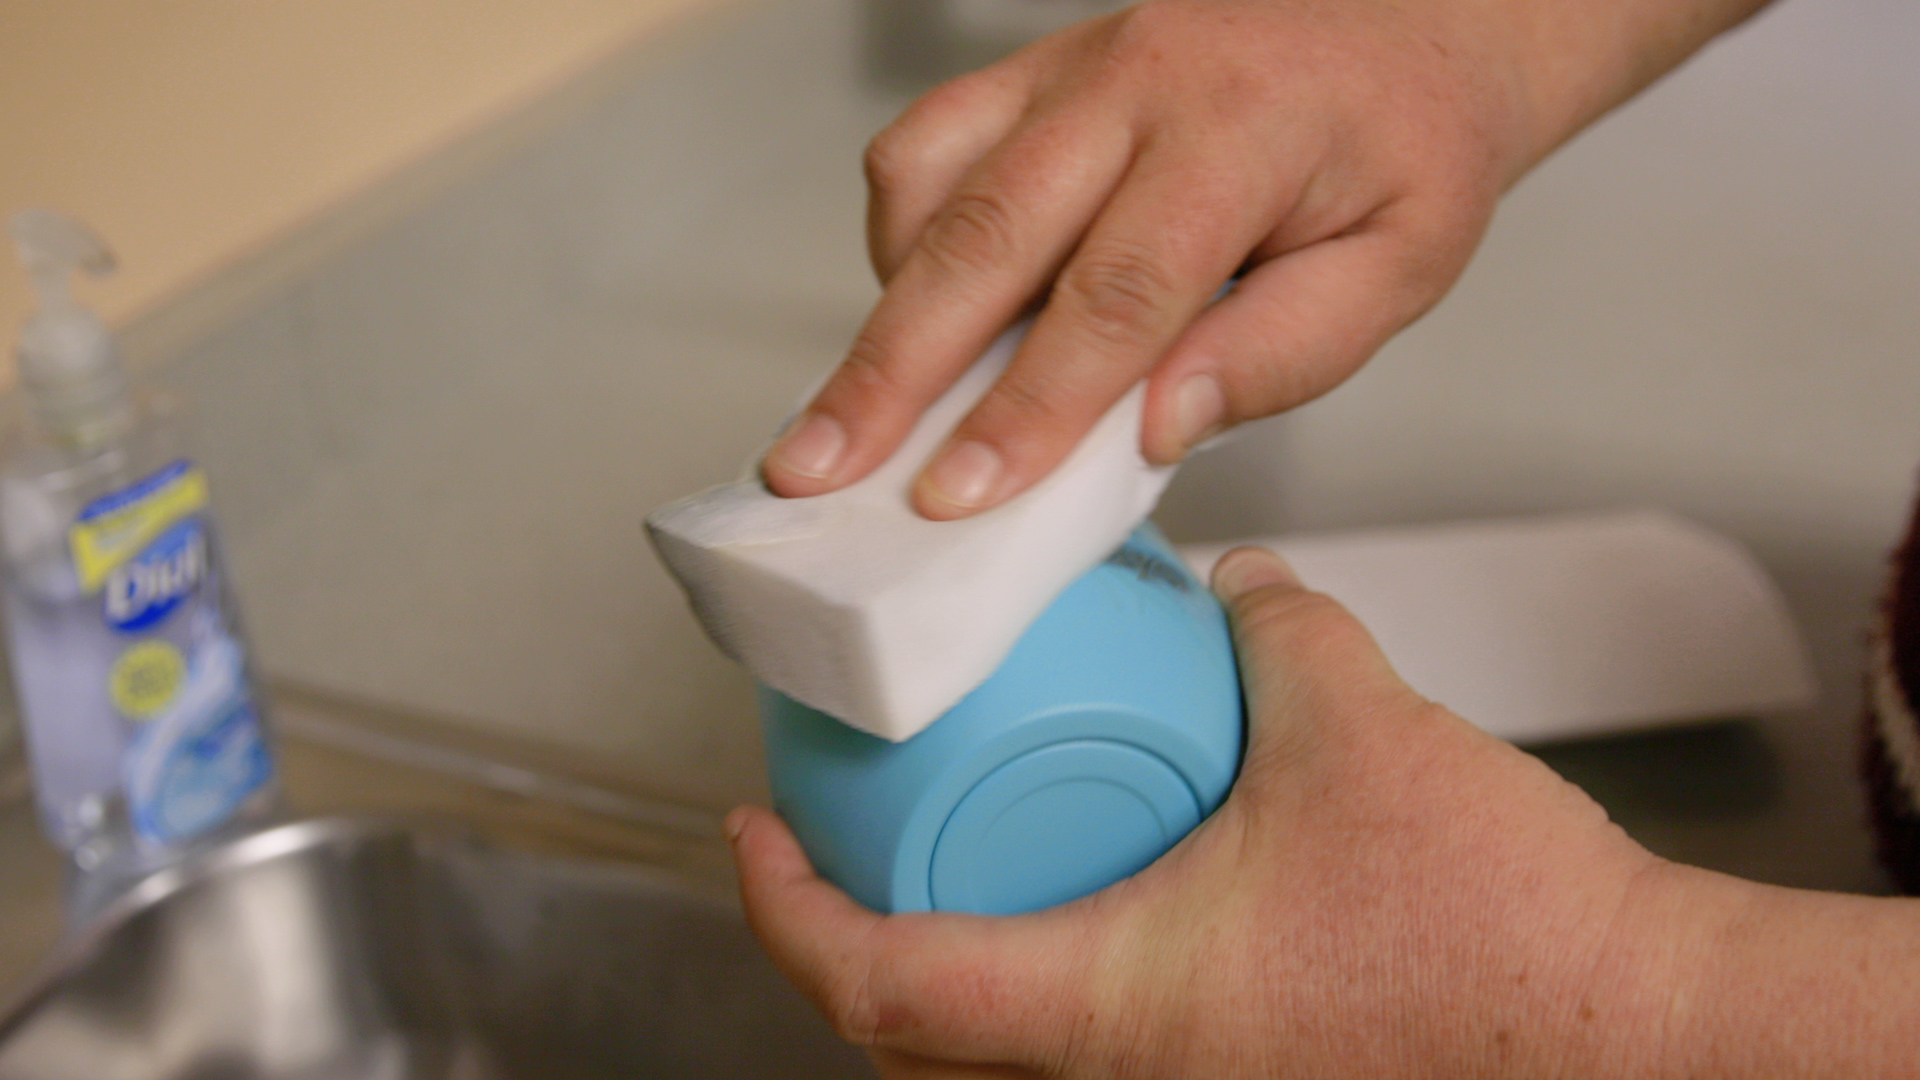
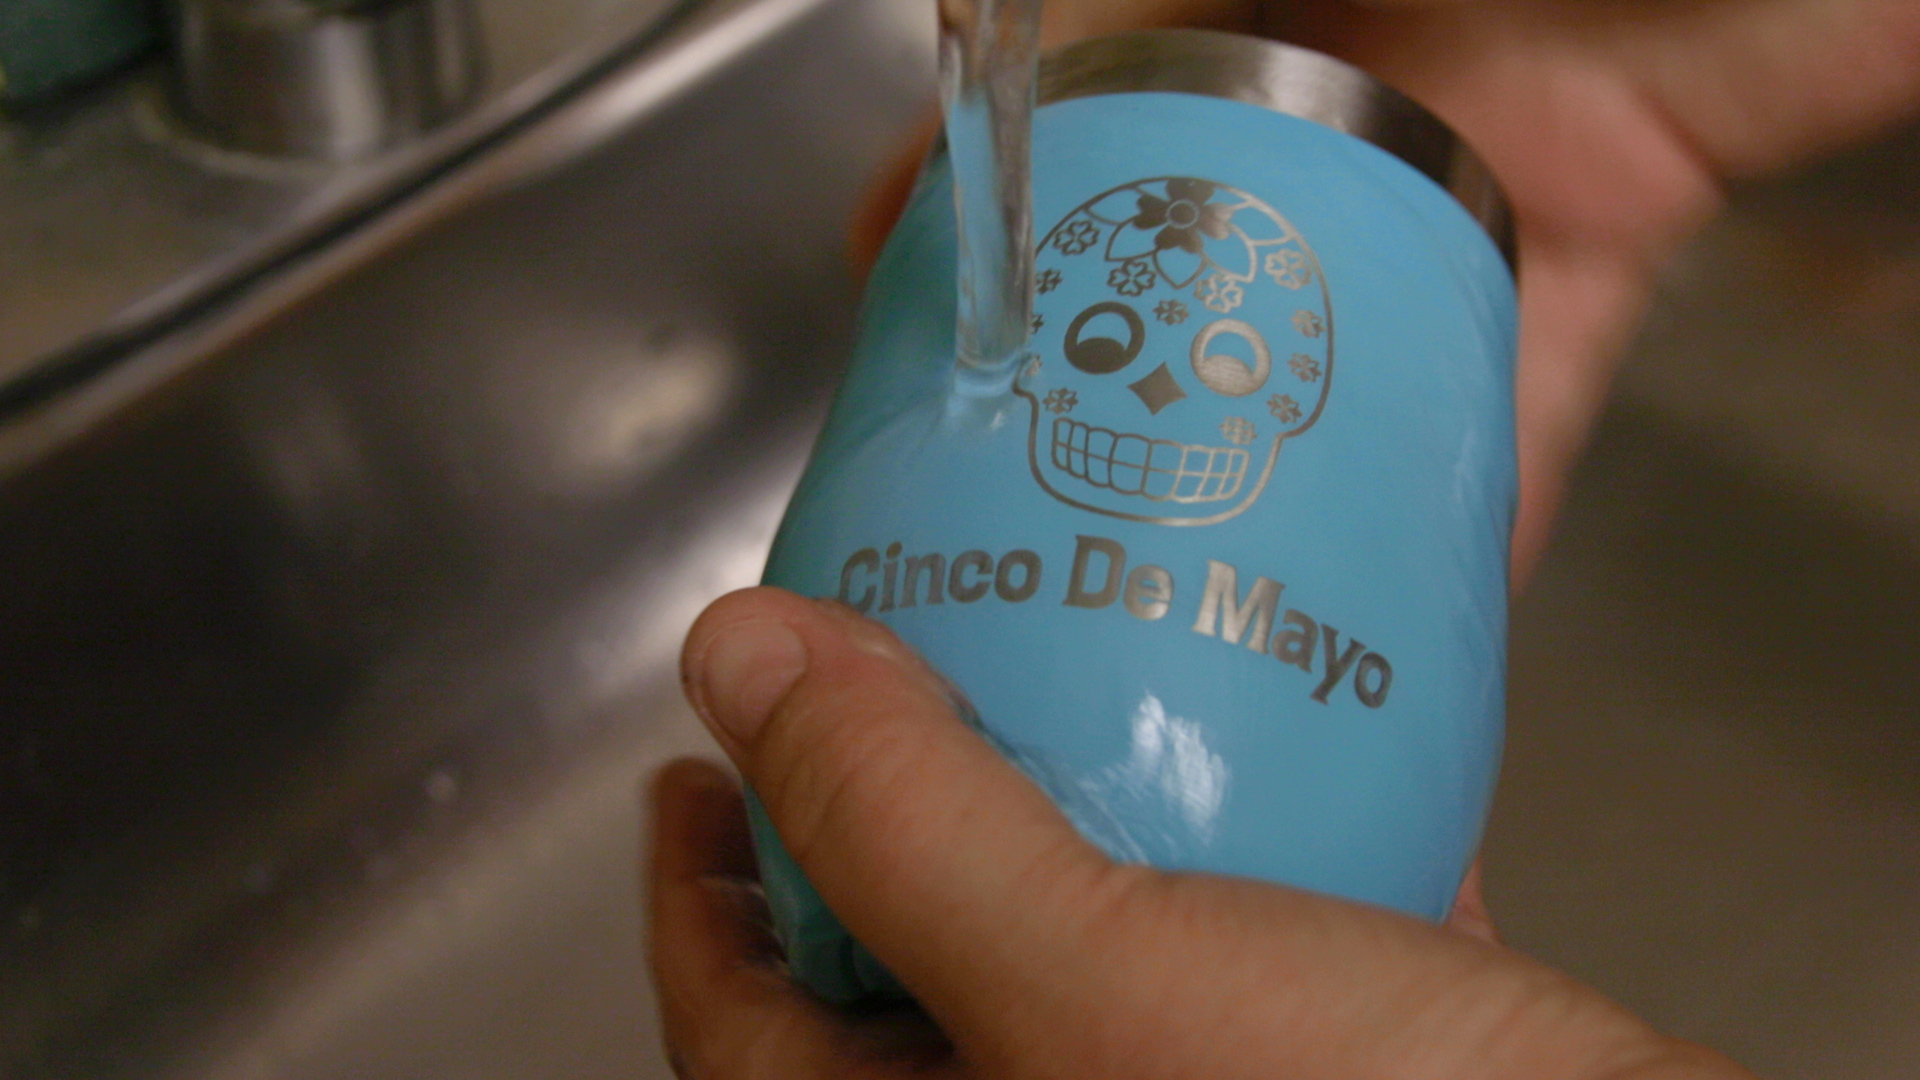
After the job is done, wipe any leftover residue from the surface of the tumbler using a cleaning solution, and then rinse them off with water. For this project we used Blu from Enduramark.
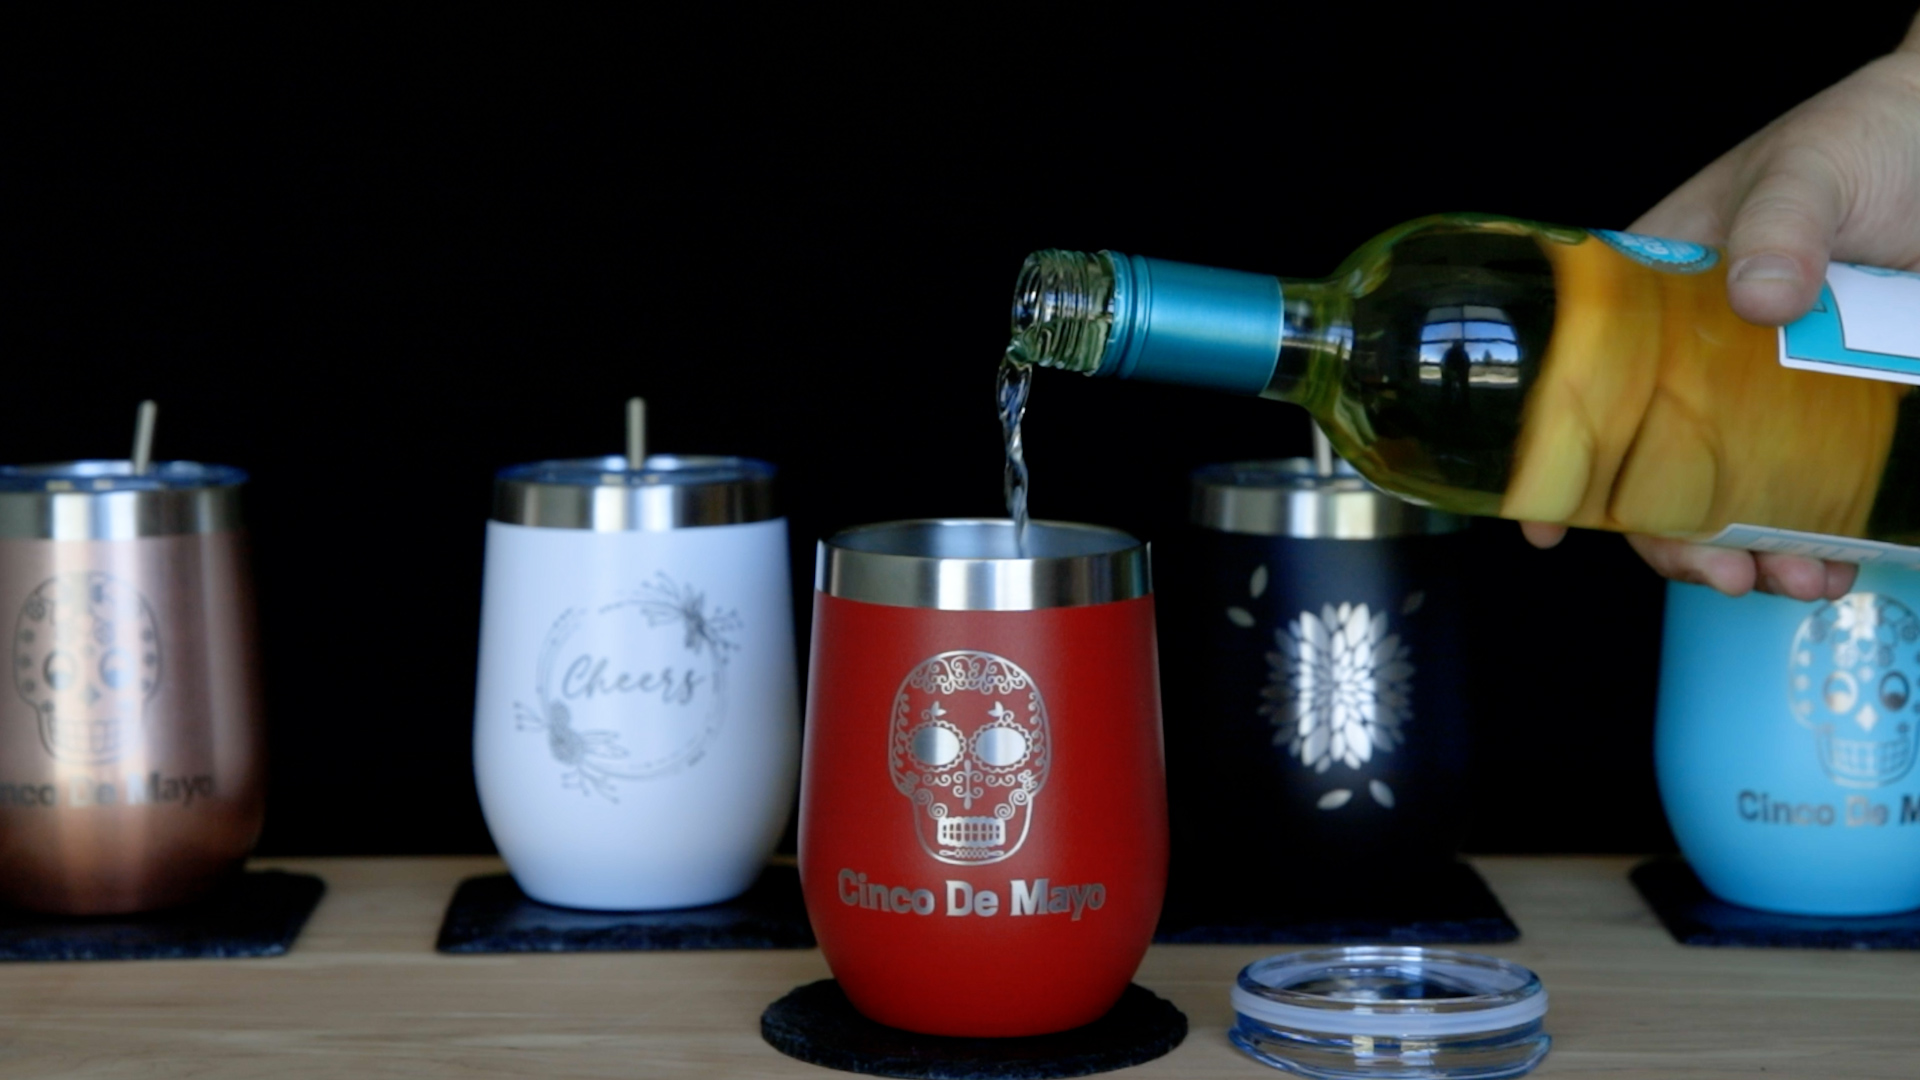
Where can you sell laser engraved Wine Tumblers?
- Online outlets
- Distilleries
- Craft spirit stores


