Laser Engraving Wine Toppers
Wood
Introduction
Project Settings
-
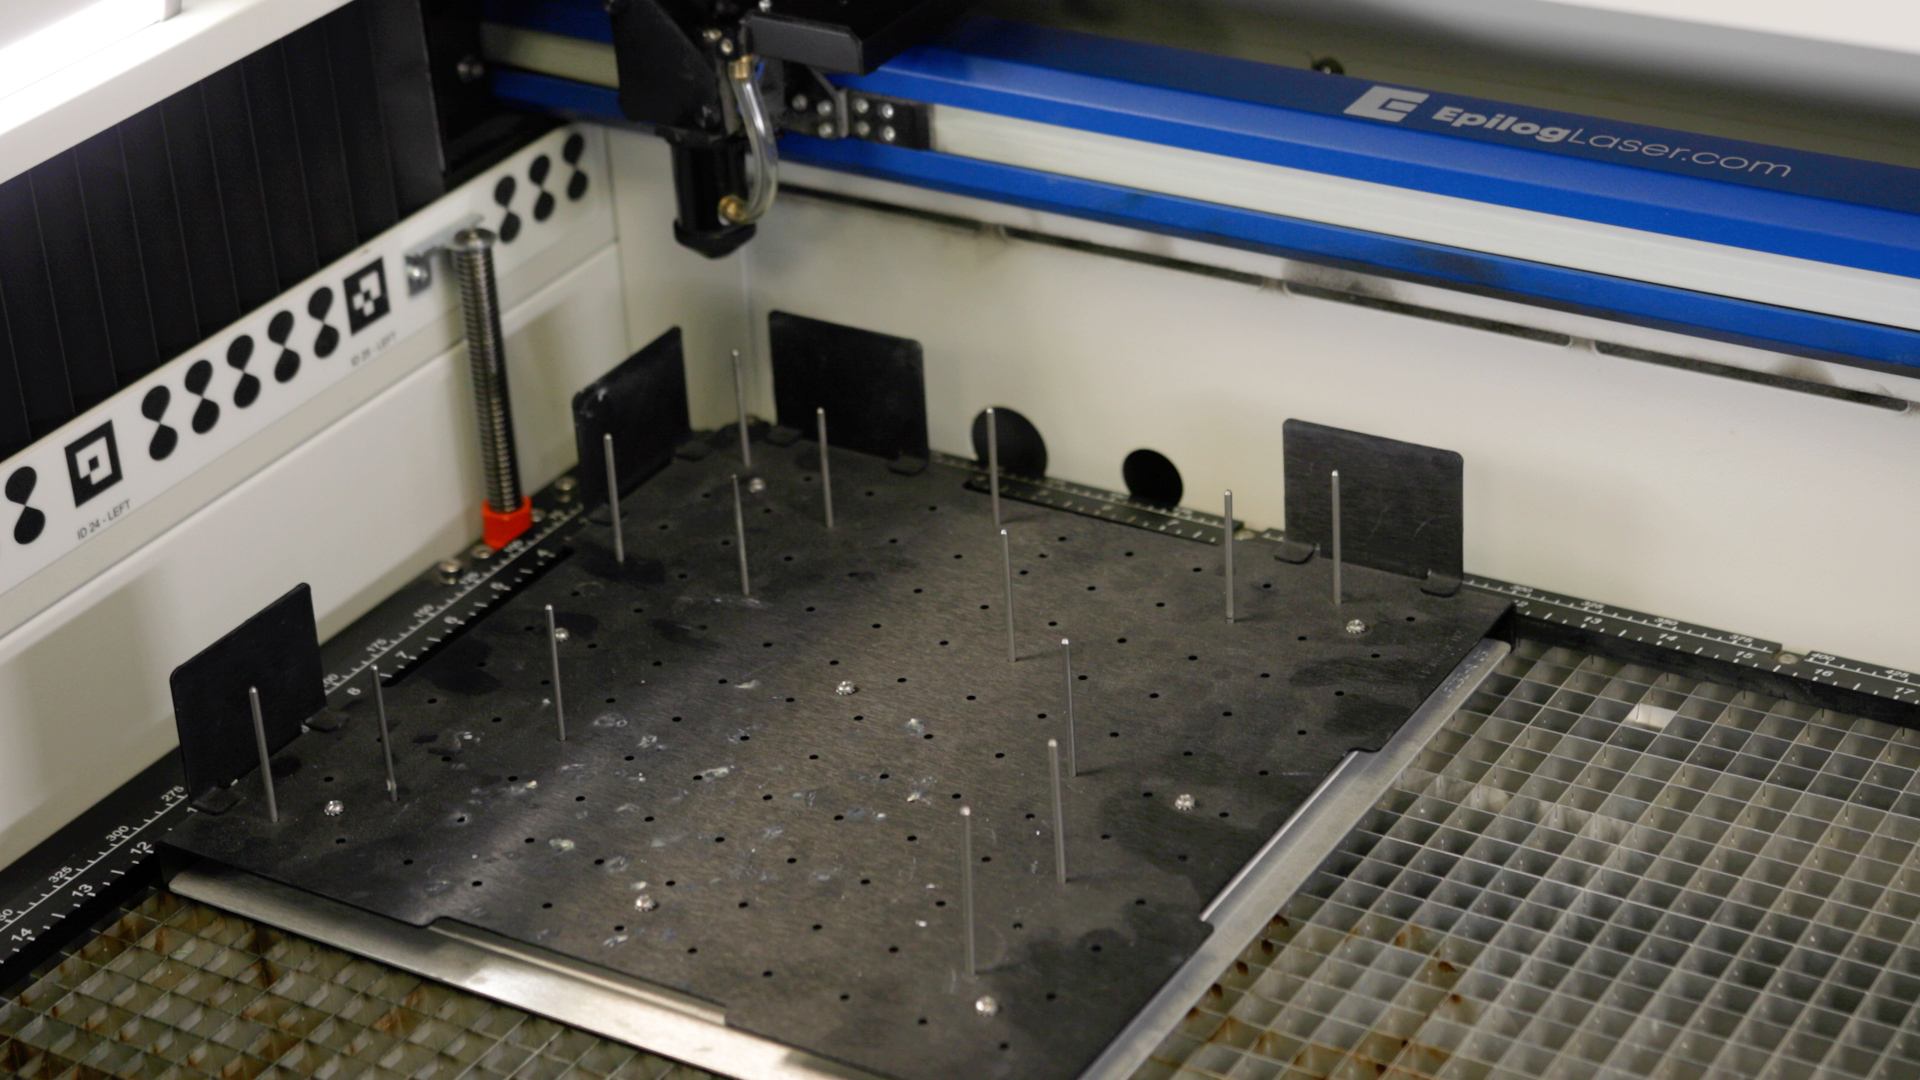
(optional). This is used for cutting the jig to hold the wine toppers. If you do not have a vector pin table, you can use blocks, modeling clay, etc. to prop up the corners of your jig material. Just make sure it is level throughout.
Prepare the Artwork
Modify your artwork as necessary. You can use our graphics for samples or create your own personalized messaging.
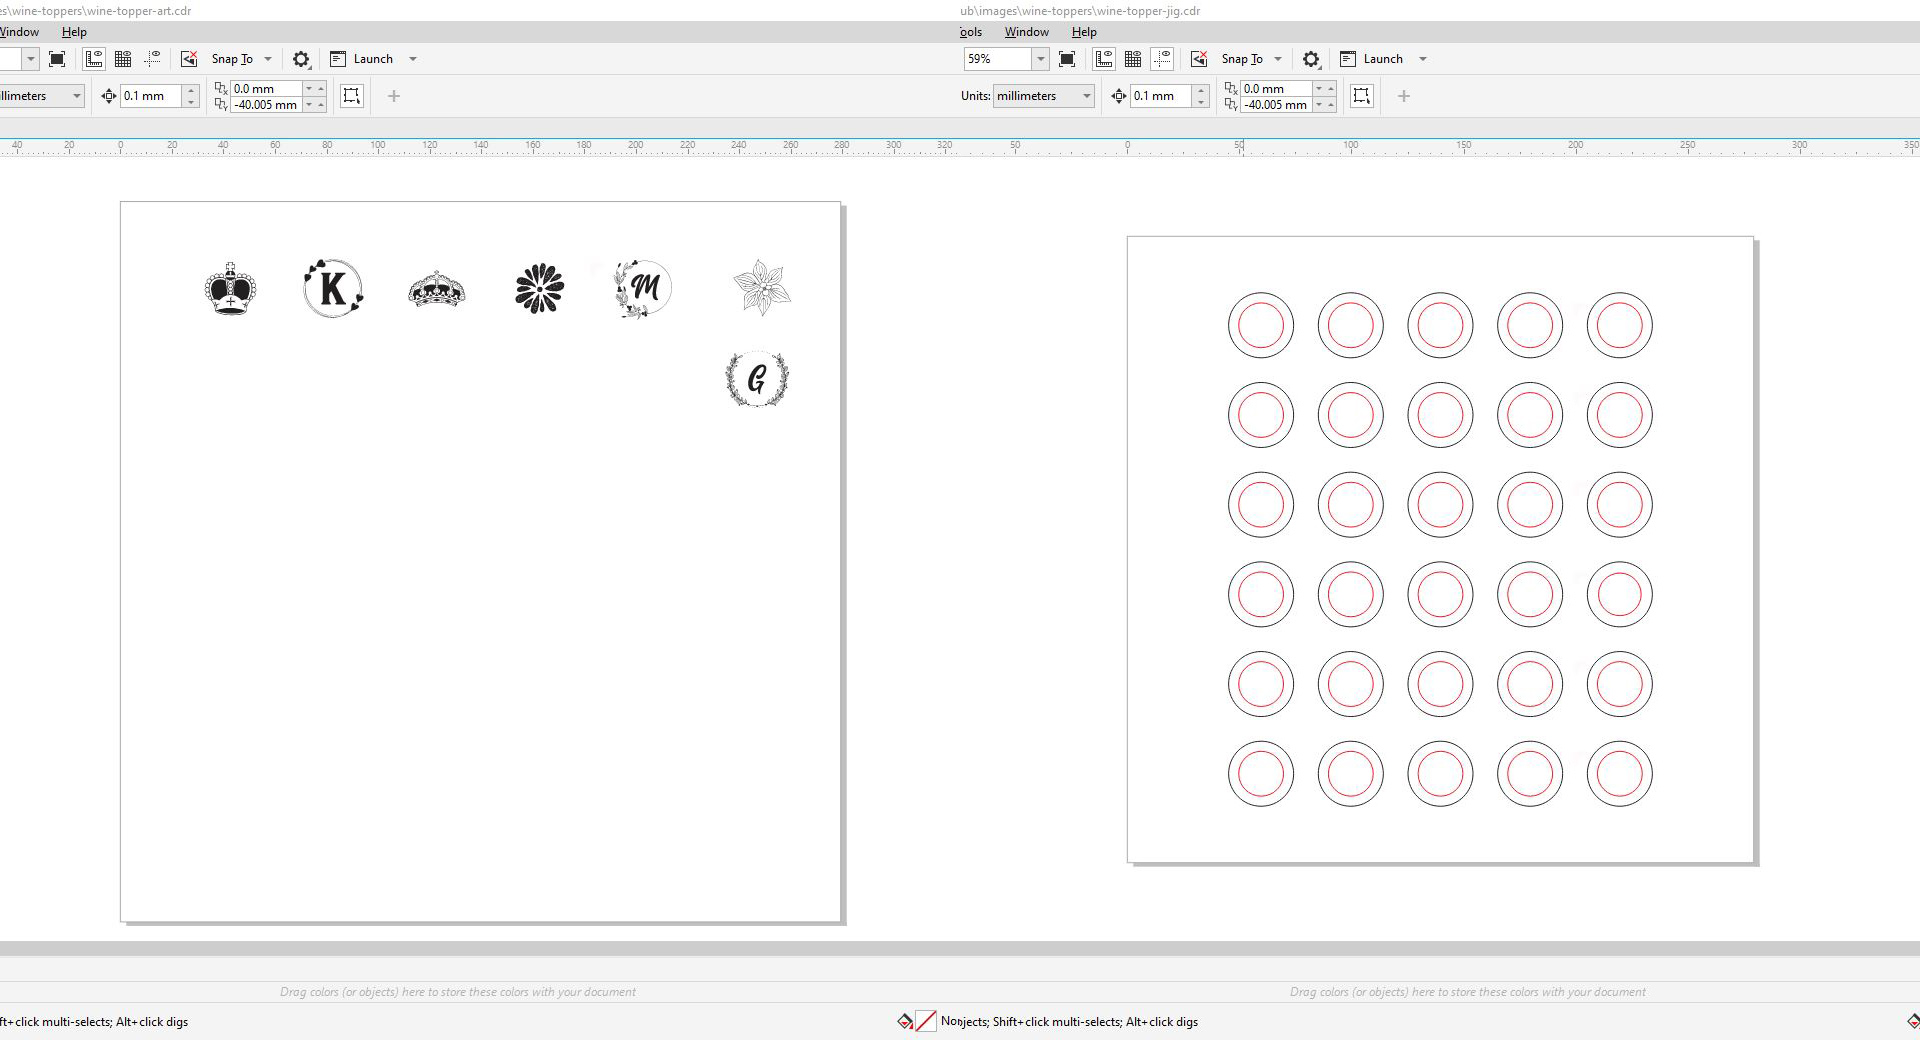
Cut a Jig
Using scrap material, place it on the pin table to cut a jig for the wine toppers. Make sure your material is focused using the manual focus gauge. You might consider cutting only one or two holes to start to make sure your settings are correct. Once proper settings are determined, send the entire job to the laser.
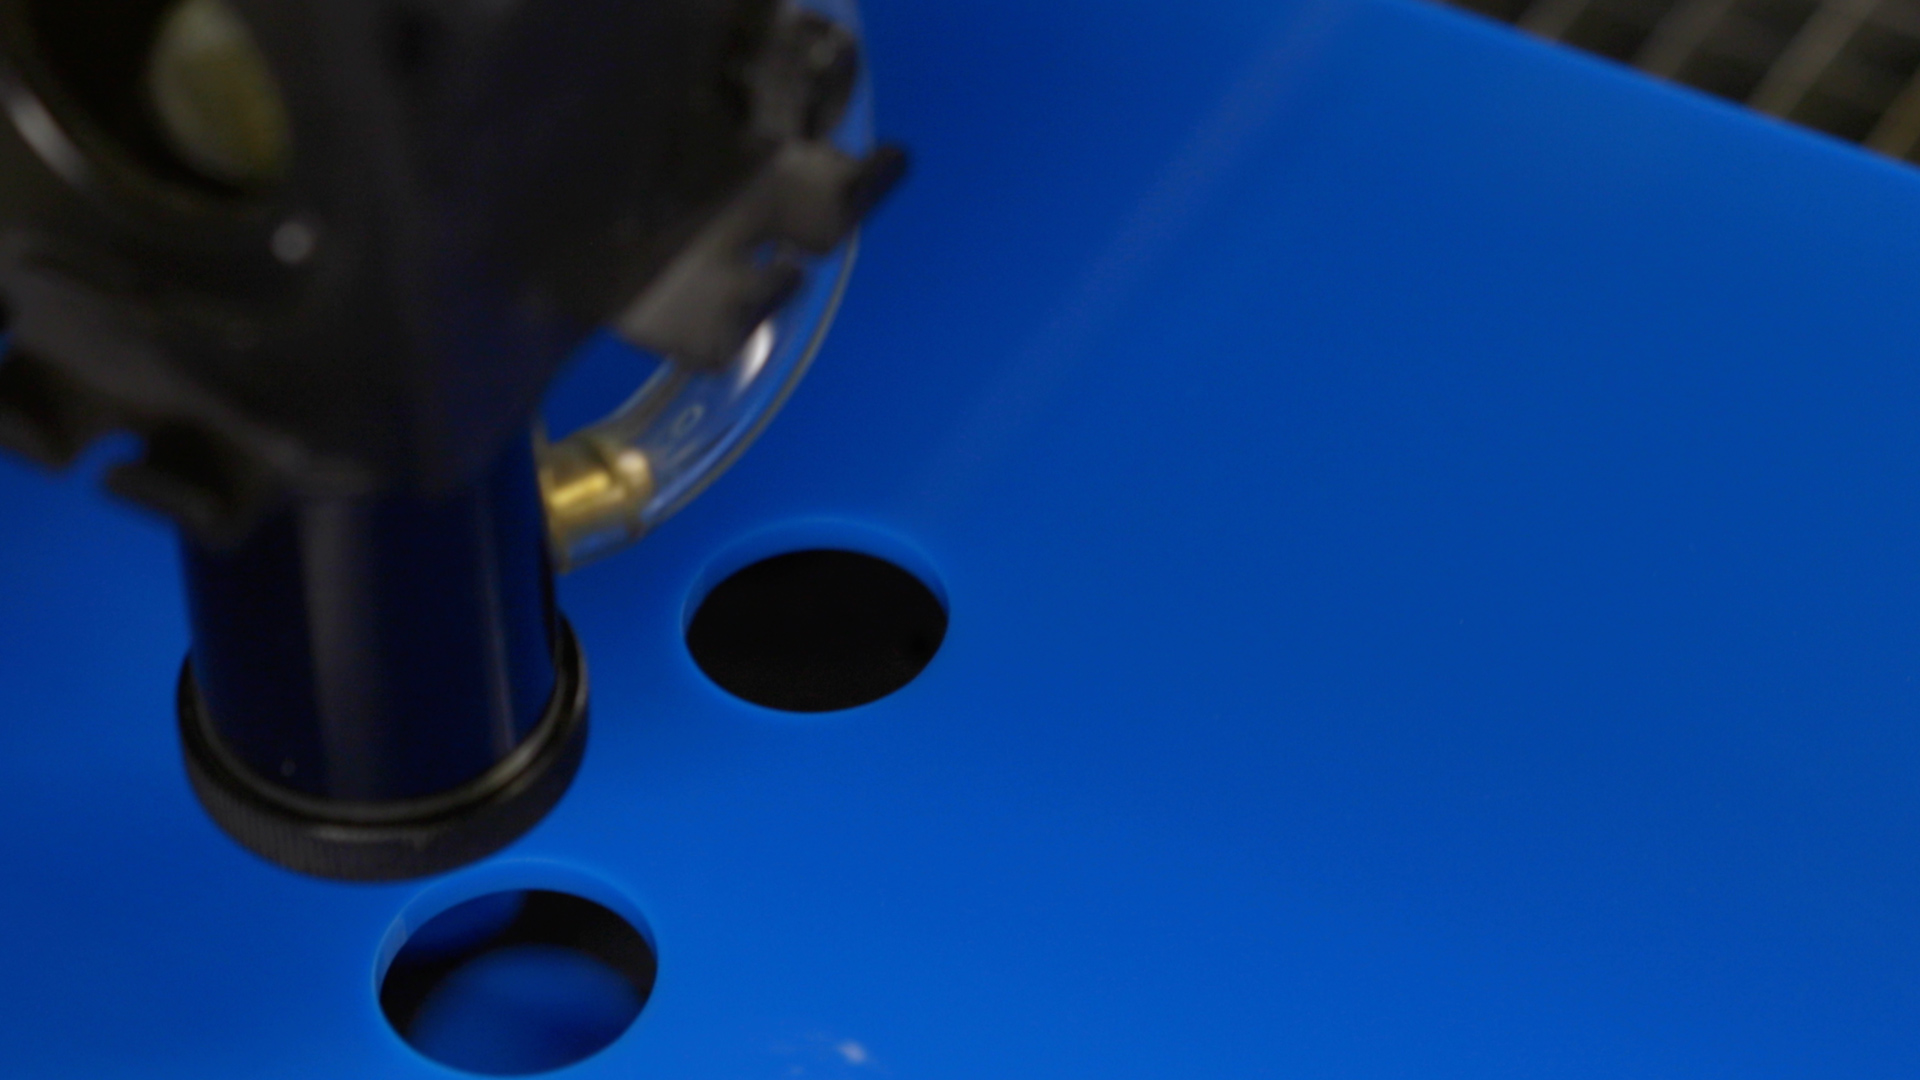
Place Wine Toppers Into Jig
Arrange the wine toppers in the jig and focus the table. If you’re using a Fusion Edge or Fusion Pro Laser, use the IRIS Camera System to ensure your artwork is accurately placed. If you don’t have this feature, you can always draw a vector box around the graphic and send only the vector job to the laser with the red dot pointer activated. As the red dot pointer travels across the jig, you’ll see exactly where each graphic will go and can adjust accordingly.
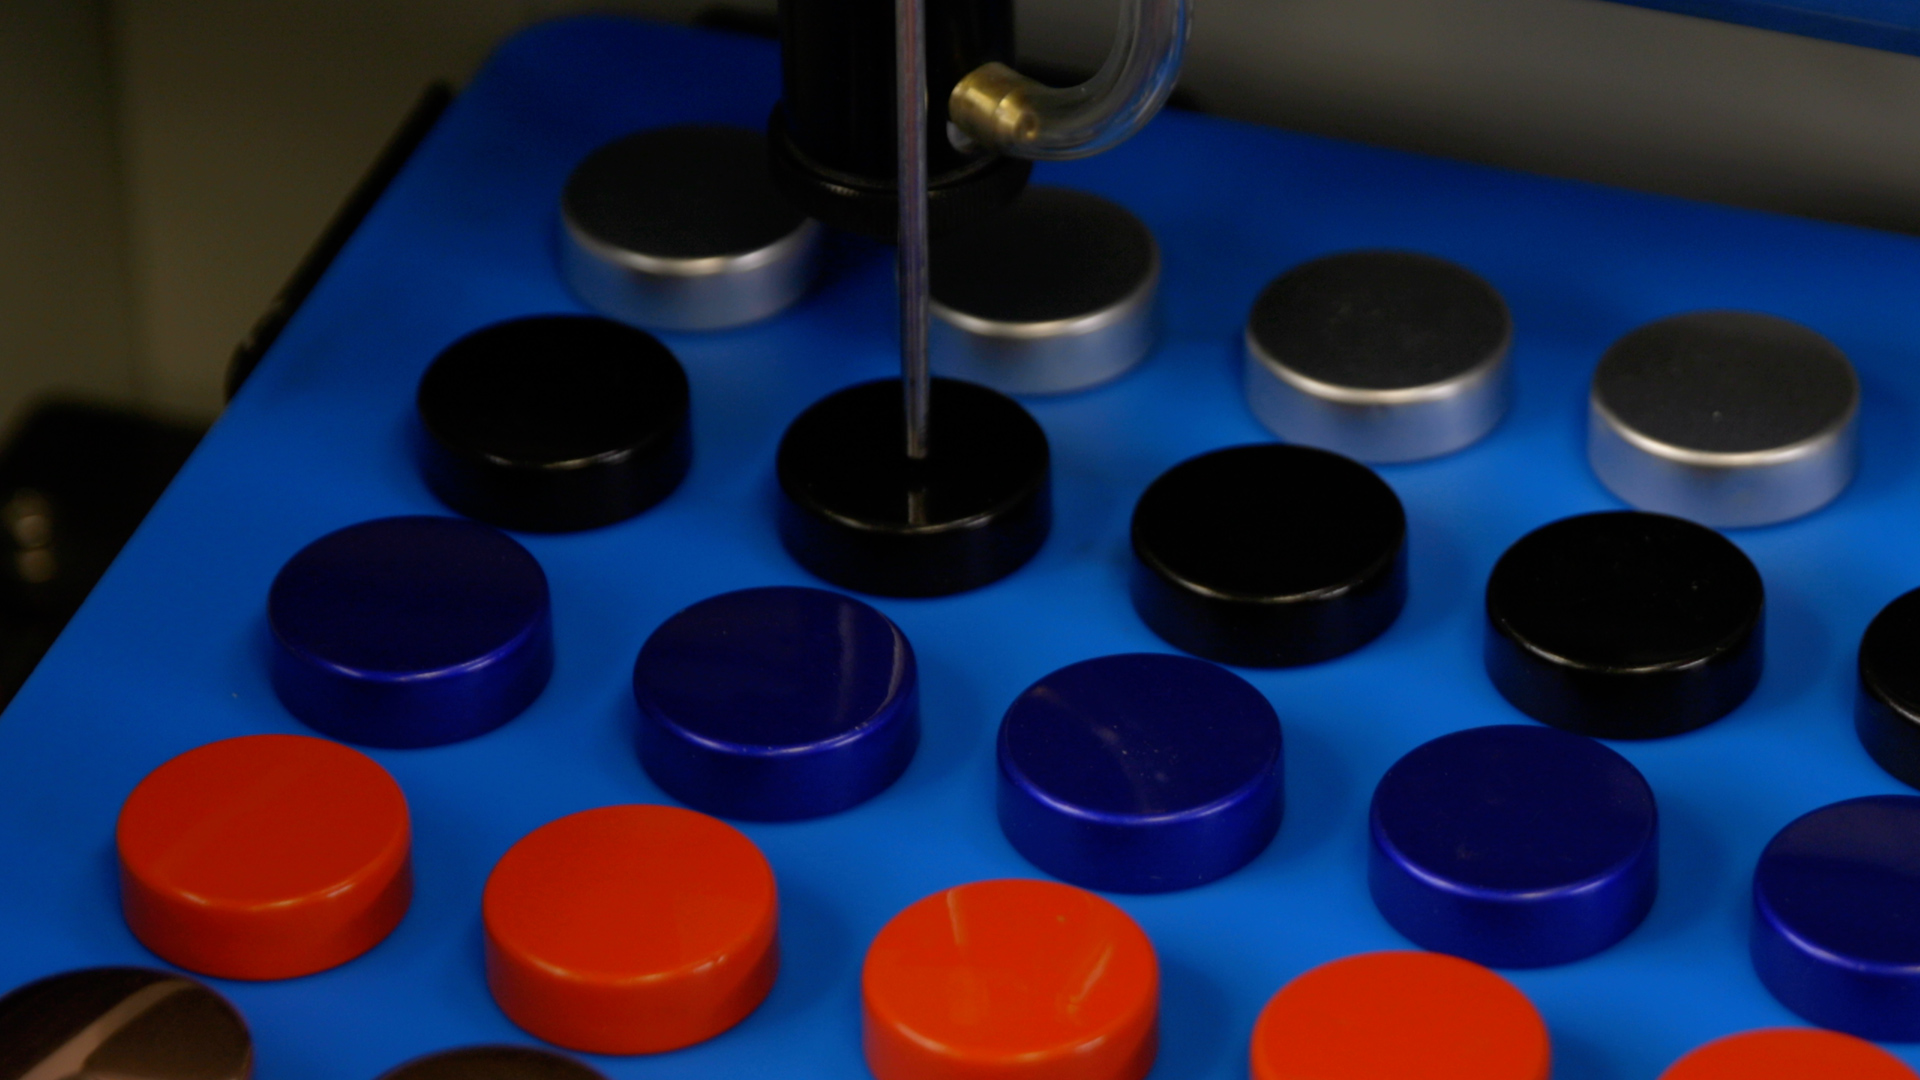
Determine Parameters
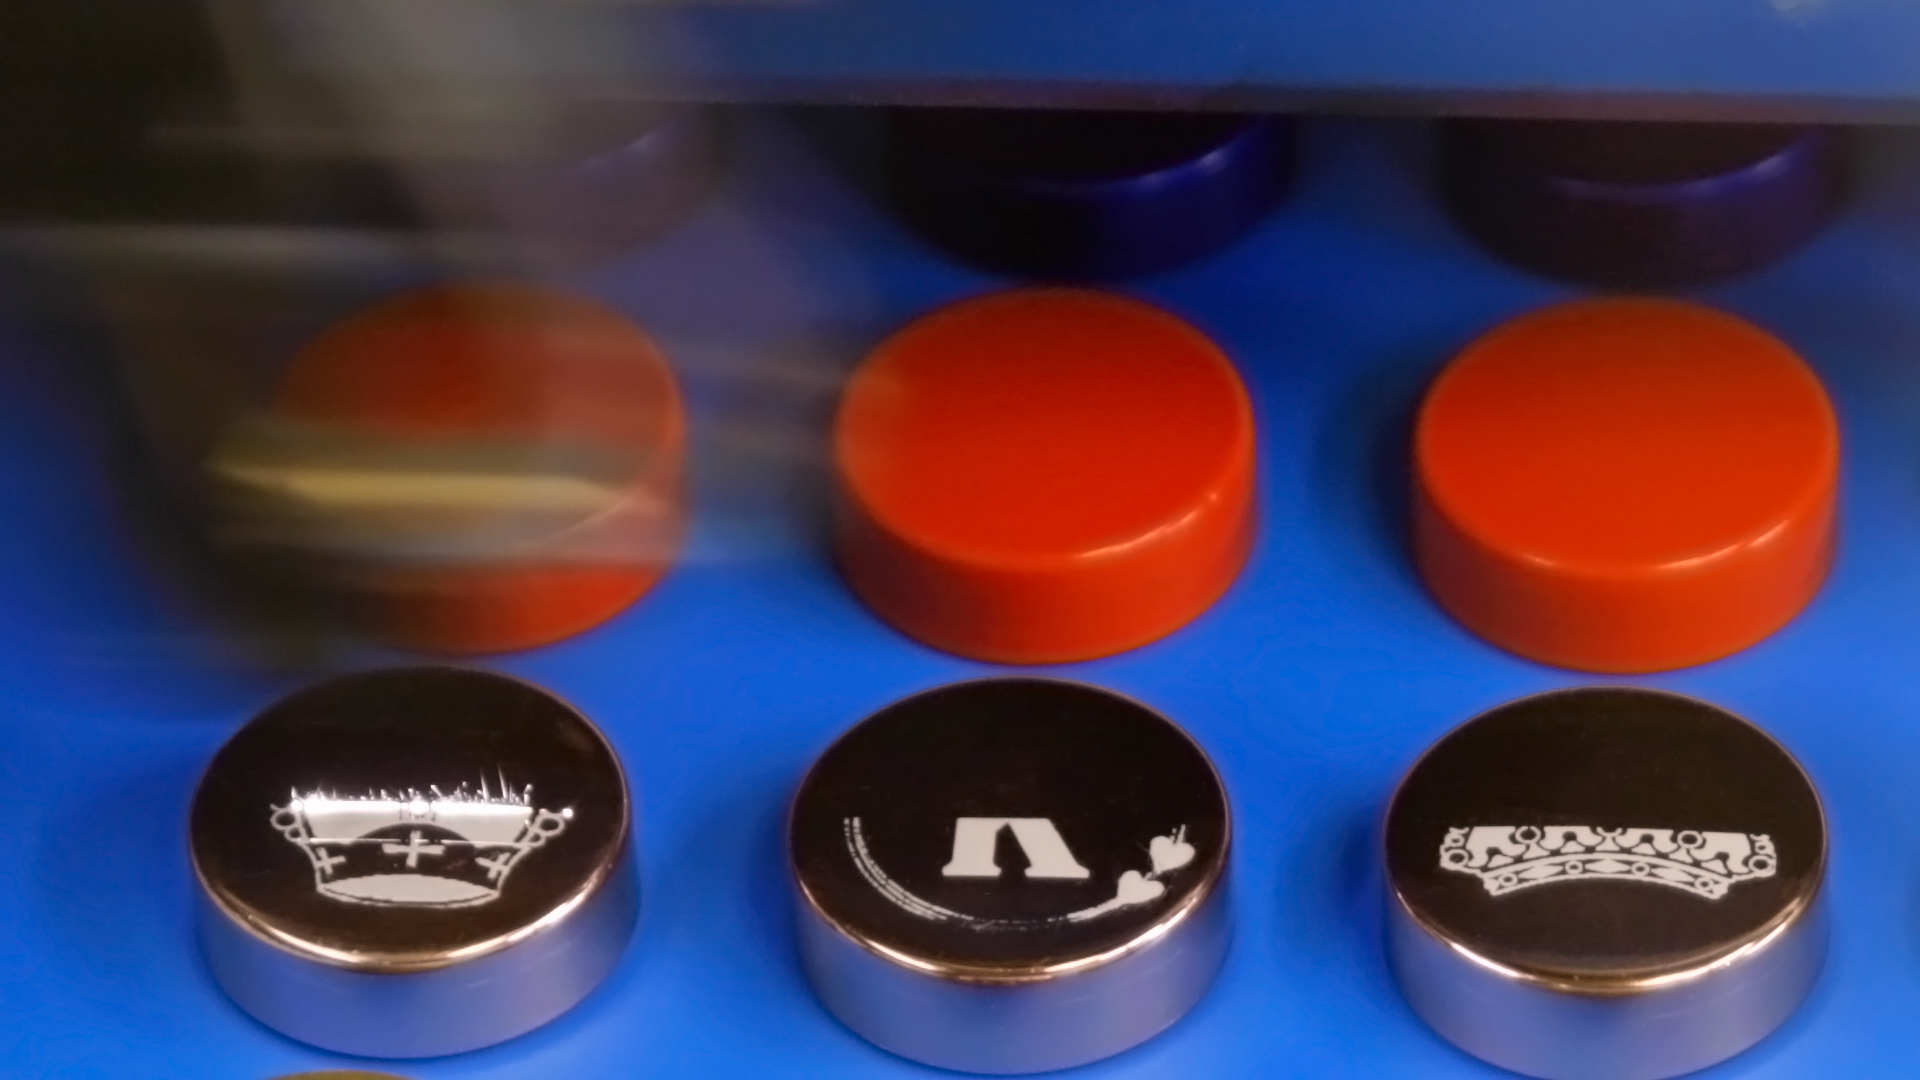
Consult your owner’s manual for recommended engraving/cutting settings for your machine and wattage. Enter your settings within the dashboard, focus the laser manually, and send the job to the laser. At the machine, select the job and press go.
NOTE: We observed the silver wine toppers only resulted in a faint engraving, whereas the rest produced a better contrast. If you elect to purchase the same toppers, you might consider engraving the silver ones separately at a lower speed, or masking them with tape and then color-filling with paint after engraving.
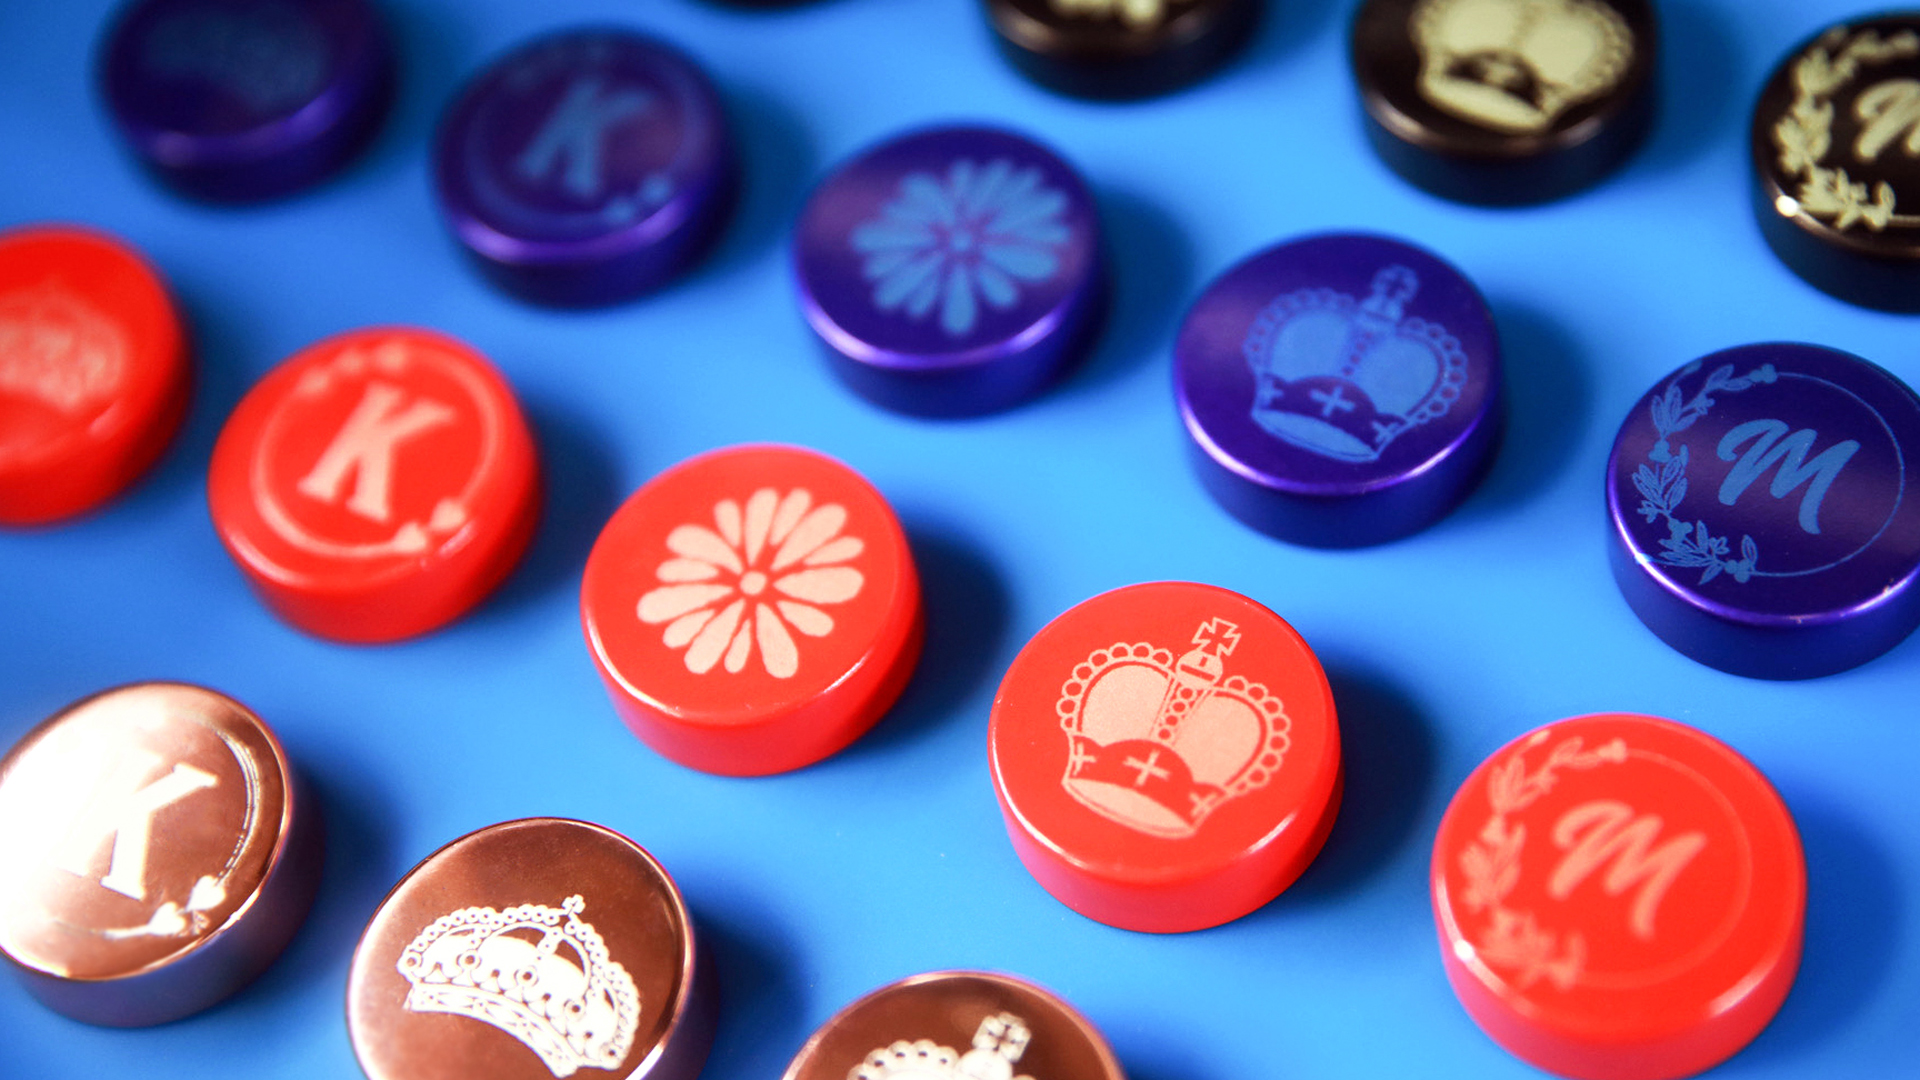
Where can you sell laser engraved Wine Toppers?
- Wineries
- Spirit retailers
- Specialty gift stores
- As wedding or bridal shower favors


