Laser Engraving IKEA Cork Potholders
Cork
Introduction
Project Settings
Prepare Artwork
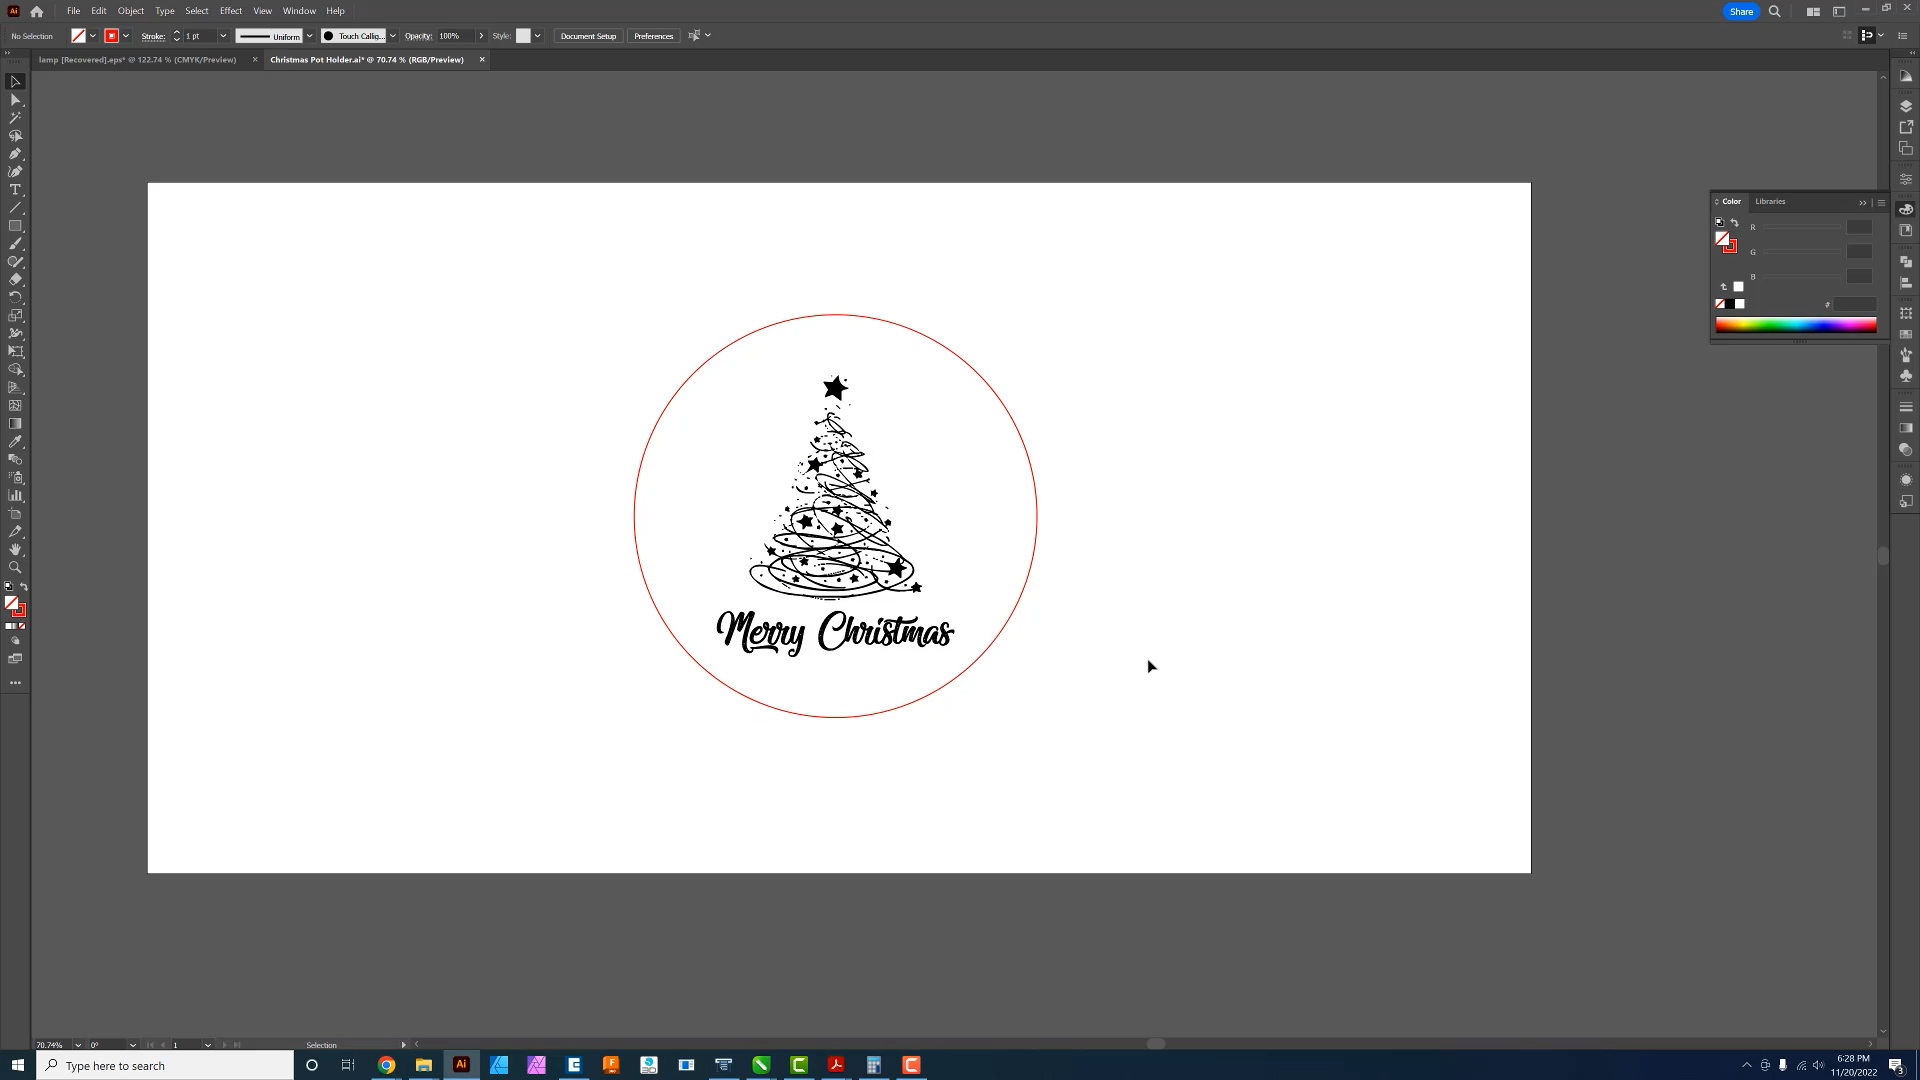
Download the graphics above or import your own drawings, text, photos, or graphics. Modify as necessary.
Job Setup
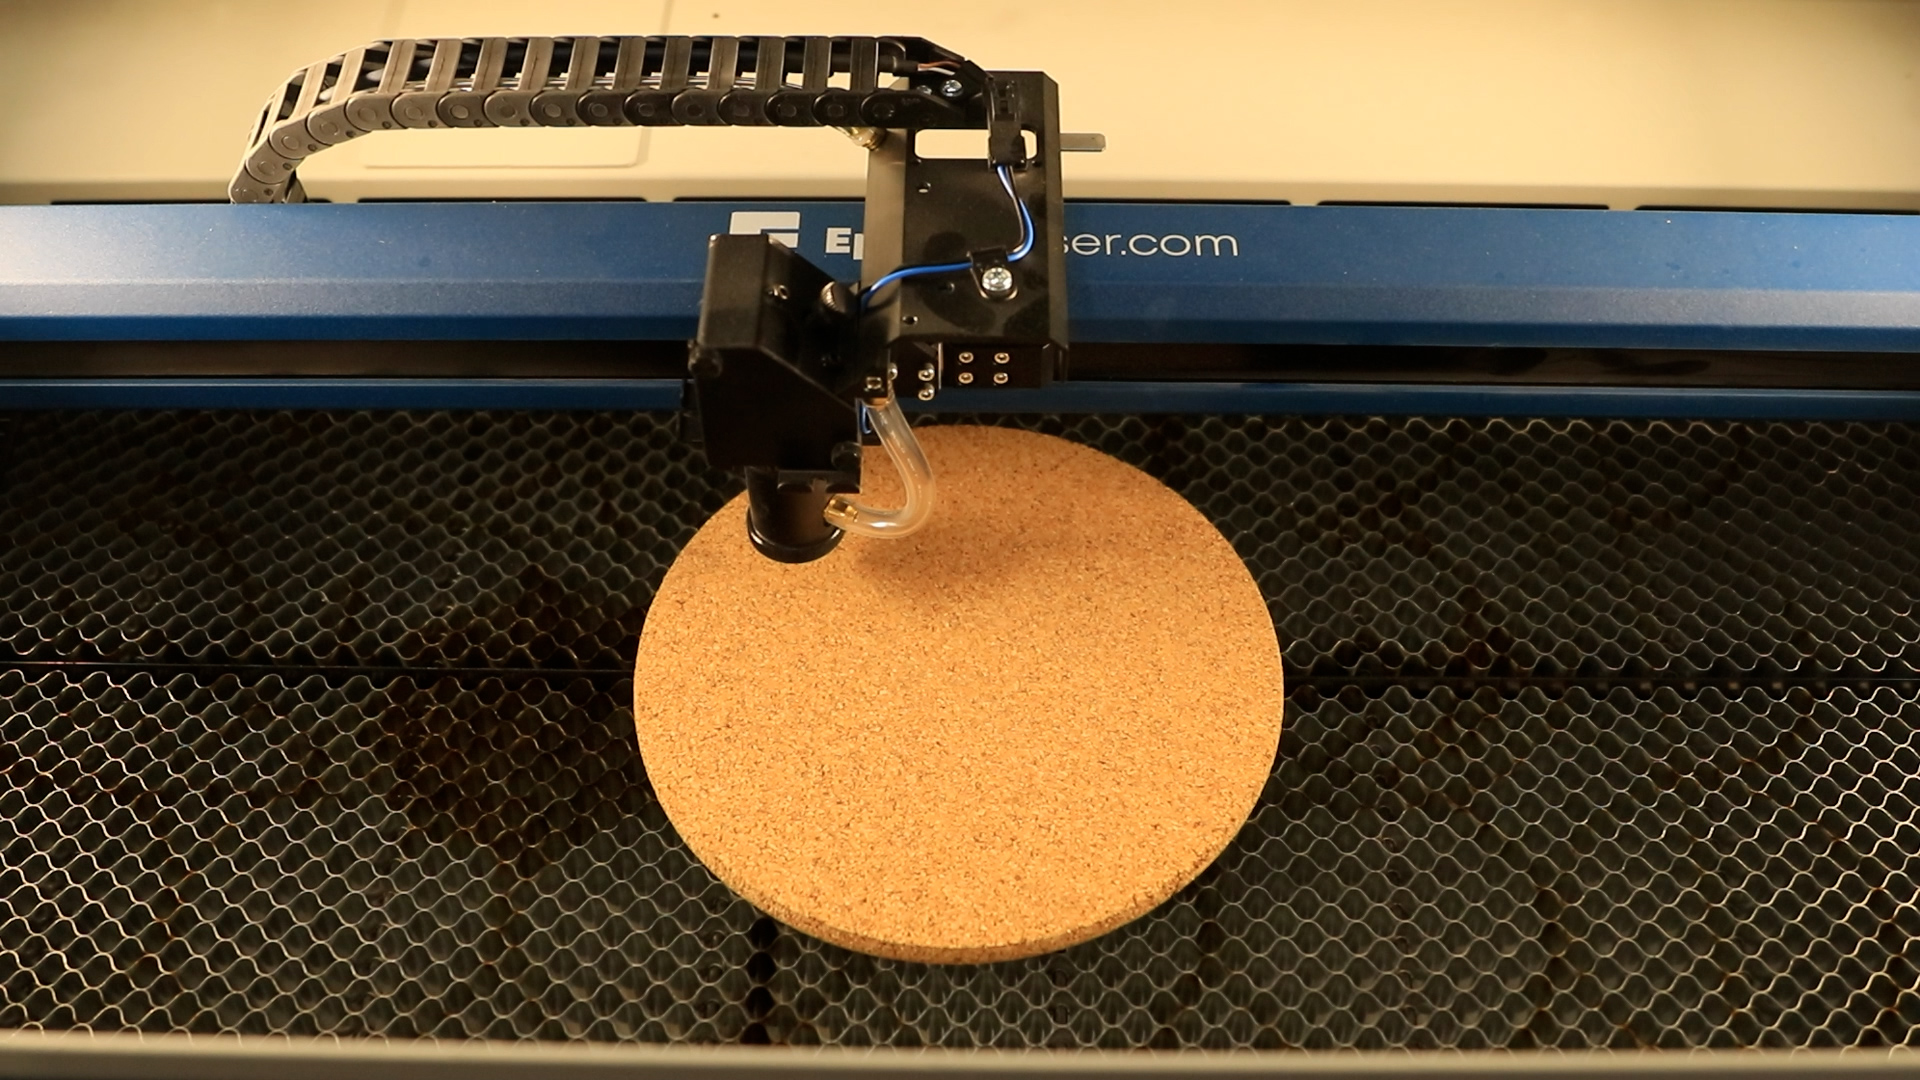
Place the potholder in the laser and prepare for engraving. If you are using the Fusion Maker, Fusion Edge, or Fusion Pro Laser, you can utilize the camera system to ensure your artwork is where you’d like it. If you don’t have a camera system, to ensure the graphic is placed where you want it you may draw an outline around the graphic and send it to the laser with 100 speed and 0 power, then turn on the red dot pointer at your machine’s control panel. Keep the lid to the laser open and watch the red dot pointer trace the outline. Back in your graphics software, adjust the artwork as necessary to fit the potholder.
Determine your Parameters
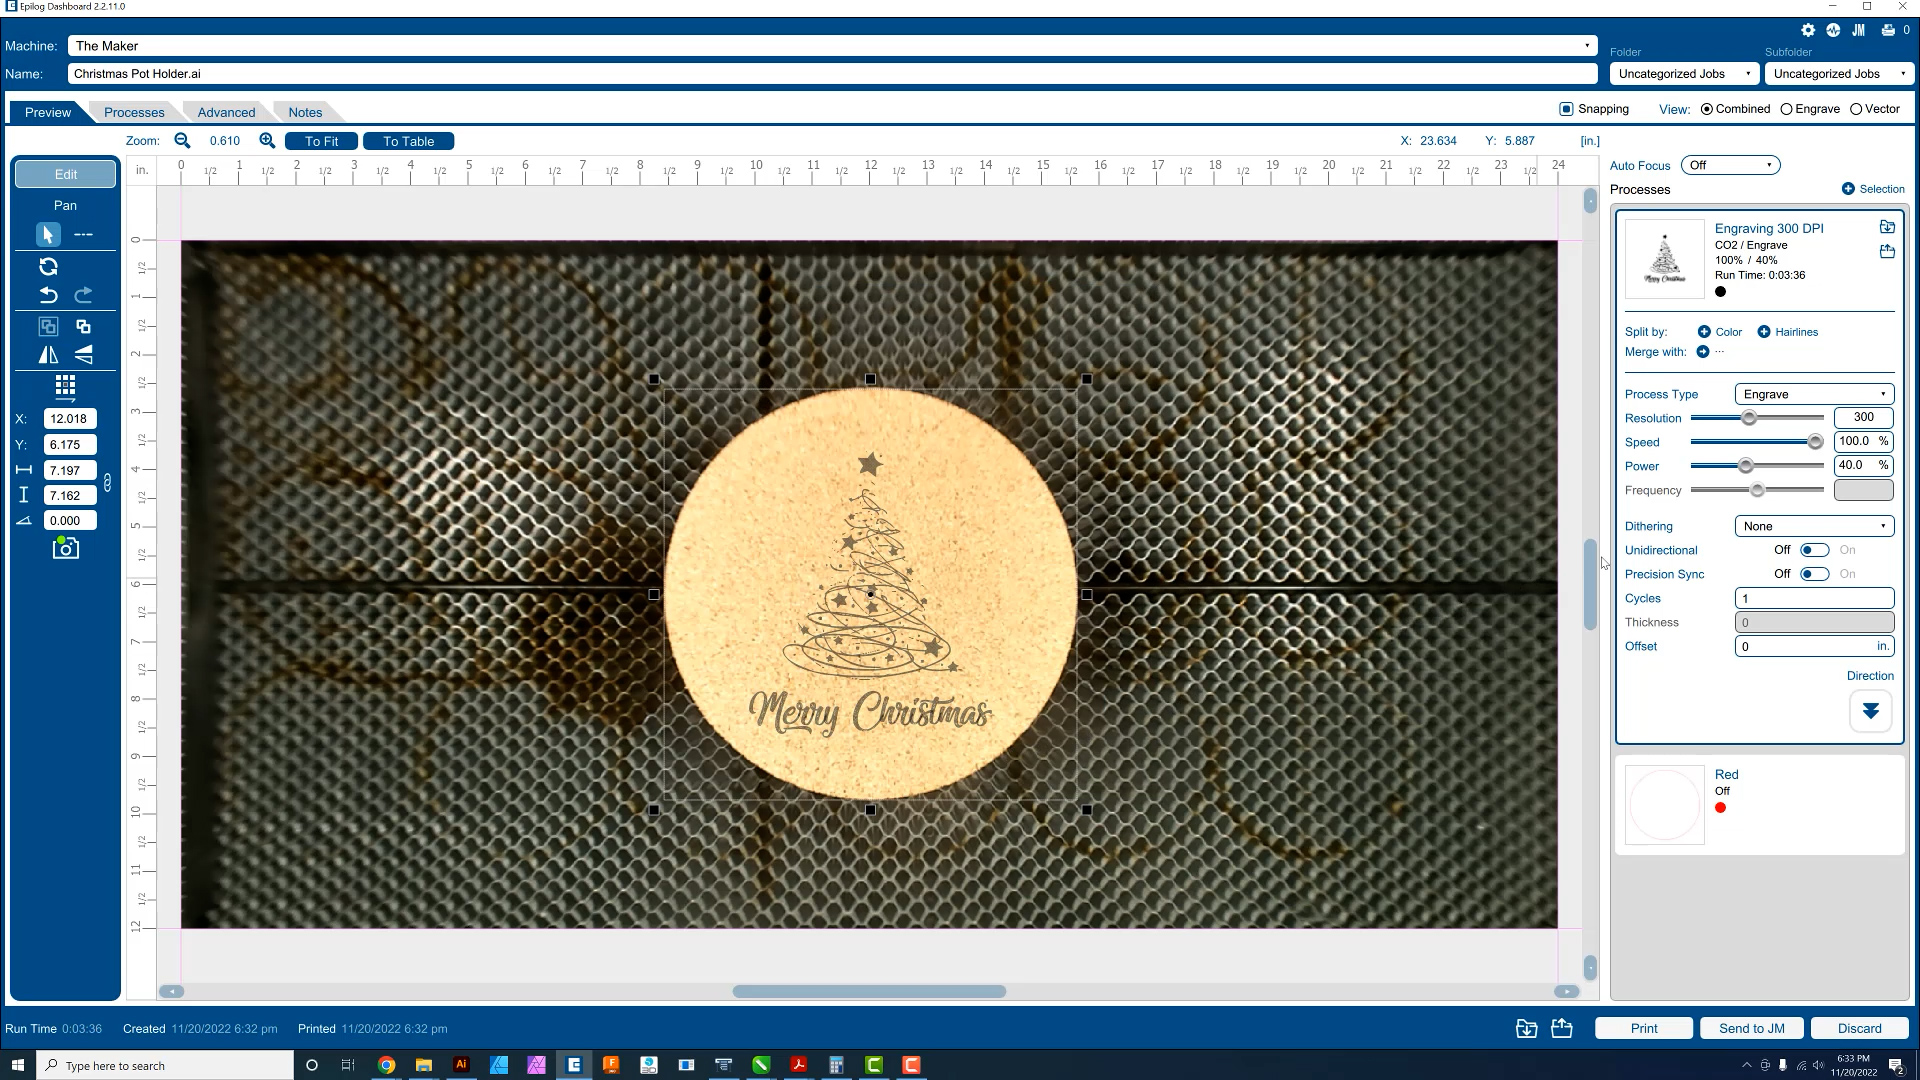
In the Epilog Laser Dashboard select the recommended settings for engraving cork. Or, you can consult your owner’s manual for recommended engraving/cutting settings for your machine and wattage. Enter your settings within the dashboard, and send the job to the laser.
Send the job to the laser
Send the job to the laser with the correct parameters for your machine wattage and let the laser do the rest!
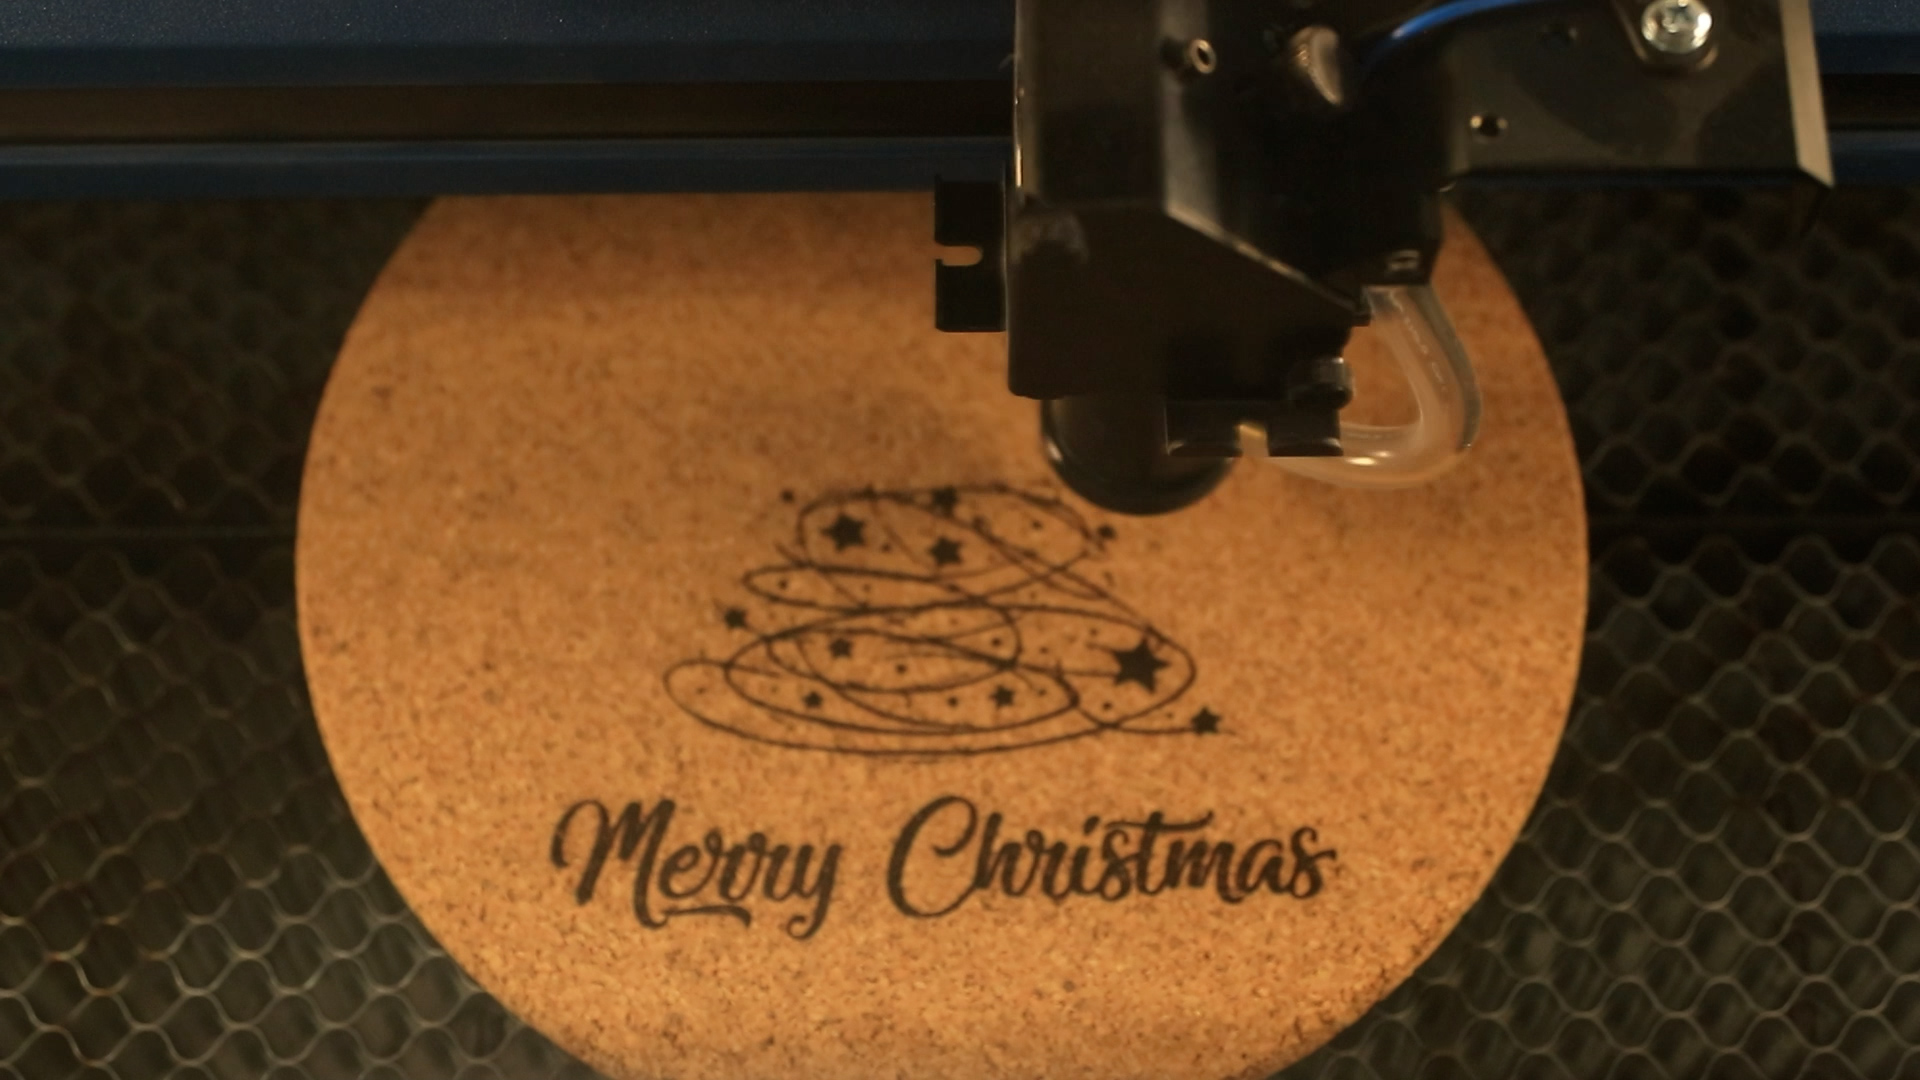
Once your graphic is finished engraving, you’re all set!
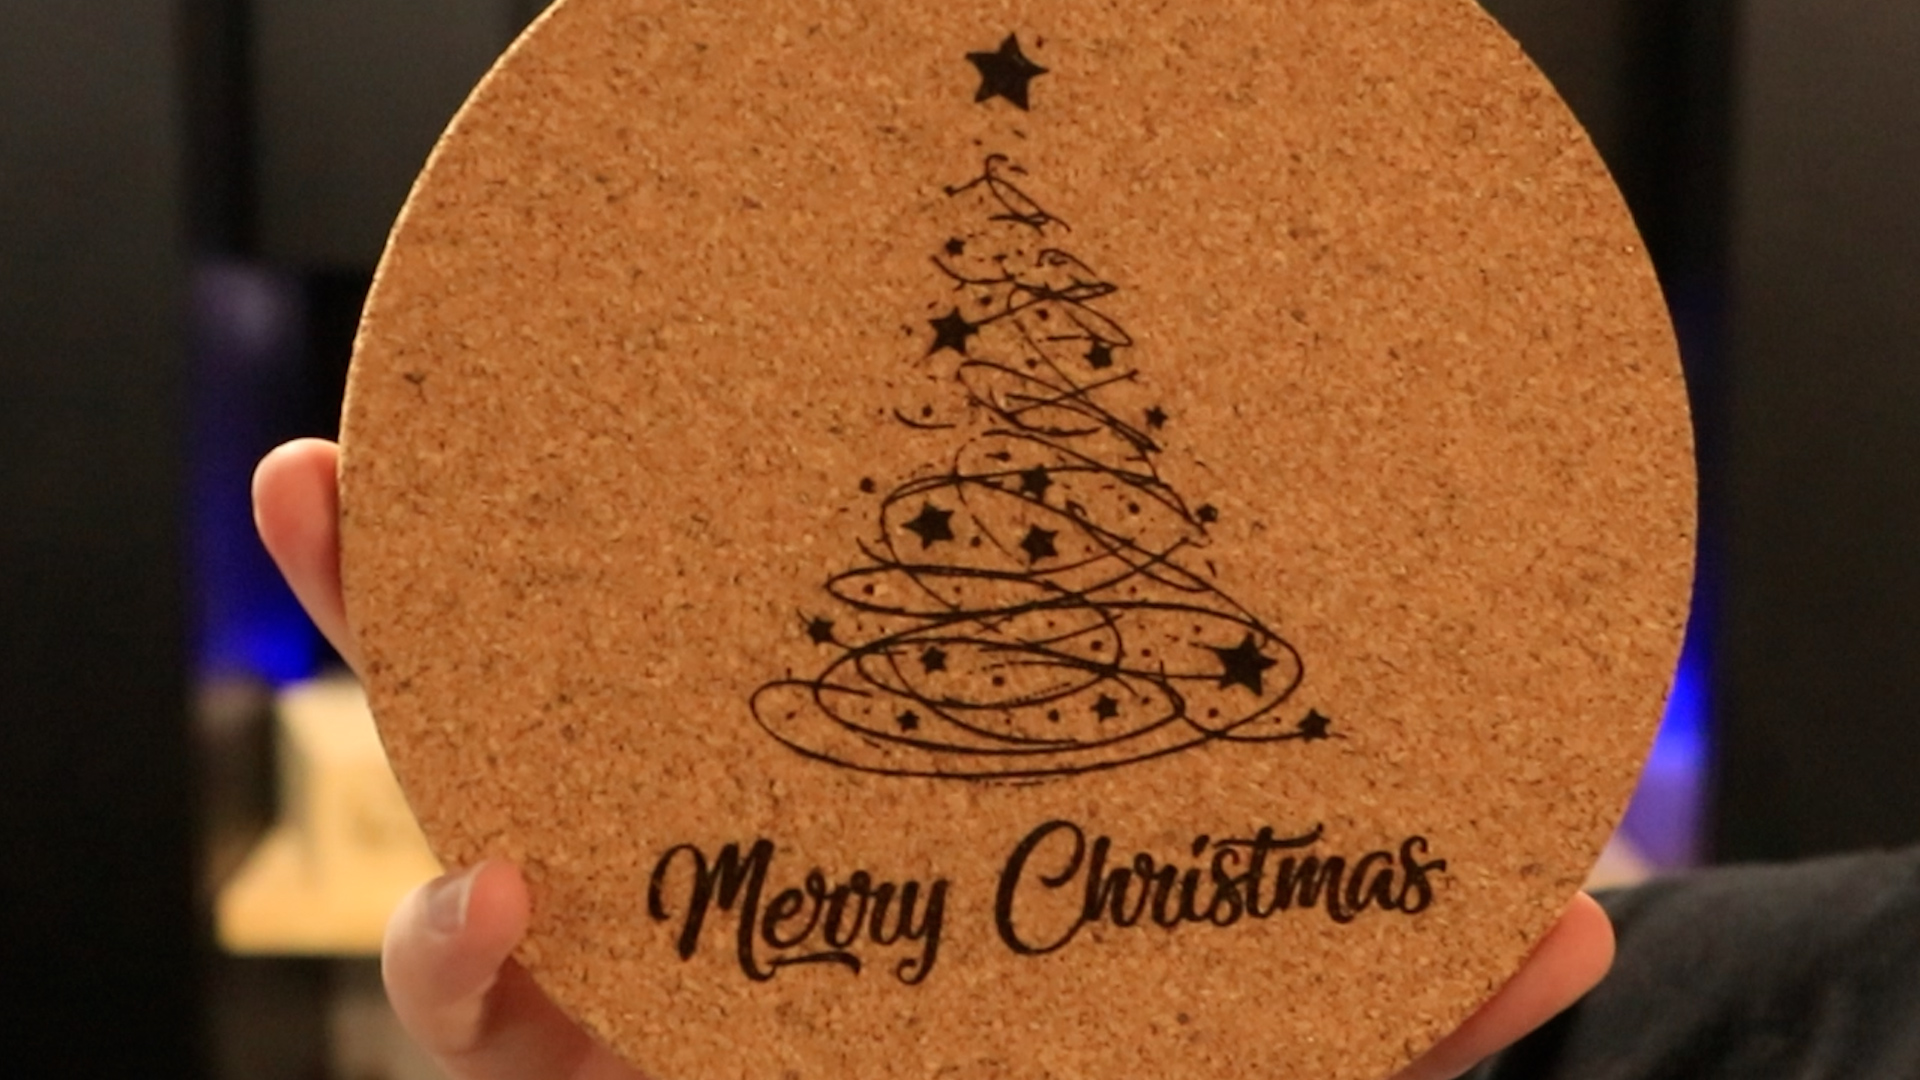
Where can you sell laser engraved cork potholders?
- Wedding gifts
- Housewarming gifts
- Host/hostess gifts
- Specialty gift stores
- Kitchenware retailers
