Laser Engraving Cork Notebooks
Cork
Introduction
Project Settings
Prepare the Artwork
Download the graphics above or import your own drawings, text, photos, or graphics. Modify as necessary.
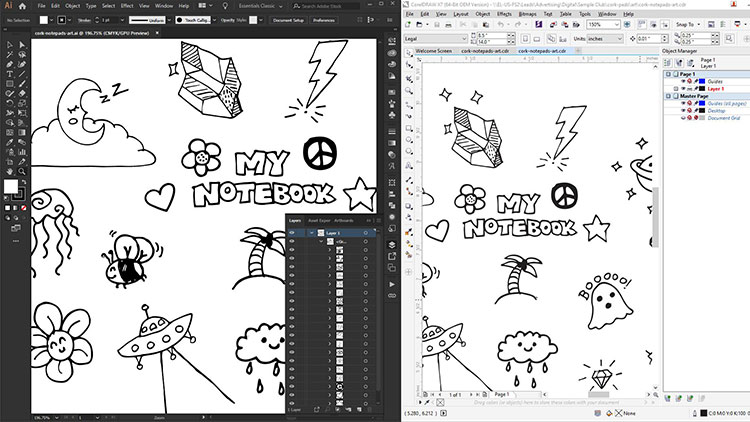
Importing Sketched Artwork
Select the artwork and under the Bitmaps menu, select Convert to Bitmap
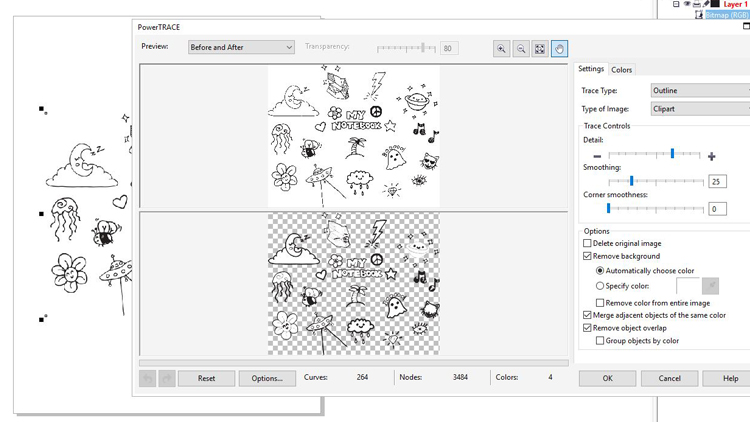
Under the Bitmaps menu, highlight Outline Trace and select Clip Art
Corel Draw will ask you to Reduce the size of the bitmap, you may choose to reduce the file or keep the original size
Adjust the PowerTRACE settings in Corel as needed, then click Ok
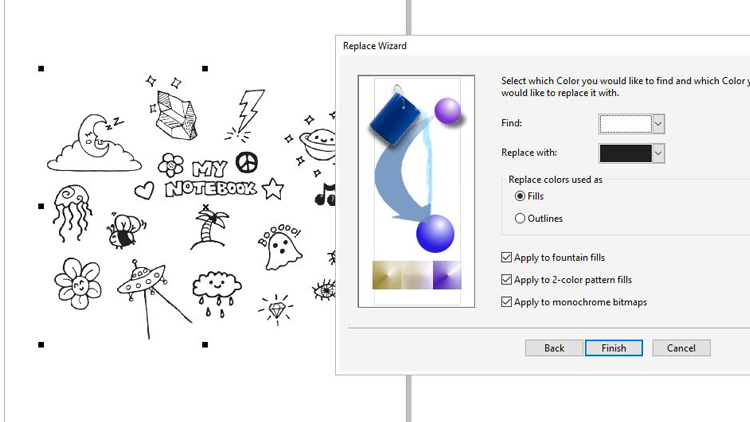
If you need to adjust the color to pure black, go to Edit > Find & Replace > Replace Objects and select Replace a Color
Use the eyedropper tool to select the color of your artwork and click Finish then Find & Replace. Corel Draw will change the artwork to black for you.
Job Setup
Place the notebook in the laser and prepare for engraving. If you are using the Fusion Pro system, you can utilize the camera system to ensure your artwork is where you’d like it. If you’re not using a Fusion Pro, to ensure the graphic is placed where you want it you may draw an outline around the graphic and send it to the laser with 100 speed and 0 power, then turn on the red dot pointer at your machine’s control panel. Keep the lid to the laser open and watch the red dot pointer trace the outline. Back in your graphics software, adjust the graphic as necessary to fit the notebook.
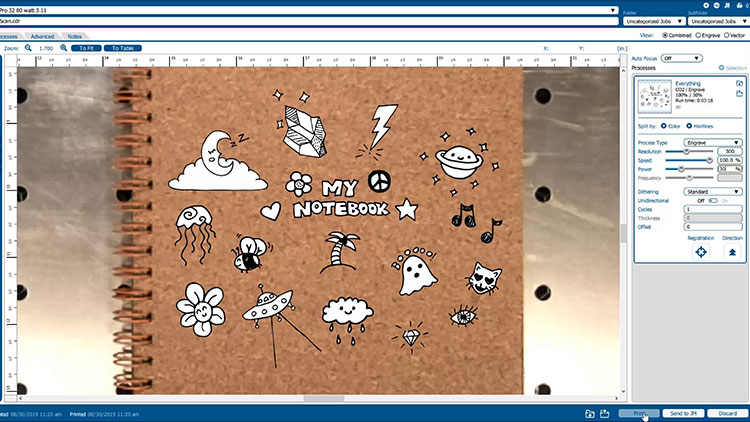
Send the job to the laser
Send the job to the laser with the correct parameters for your machine wattage. You can find recommended material settings in your machine’s manual.
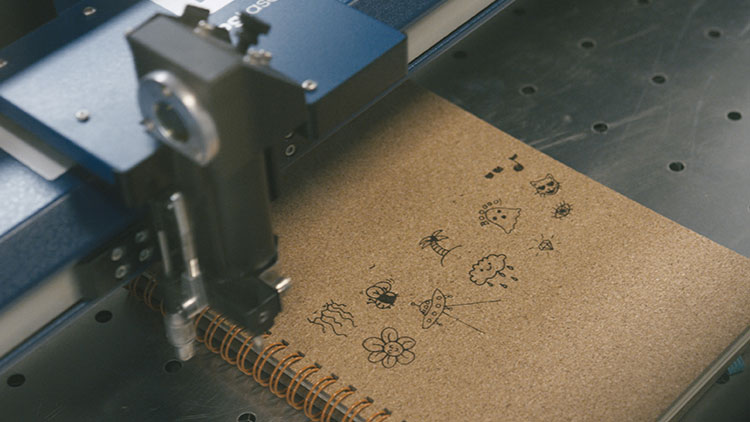
Once your graphic is finished engraving, you’re all set!
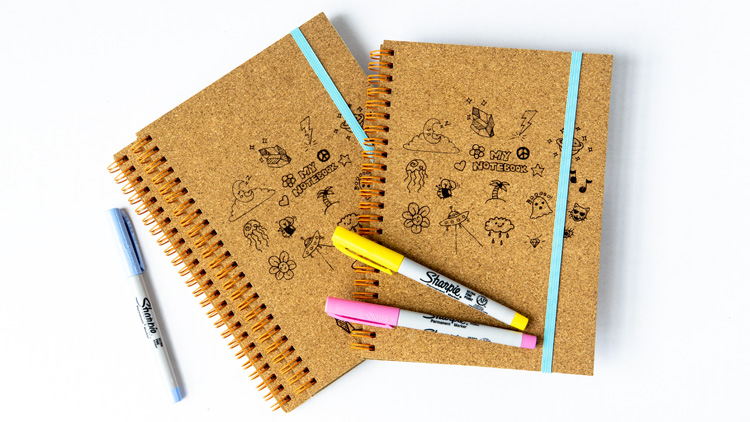
Where can you sell laser engraved cork notebooks?
- As wedding guestbooks
- In bookstores
- School fundraisers
- Spice shops
- Libraries
- Specialty food stores
