Laser Engraving Building Signage
Plastic
Introduction
Project Settings
-
We used blue/white core plastic from Rowmark, purchased from Johnson Plastics Plus.
-
for backing
Prepare the Artwork
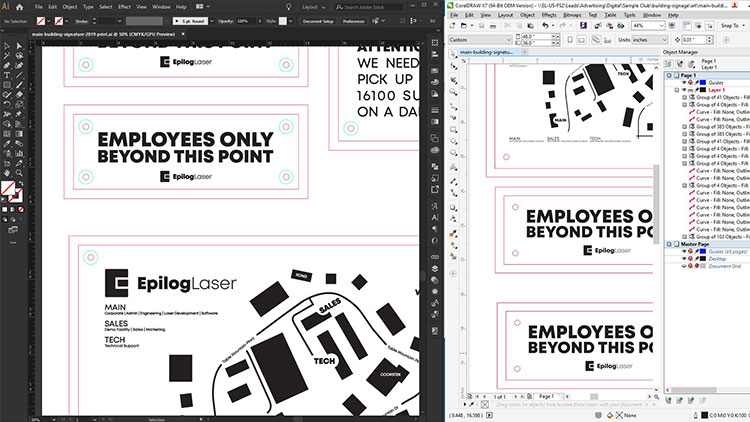
Open the design file and modify as necessary. Our file examples include business campus maps, employee-only designation signs, mail pick up instructions, etc.
Setup
Insert your plastic sheet into the laser. If using a Fusion Pro, drag and drop your artwork where you would like the engraving to take place.
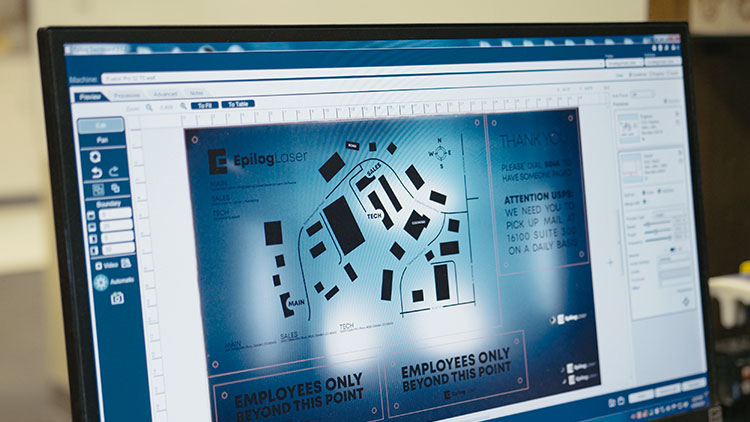
For non-Fusion Pro machines, set your page size to the size of your plastic and lay out the files to engrave where you would like. If you are concerned about placement, you can always draw a vector box around each piece and run ONLY that job with the lid open and the red dot pointer on. This will give you a visual indicator of where each sign will engrave/cut.
Send to the Laser
When you’re ready to cut/engrave, remove the box you just drew and send the job to the laser.
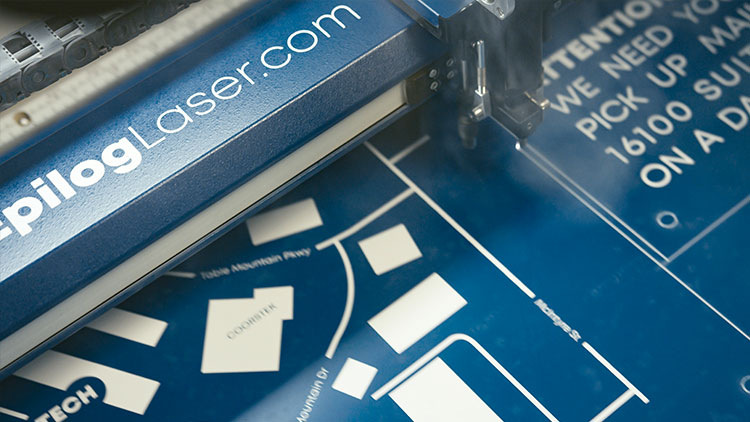
Assembly
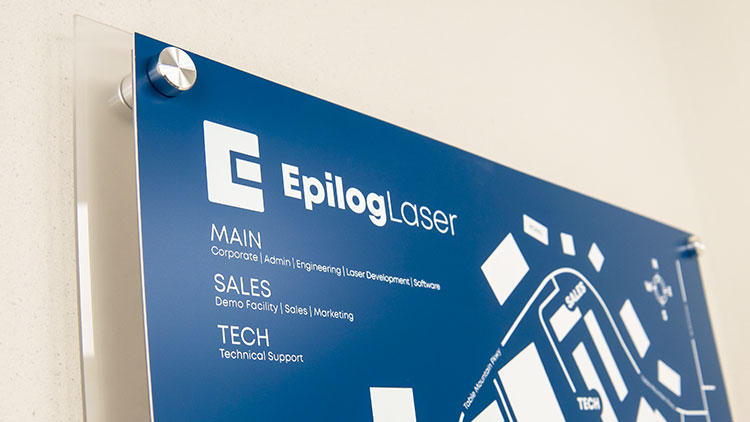
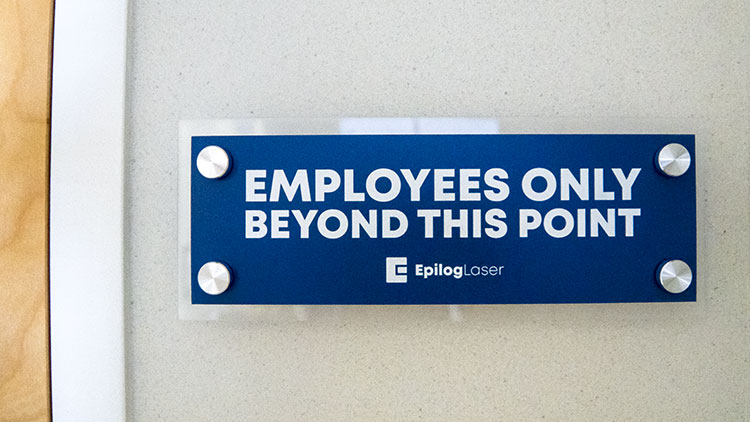
After you’ve engraved and cut the colored plastic, cut the clear plastic backing to the necessary size. Use the standoffs to connect the two pieces and your laser engraved and cut building signage is complete!
Where can you sell laser engraved signage?
- Hotels
- Schools
- Hospitals
- Libraries
- Restaurants
