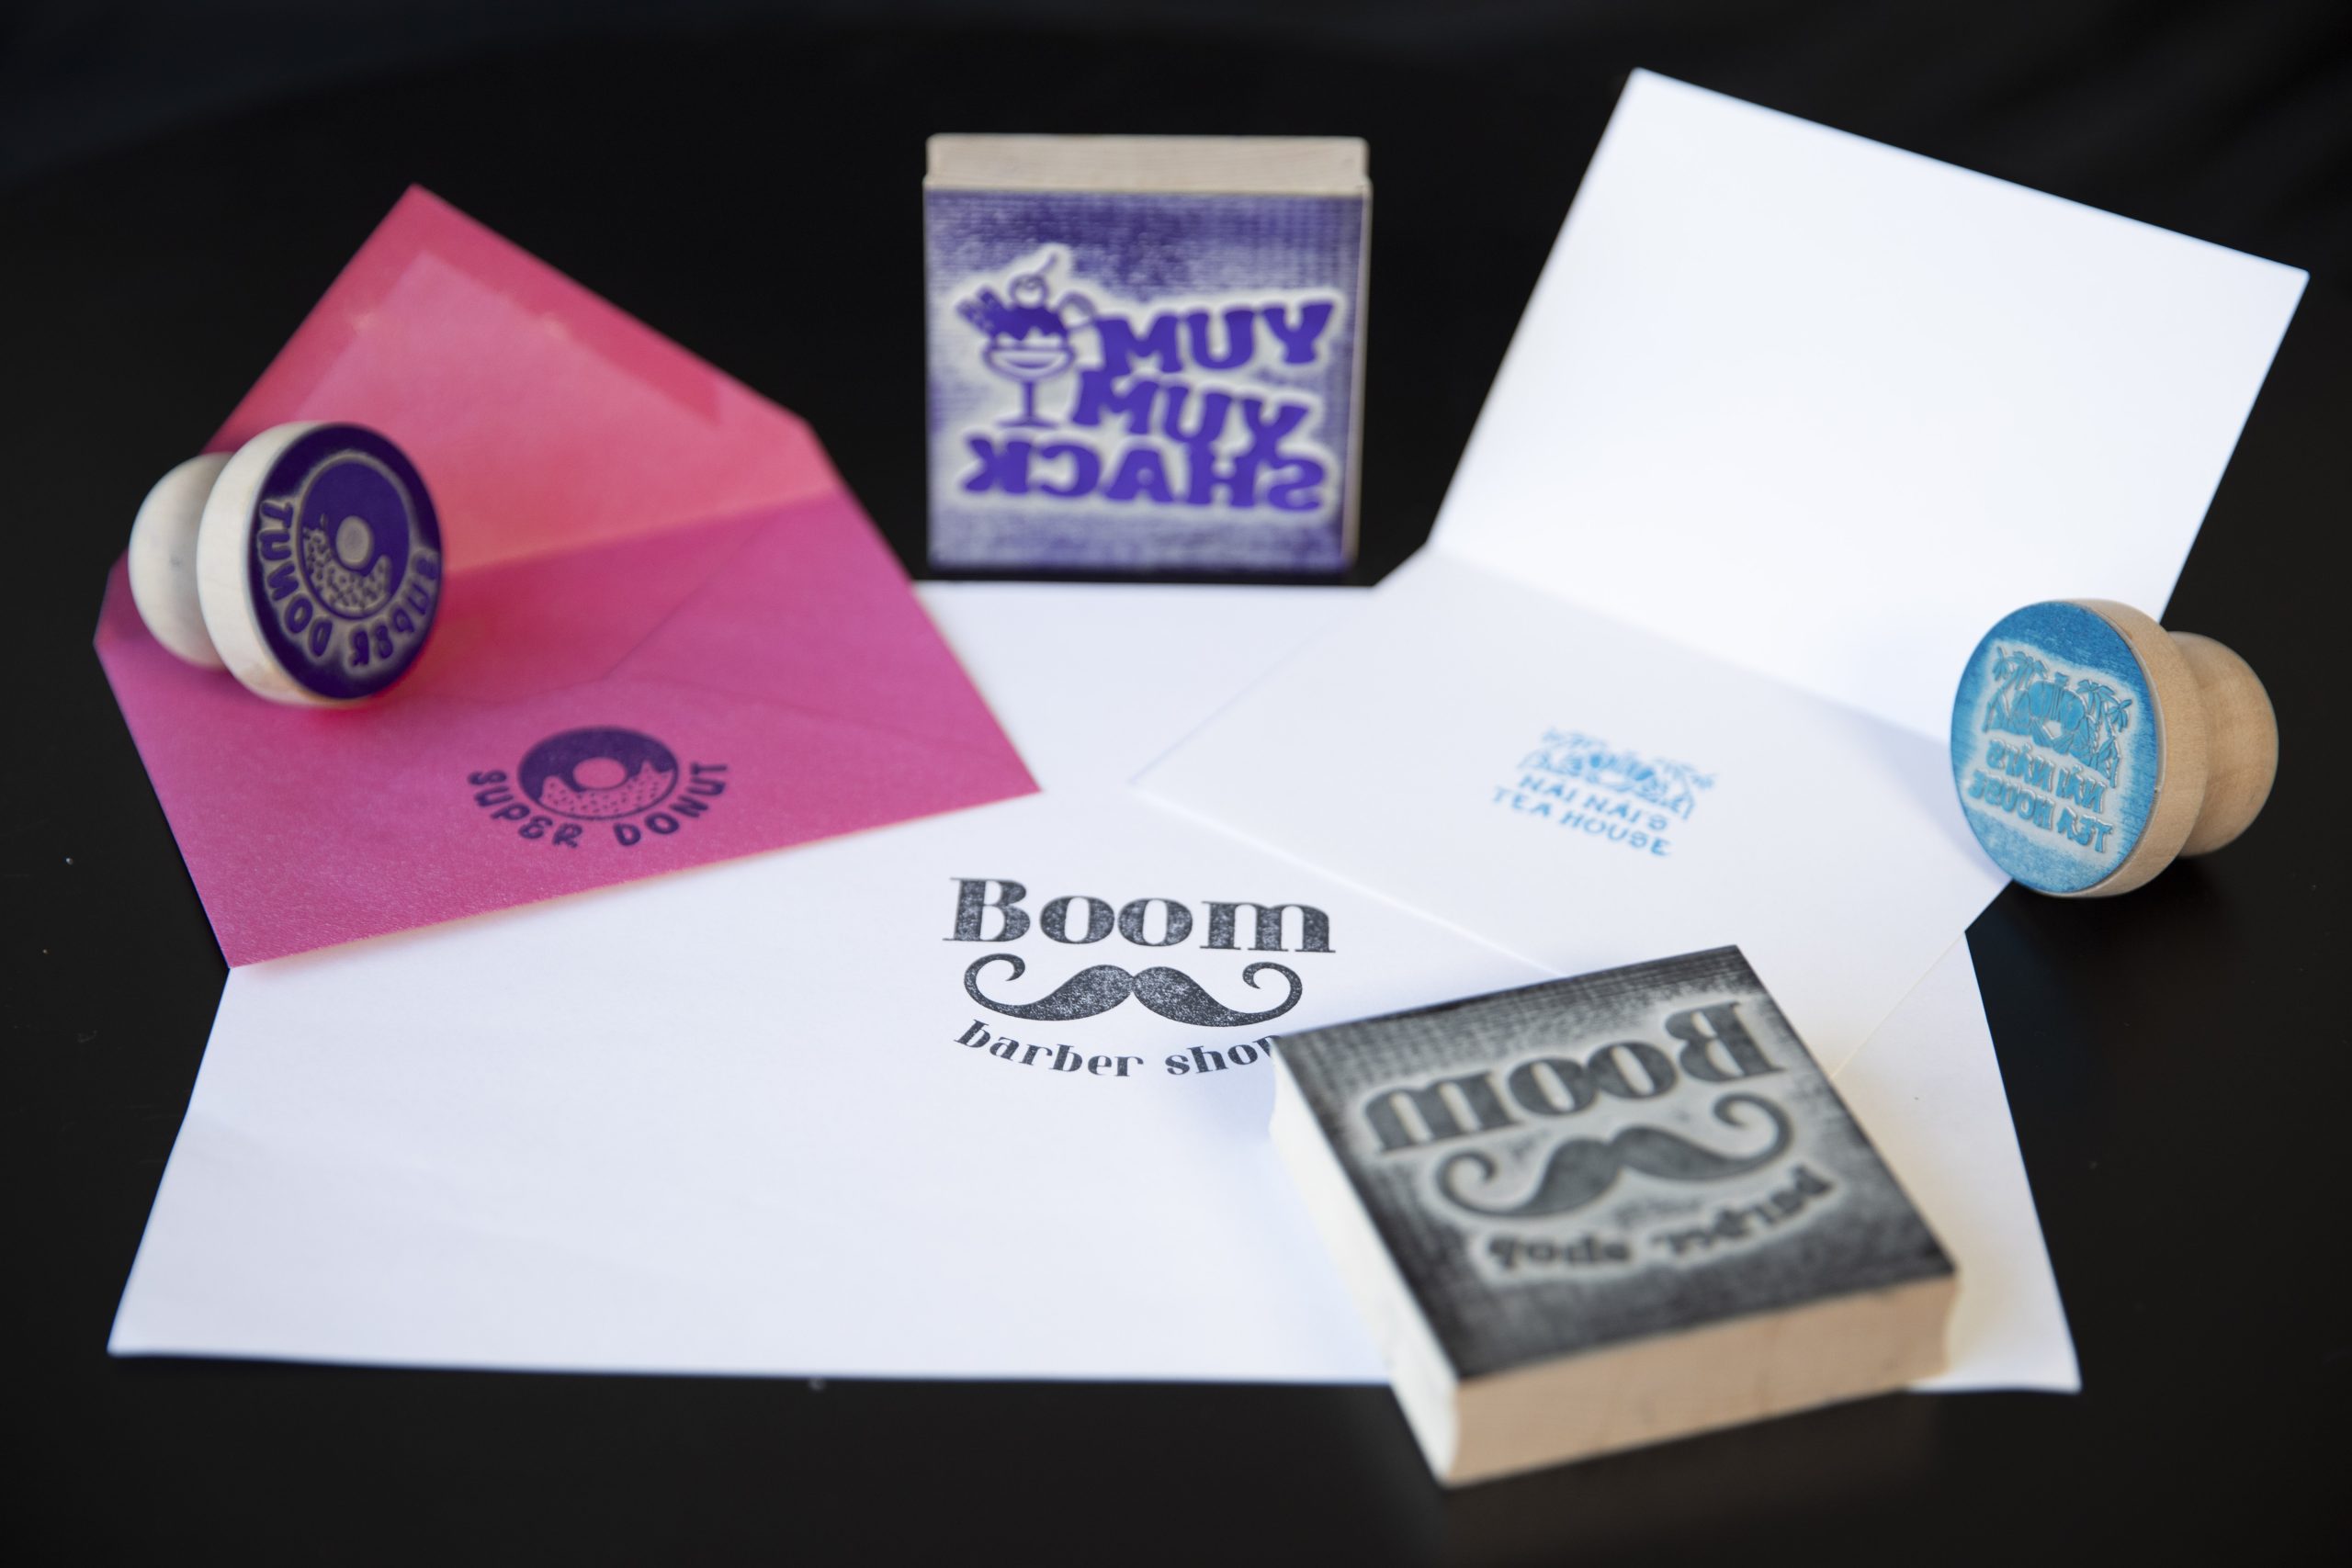
Laser Engraved Odorless Rubber Stamps
Rubber
Introduction
Project Settings
Step 1: Setup
Open the artwork files and customize as necessary.

Step 2: Enable Stamp Mode
In the Laser Dashboard, under the Advanced tab, set the Engrave Type to “Stamp” and set the Fence to “Bounding Area”.

Step 3: Send the Job to the Laser
After you’ve modified the artwork to your liking, insert your rubber stamp material and focus the machine. You may need to test your speed/power/frequency settings prior to cutting. Send the job to the laser with the correct parameters for your machine/wattage.

Step 3: Remove and clean off the rubber stamps
After your stamps have been engraved and cut, remove them from the table bed and clean them off.


Step 4: Assemble
Adhere the rubber stamps to the stamp blocks.


Now you’re ready to use your custom engraved rubber stamps.

What are some industries I can market rubber stamps to?
- Craft and DIY enthusiasts: Rubber stamps are popular in the world of crafting and DIY projects. They can be used to embellish scrapbooks, greeting cards, invitations, and a wide range of other creative endeavors.
- Home Decor: Rubber stamps can be used to decorate and personalize items around your home, such as fabric, curtains, and walls. This offers a cost-effective way to add unique designs to your living space.
- Business Applications: Rubber stamps are commonly used in offices and businesses for tasks like marking documents, addressing envelopes, and labeling items. They can help streamline processes and enhance professionalism.
- Educational Tools: Teachers often use rubber stamps for grading assignments, providing feedback, and motivating students. Fun and colorful stamps can make the learning process more engaging for children.
Whether you’re using rubber stamps for practical tasks or artistic expression, they offer a creative and versatile way to add a personal touch to various projects.