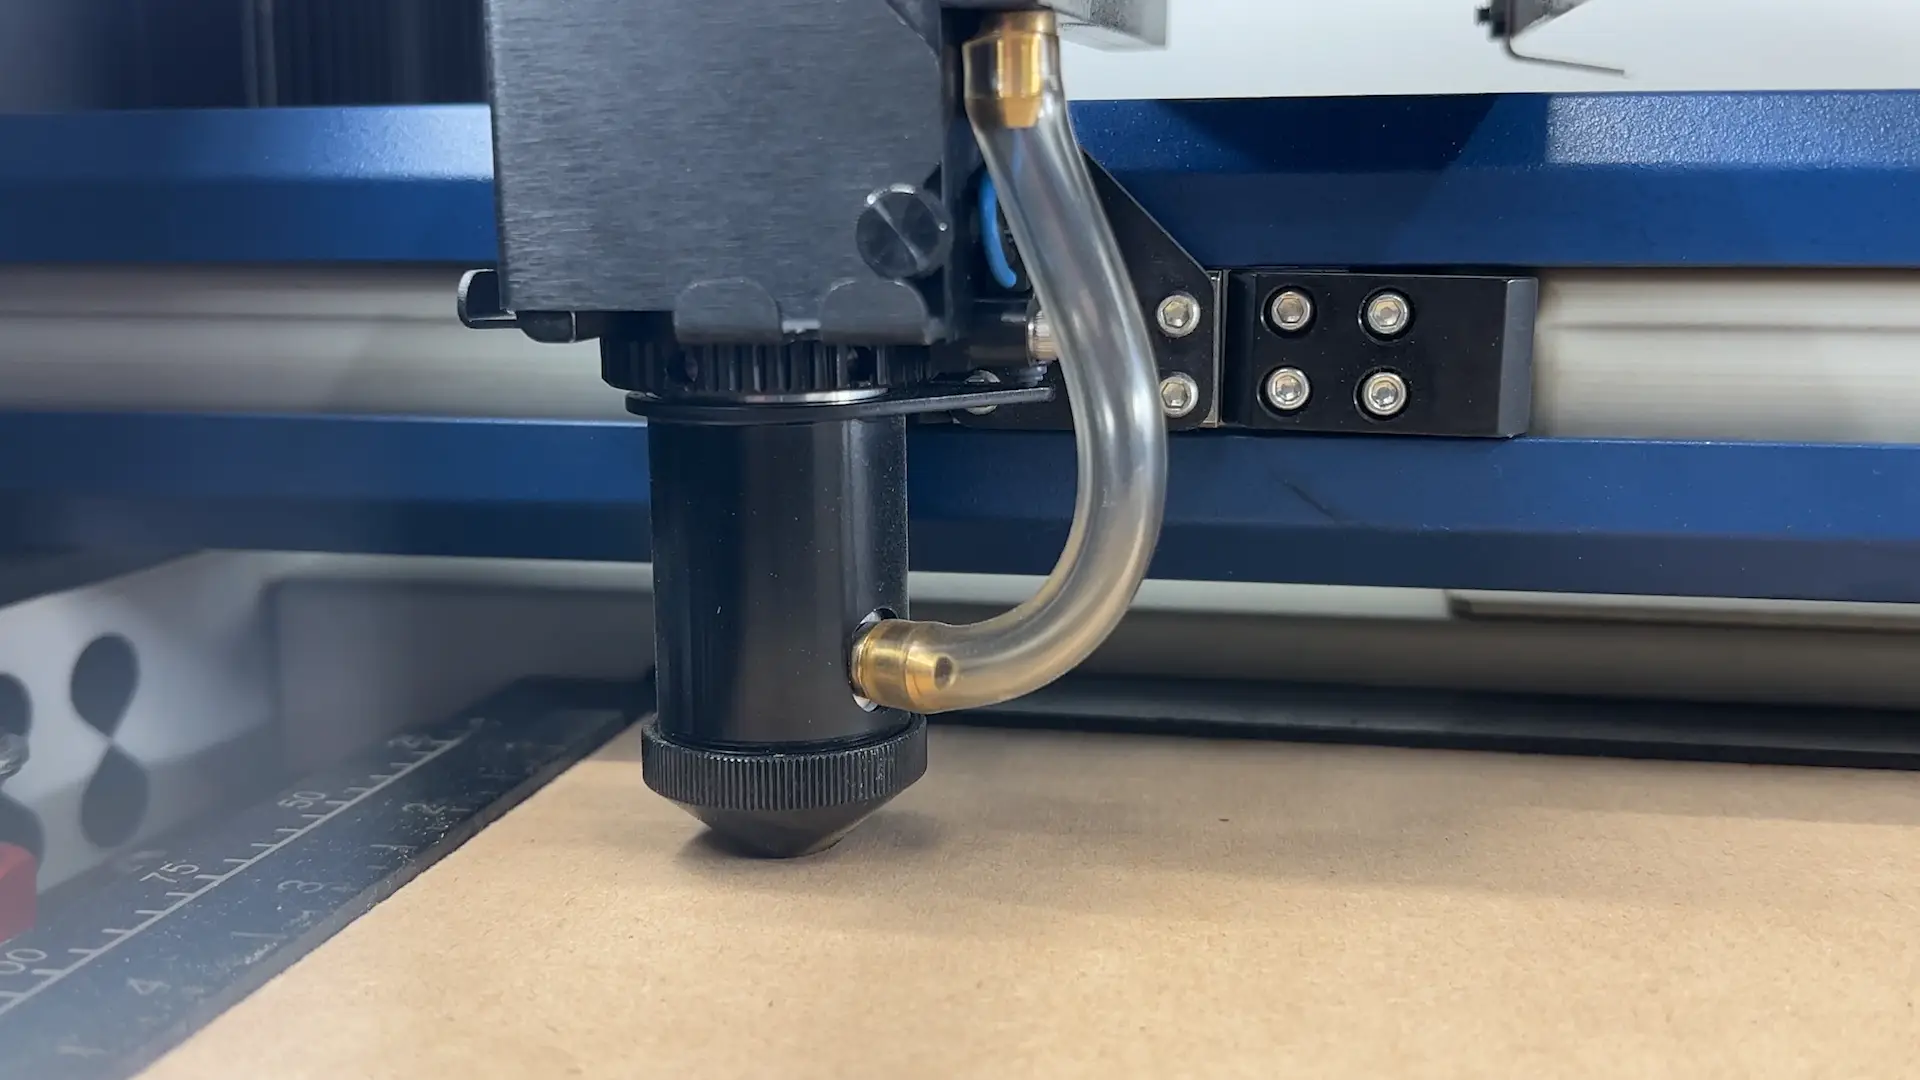
Step 1: Load MDF Material and Focus
Begin by loading your material into your laser machine and using the Focus feature at the Control Panel to bring your MDF sheet into focus.
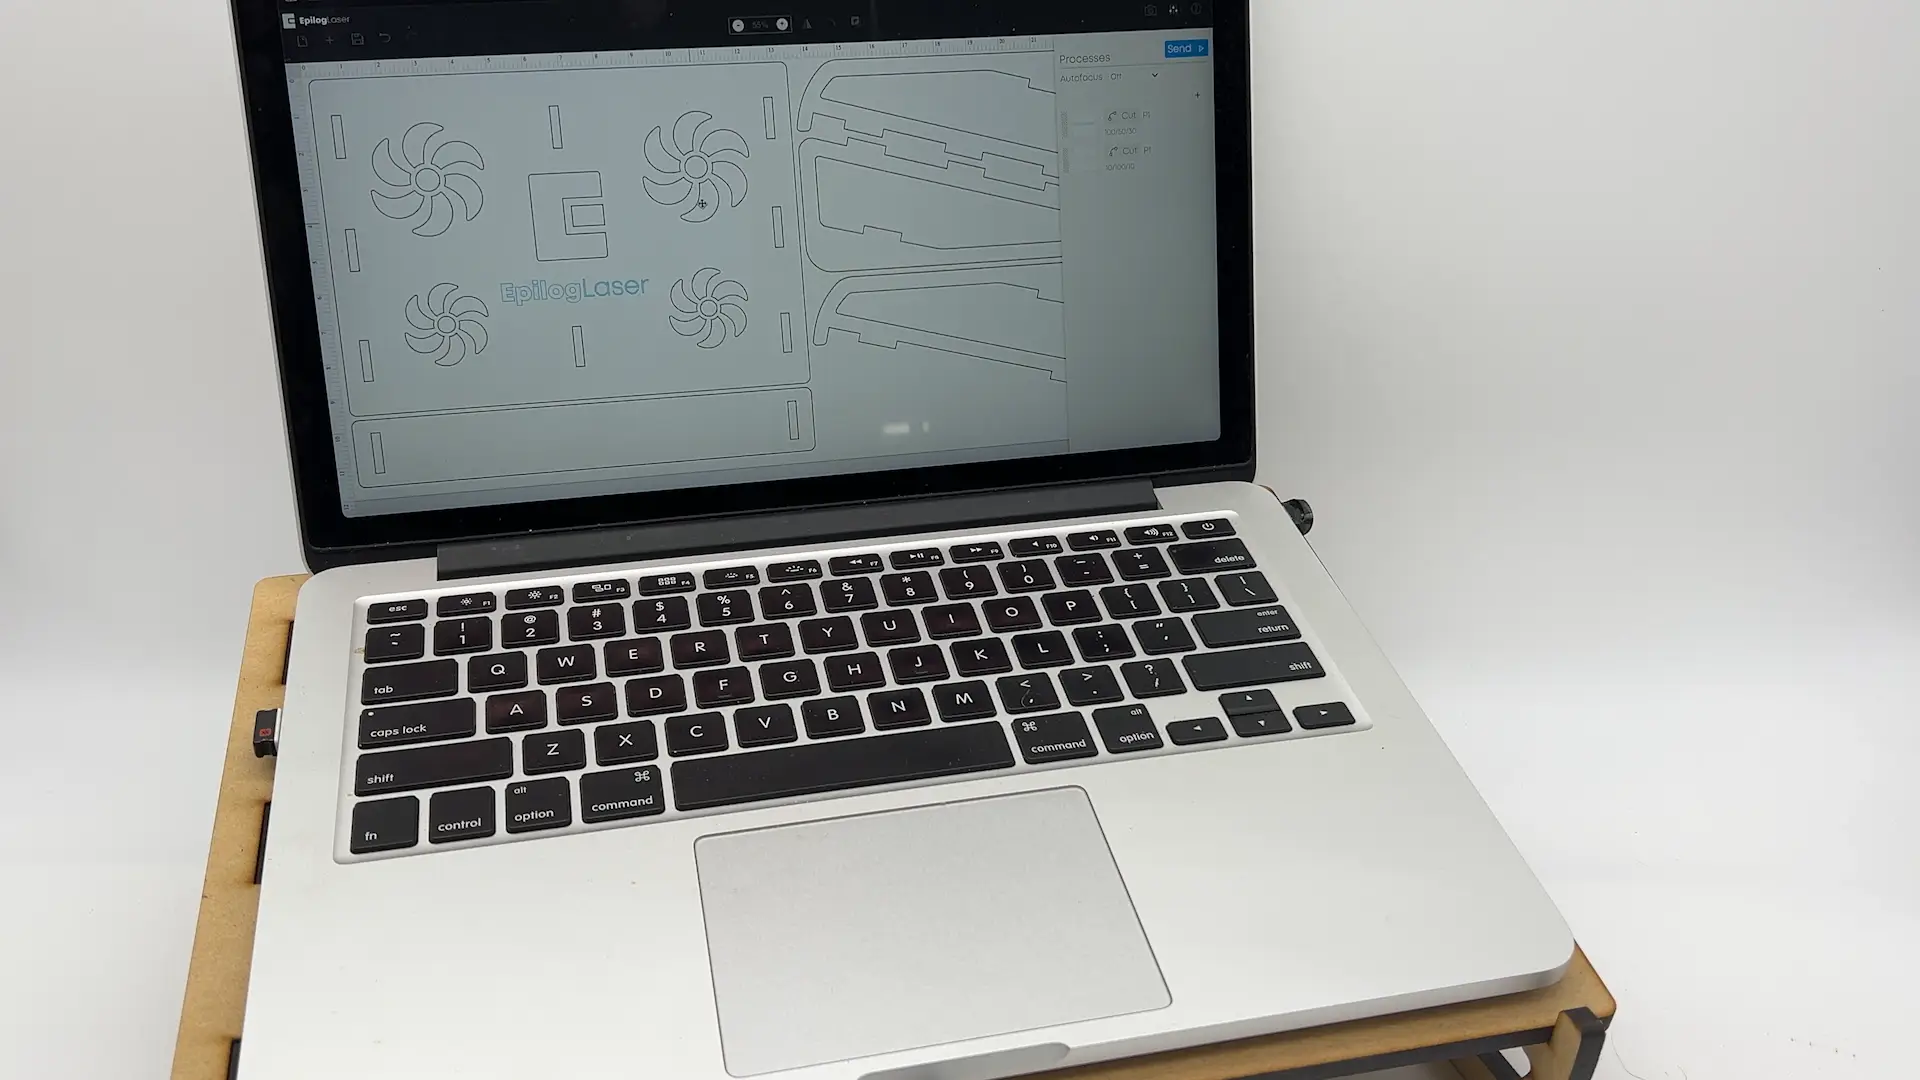
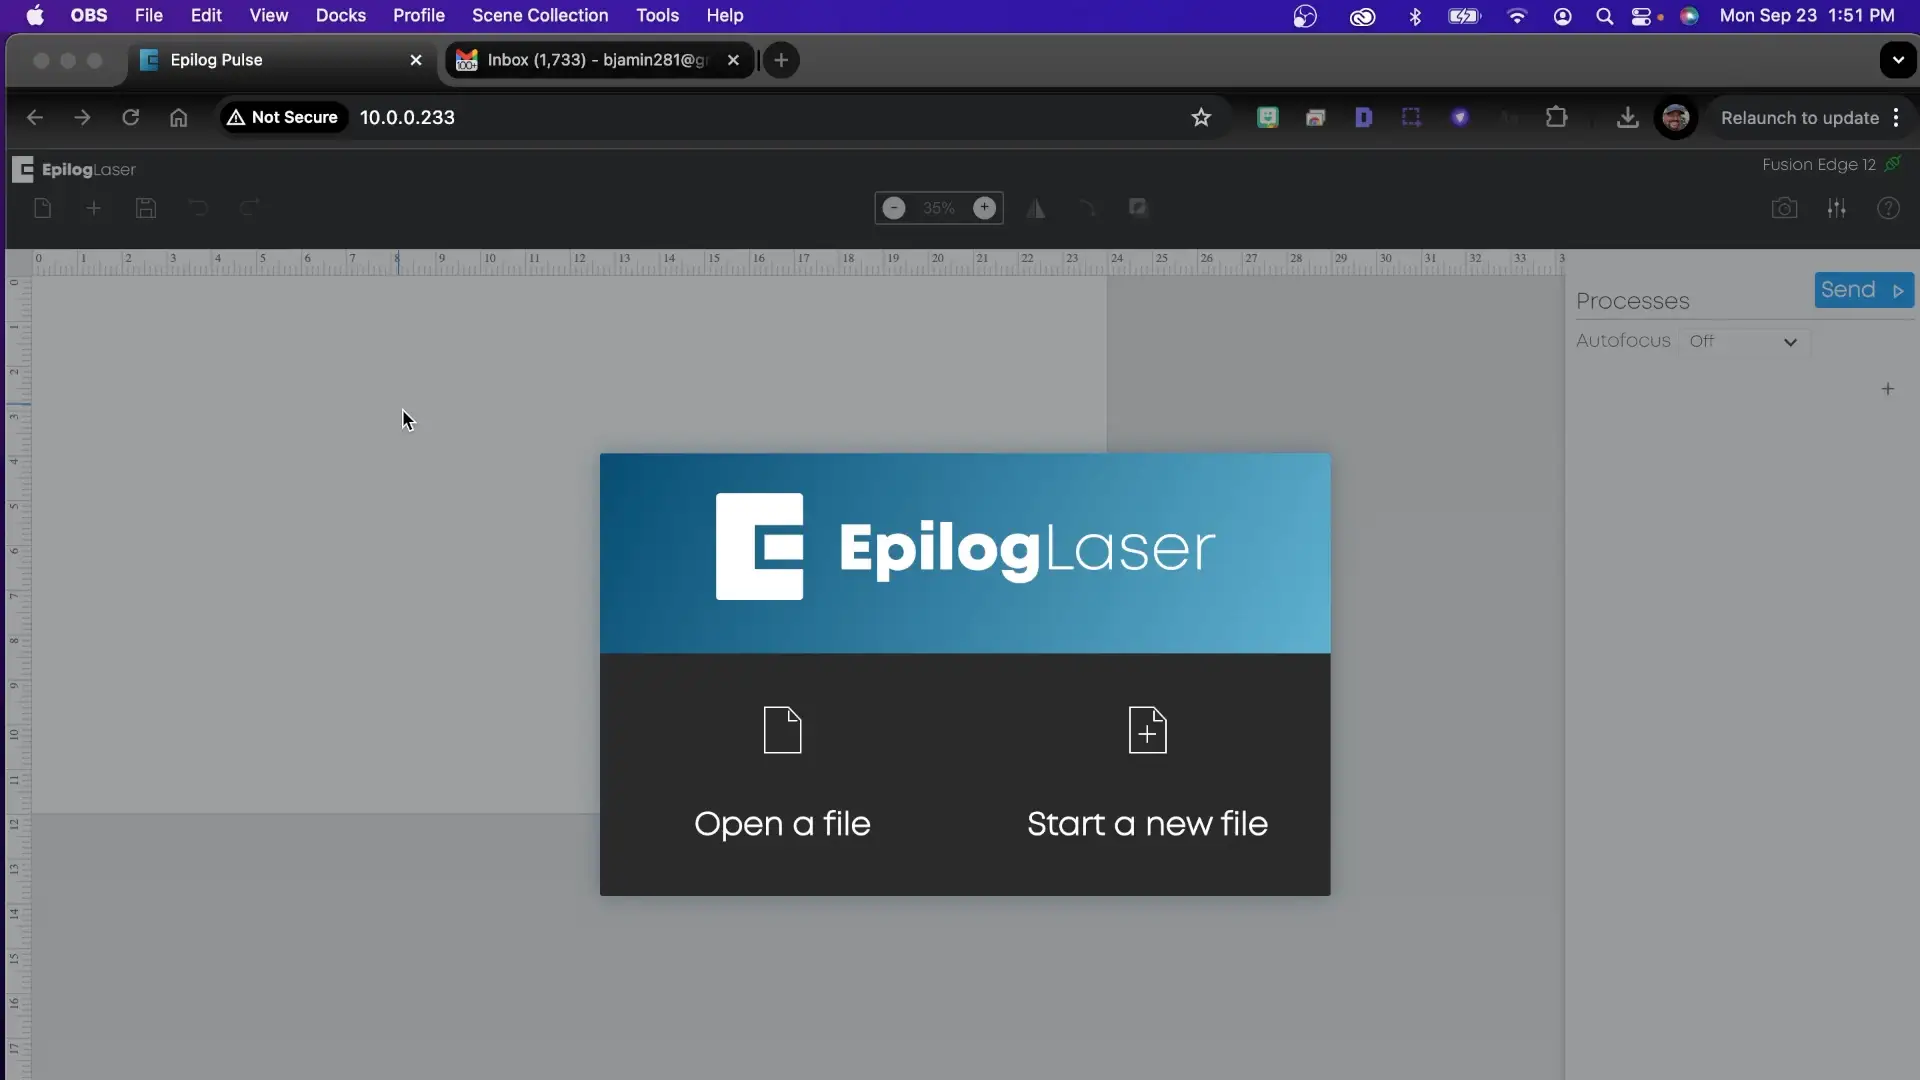
Step 2: Connect to Epilog Pulse and Open Artwork
Once you’ve finished focusing your material, you can begin with Epilog Pulse. Open a browser, type your machine IP address in the URL bar at the top, and press Enter to connect to Epilog Pulse installed on your laser machine. Now, click the Open a File button and select the laptop stand artwork file.
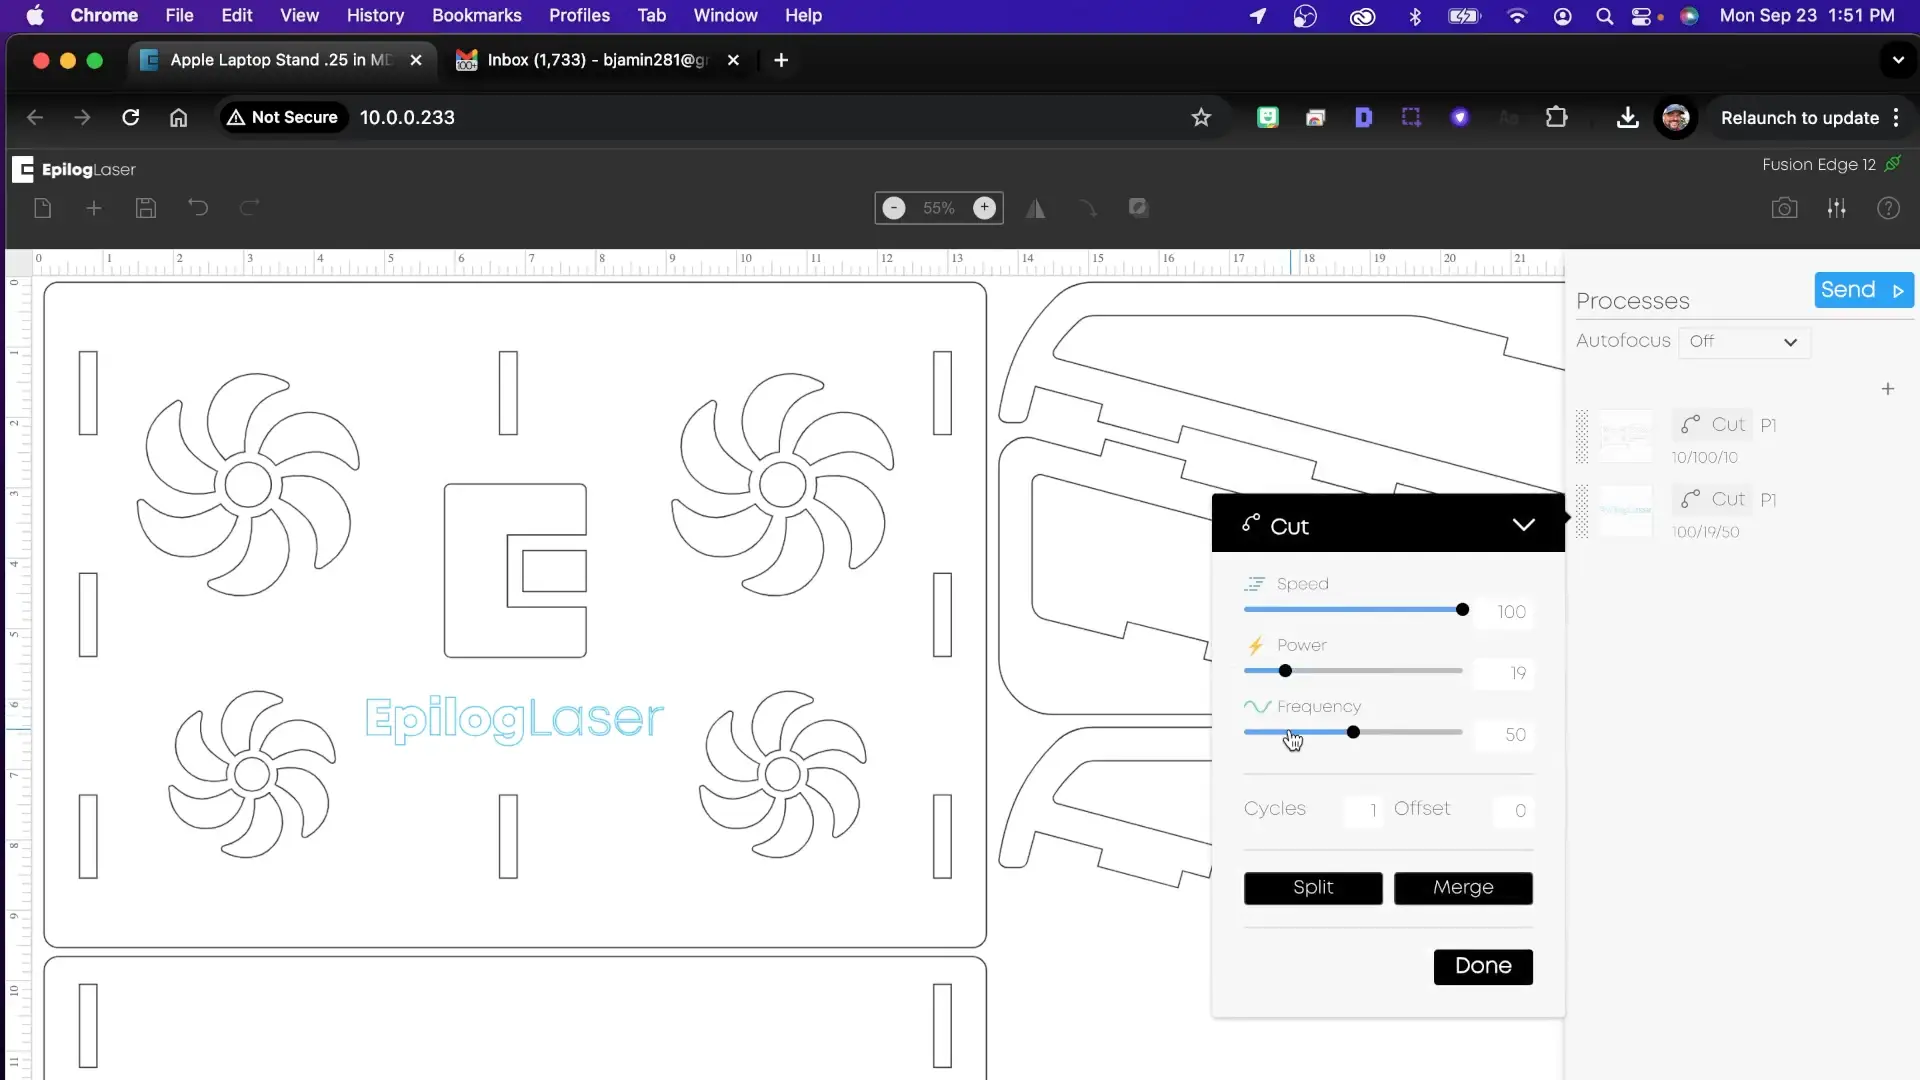
Step 3: Artwork Setup & Cut Settings
With the laptop stand artwork loaded into Pulse, we’ll start by clicking on the Process in the menu on the right. Then select Cut from the drop-down menu in the Process. Now, click Split and choose Color to split the blue and black lines into separate Cut Processes. With our cut lines now separated by Color, we’re going to apply the following setting to cut the black lines and kiss-cut the blue lines:
Speed10%
Power100%
Frequency10
Speed100%
Power21%
Frequency22
Once your settings are ready, click Send in the top right corner of the screen to send your artwork to the laser.
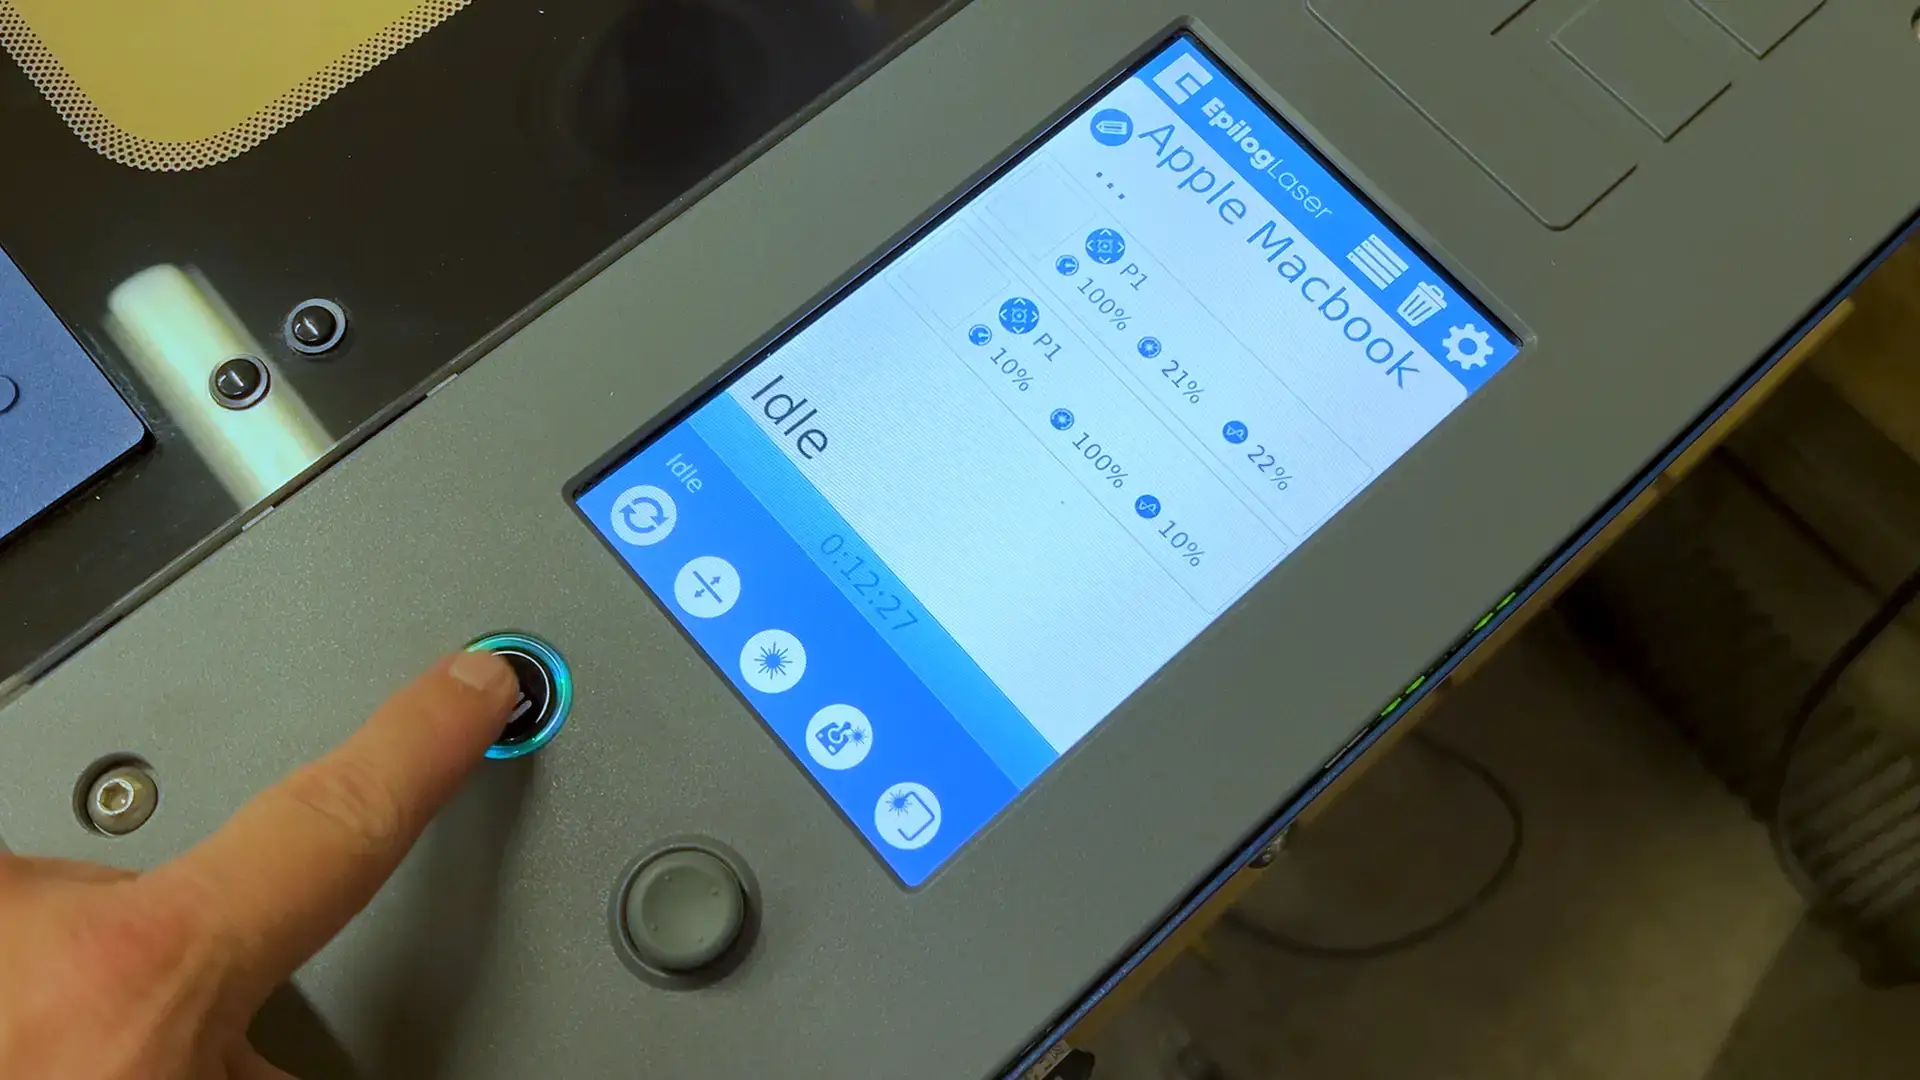
Step 4: Start the Laser Job
With your artwork now at the laser machine, press Go on the Control Panel to begin cutting and kiss-cutting the project.

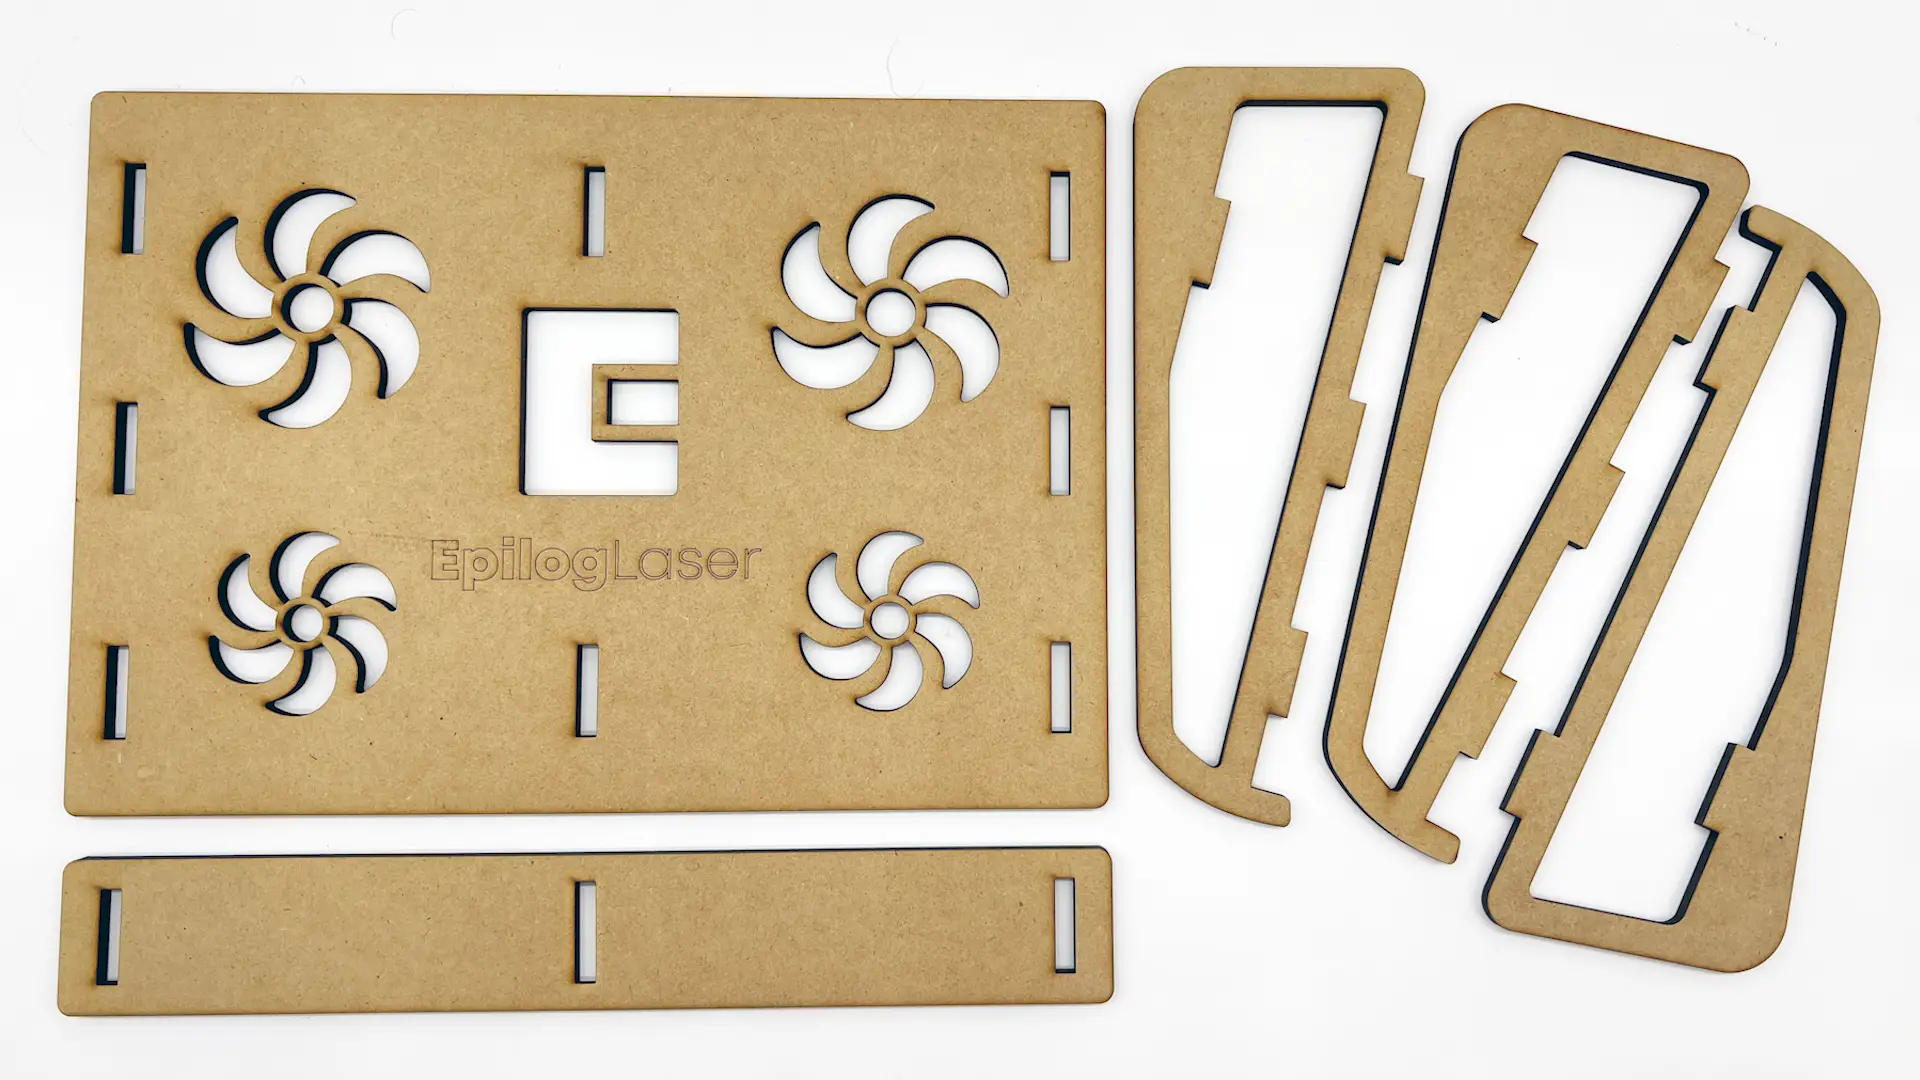
Step 5: Laptop Stand Cutting Complete
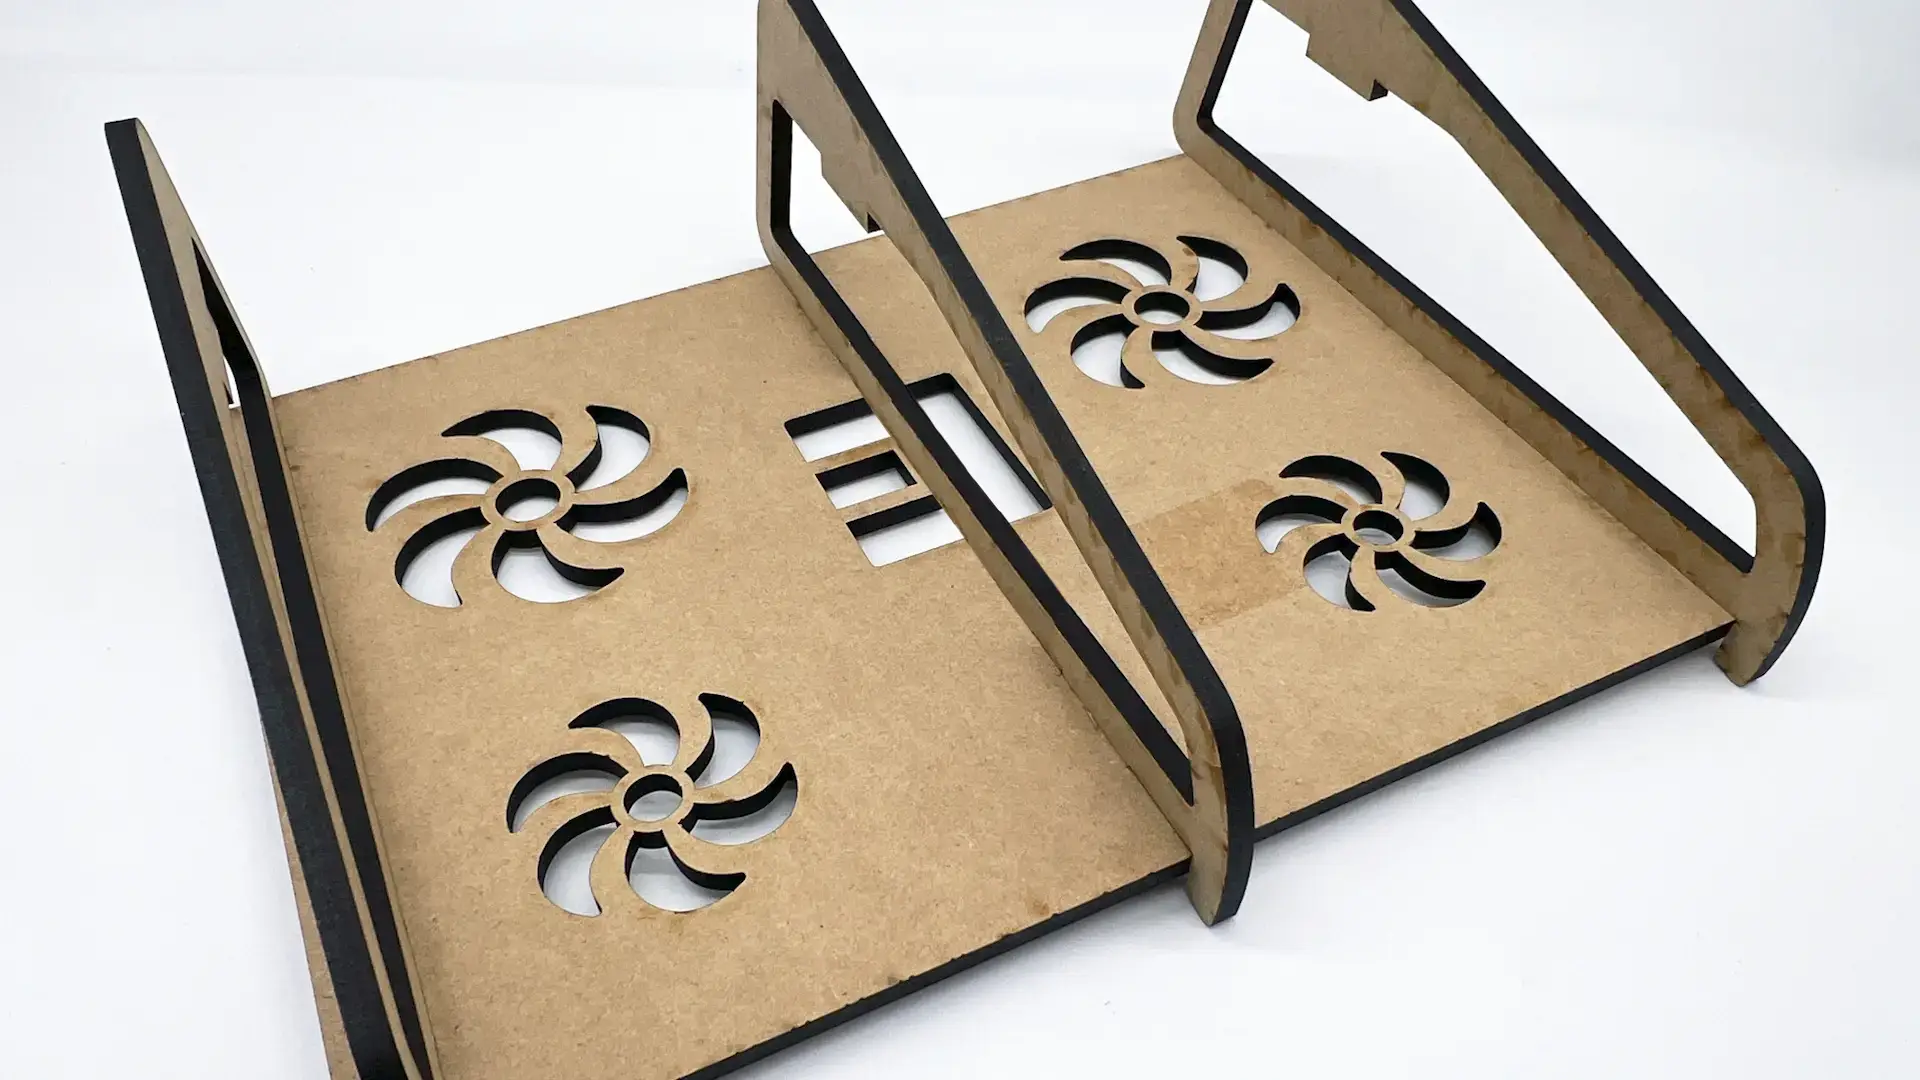
Once your laptop stand pieces are cut, you’re ready to begin assembling the laptop stand. The laptop stand artwork is a press-fit design, which does not require glue. You’ll be able to press the tabs into the matching holes with little effort, but if you need to, use a rubber mallet or hammer and gently tap on the pieces until the tabs fit firmly into the slots.
Step 6: Snap in the Left Leg
Start by adding the left leg to the main laptop stand support.
Step 7: Snap in the Right Leg
Next, add the right leg.
Step 8: Snap in the Middle Leg
Then add the middle support leg.
Step 9: Snap in the Leg Crossbar Support
Lastly, we’ll add the leg crossbar connector, which couples the three legs together and provides additional stability and strength to the laptop stand.
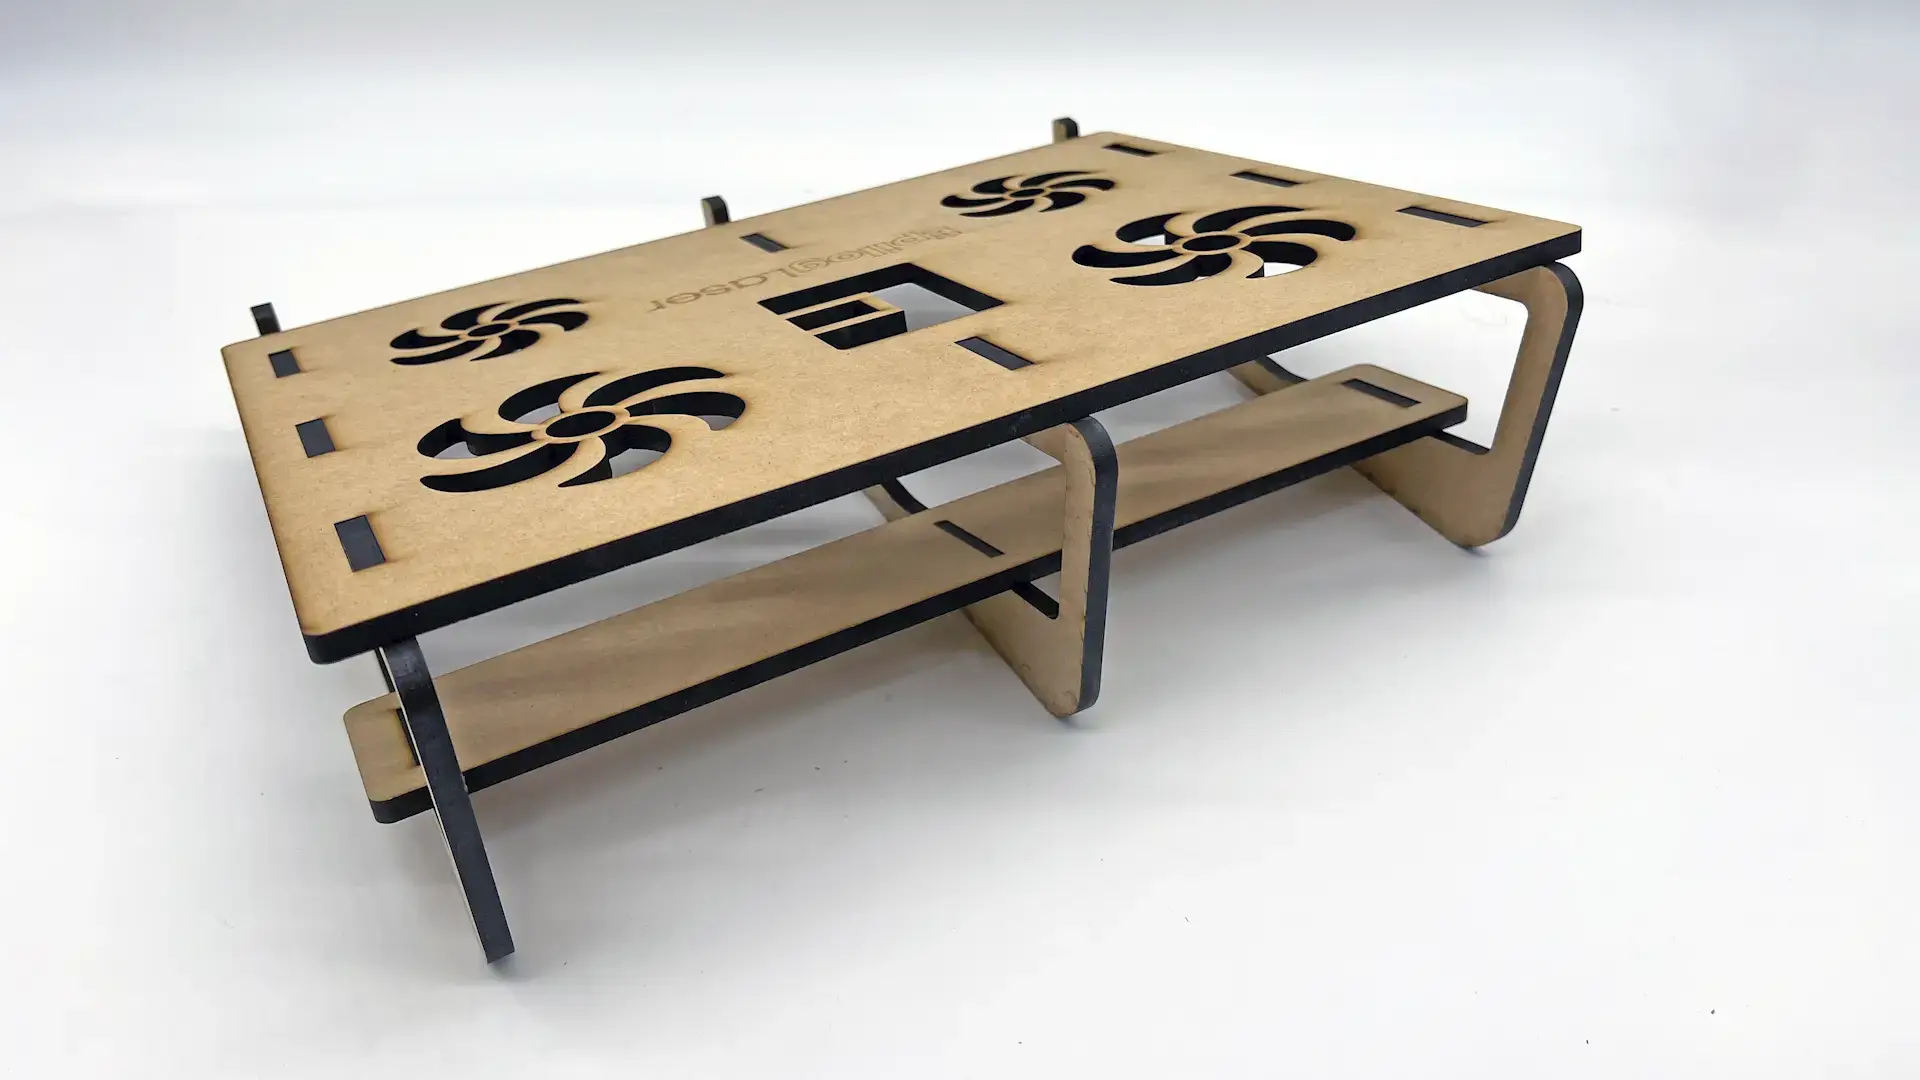
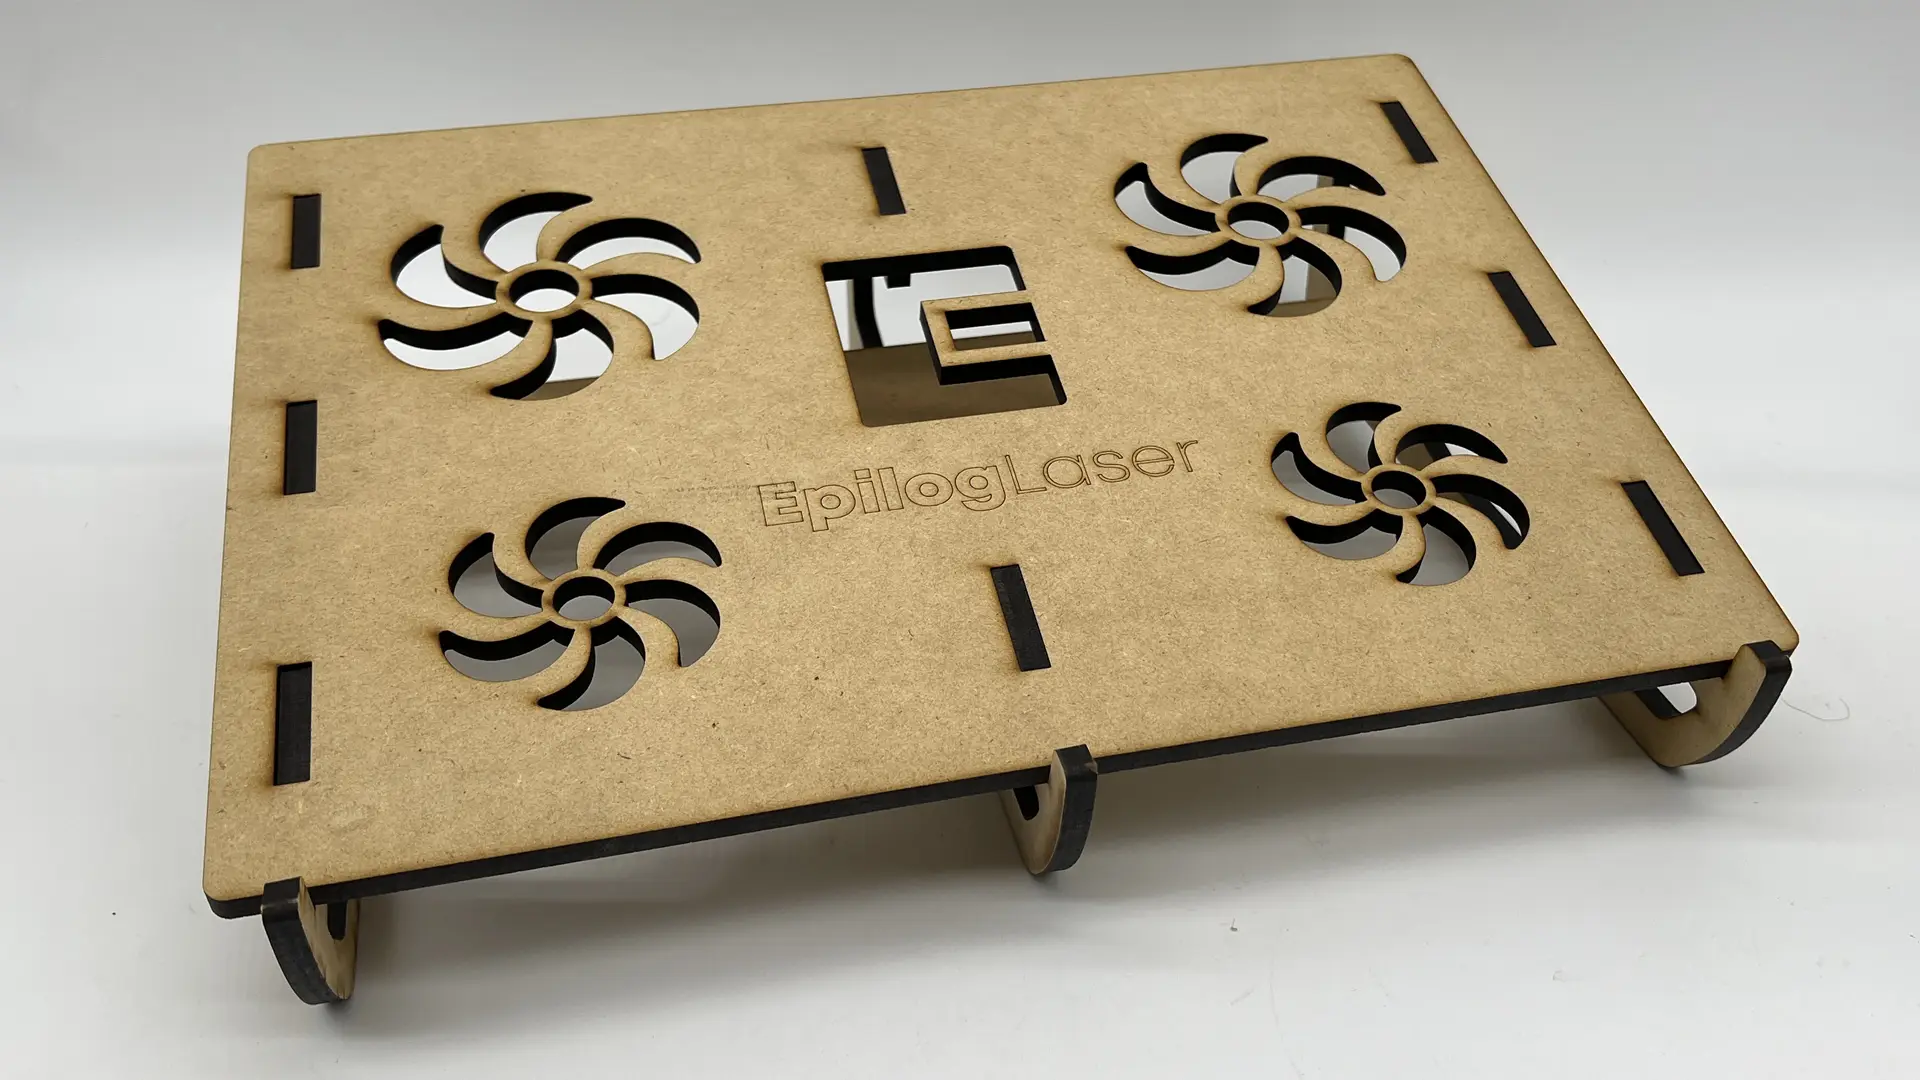
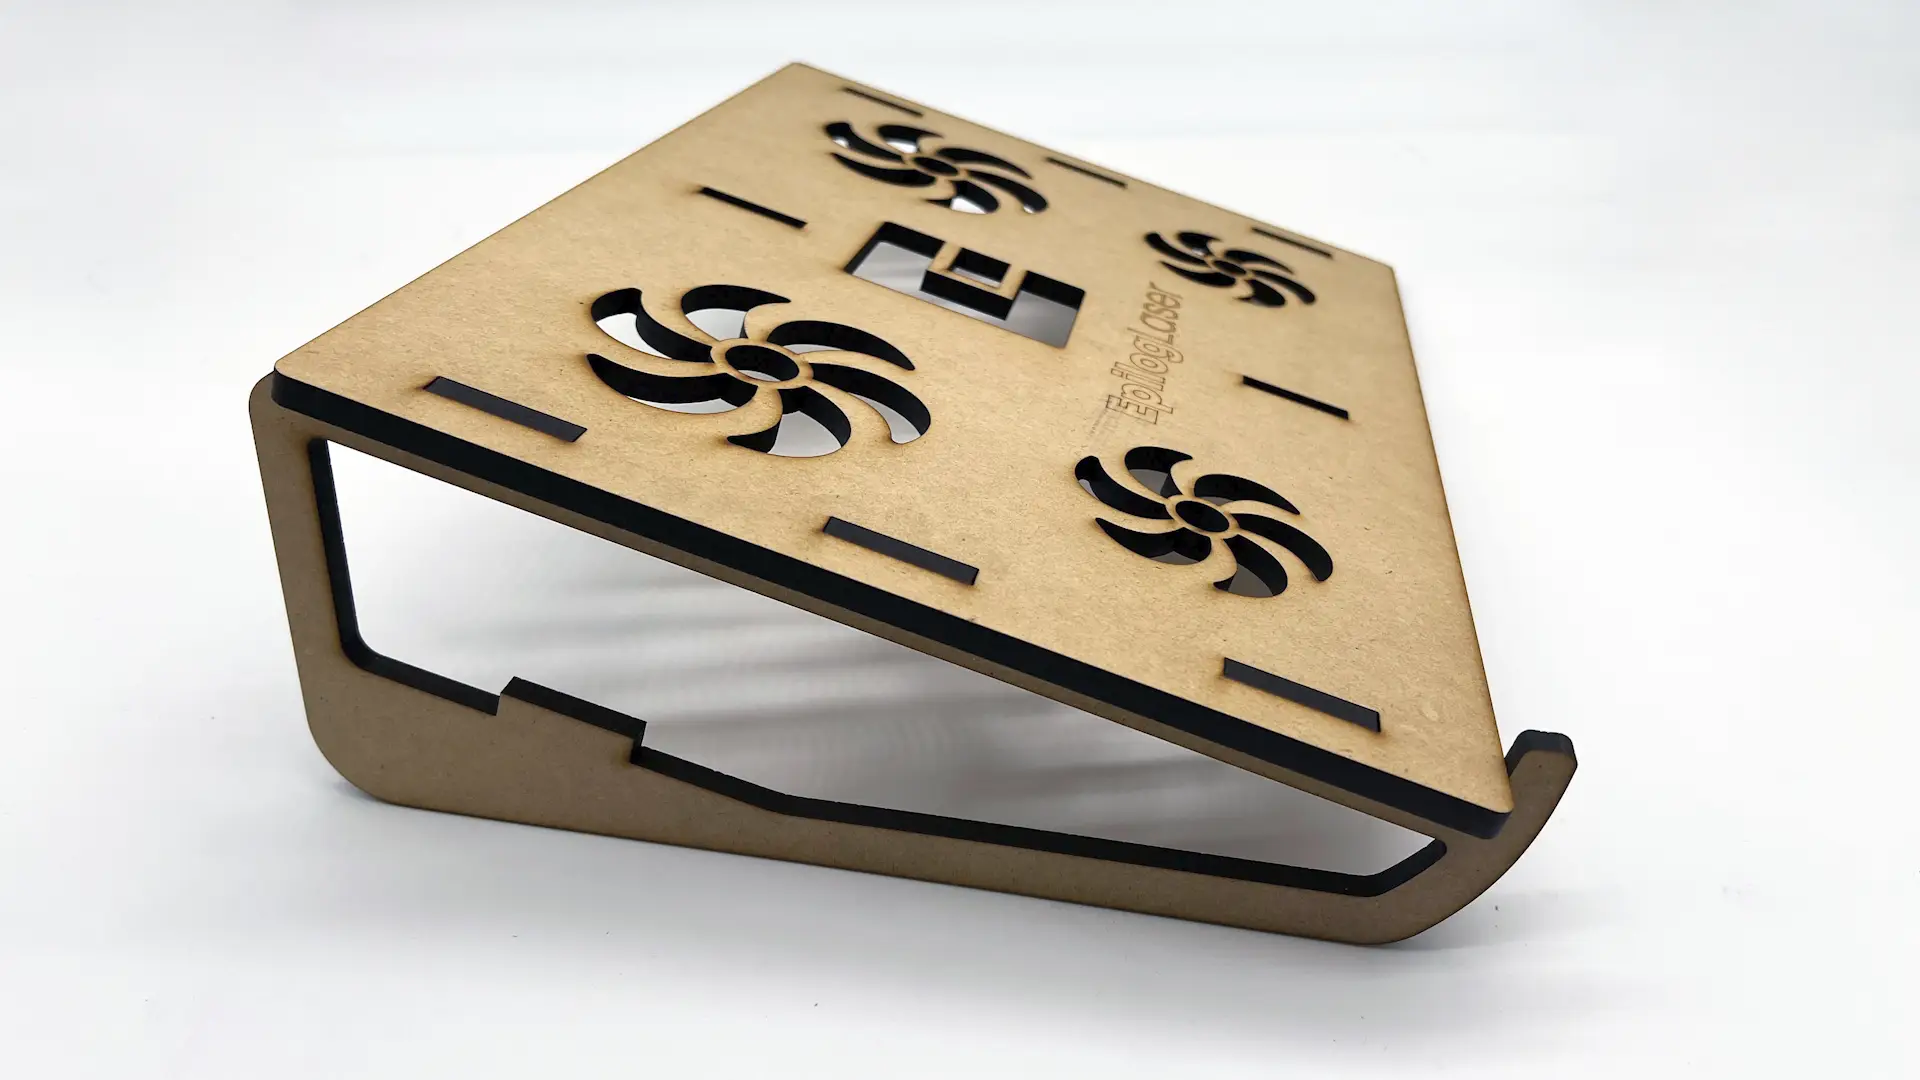
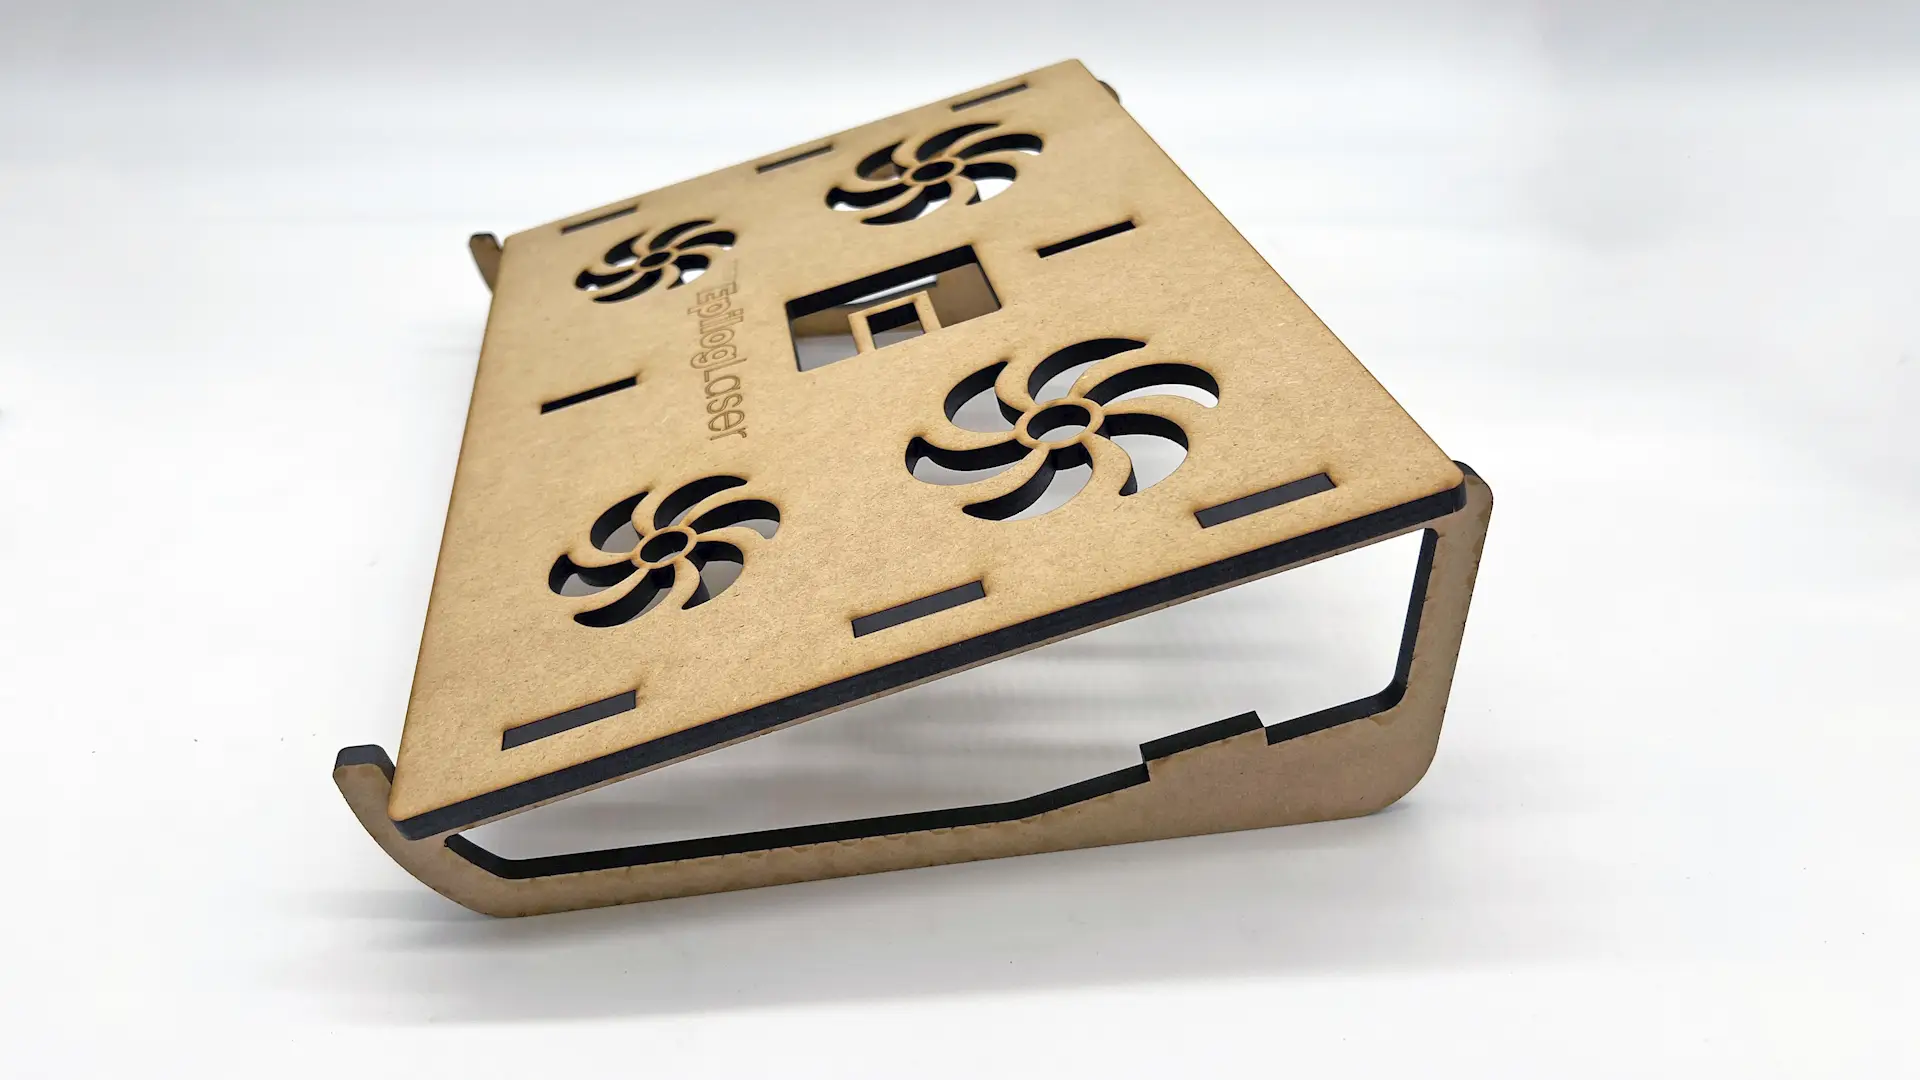
Step 10: Final Laptop Stand – Ready to Go!
With the MDF laser cut project now assembled and complete, this functional laptop stand is ready to go!