Laser Cutting a Guitar Inlay
Wood
Introduction
Project Settings
-
available from guitarfetish.com
-
available from veneersupplies.com
-
Sand paper
-
Lacquer spray(we used the type that dries in 30 minutes)
-
Masking tape
Prepare Artwork & Material
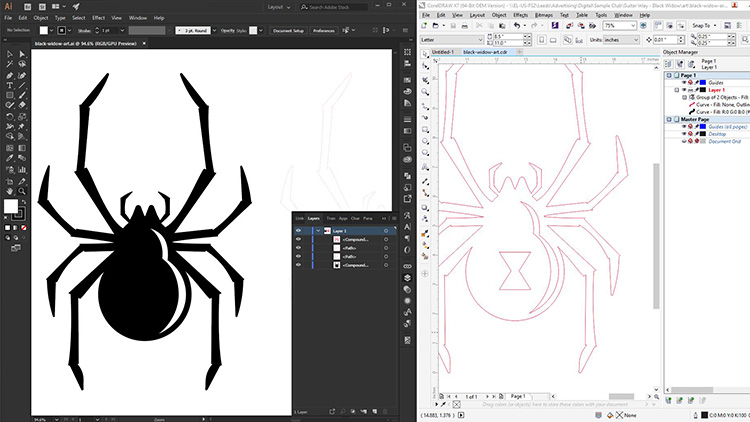
Open the artwork files and customize as necessary. Apply masking tape to the area of the guitar you plan on engraving, trimming off any excess tape around the edges.
Engrave the Veener Pocket
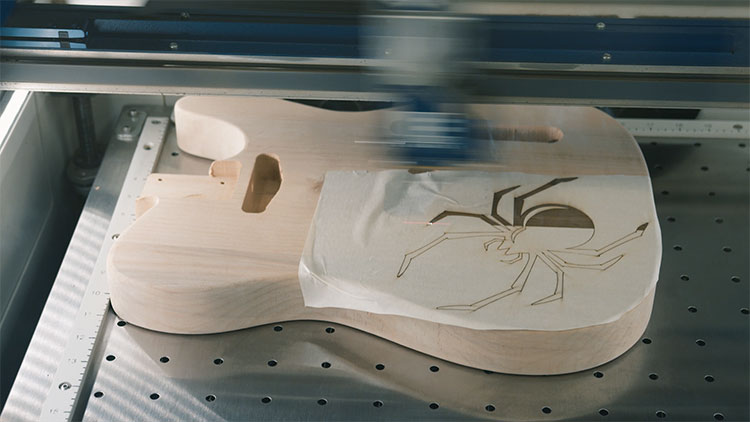
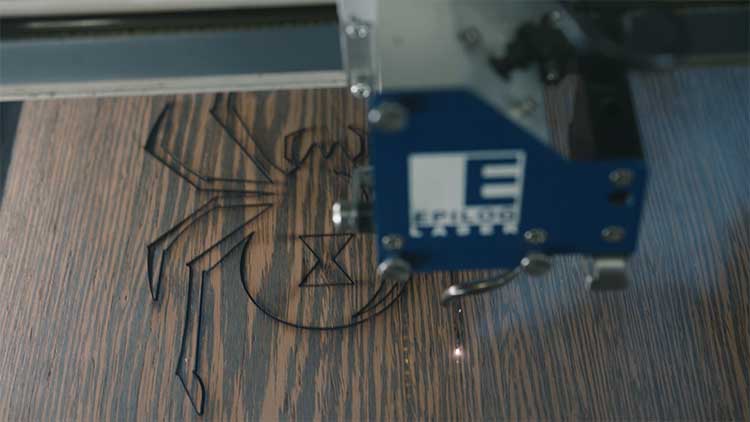
Place the guitar body on to the bed of the laser. In your graphics software, position the spider graphic to align it with where you want it engraved on the guitar. Turn on the red dot pointer at your machine’s control panel, then print the outline of the spider to the laser. Keep the lid to the laser open and watch the red dot pointer trace the outline. Back in your graphics software, adjust the spider graphic as necessary to fit the guitar. Send the spider shape to the laser to engrave the pocket for the veneer inlay. Once complete, remove the masking tape and wipe off any debris around the edges.
Inlay
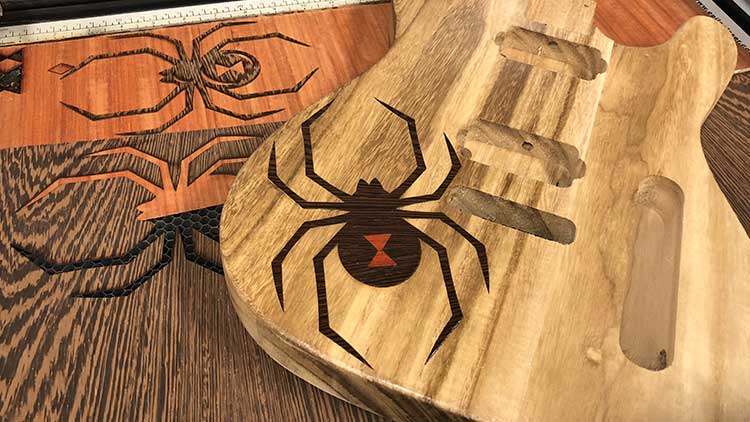
Cut the veneer inlay pieces out of the Wenge and Padauk wood. We used the Wenge for the spider body and the Padauk for the hourglass. Peel off the backing and place the veneer in the pocket. Use the roller to make sure the veneer is pressed into position and pressure is applied to the adhesive backing. Inlay the spider body first, then do the same for the hourglass.
Enjoy
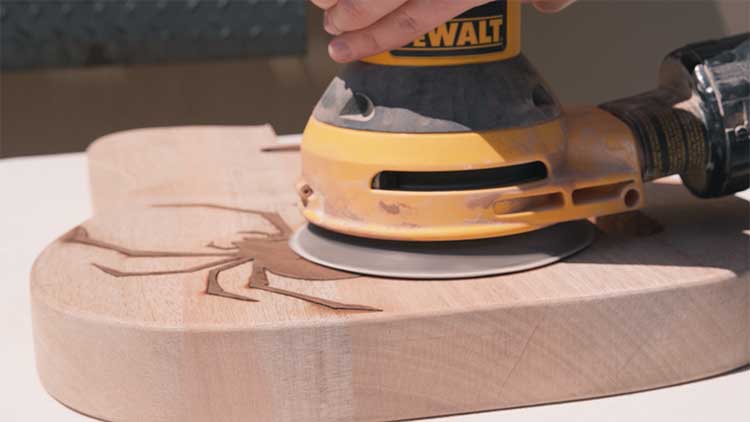
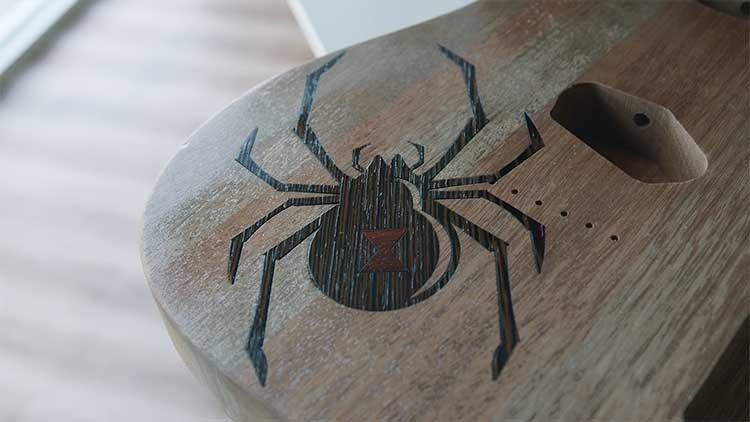
Sand the veneer, lightly, until it is flush with the guitar body. Finish with lacquer, approximately five coats with 30 minutes of dry time between recoating.
Where can you sell guitars?
- Local & chain music stores
- To musicians & instrument collectors
- In an online store or specialty gift shop


