Laser Cutting a Christmas Tree Candle Holder
Holidays, Wood
Introduction
Project Settings
-
We used the following colors: Frame Gold & Jewel Silver.
Step 1: Prepare Artwork for your Christmas Tree Candle Holder
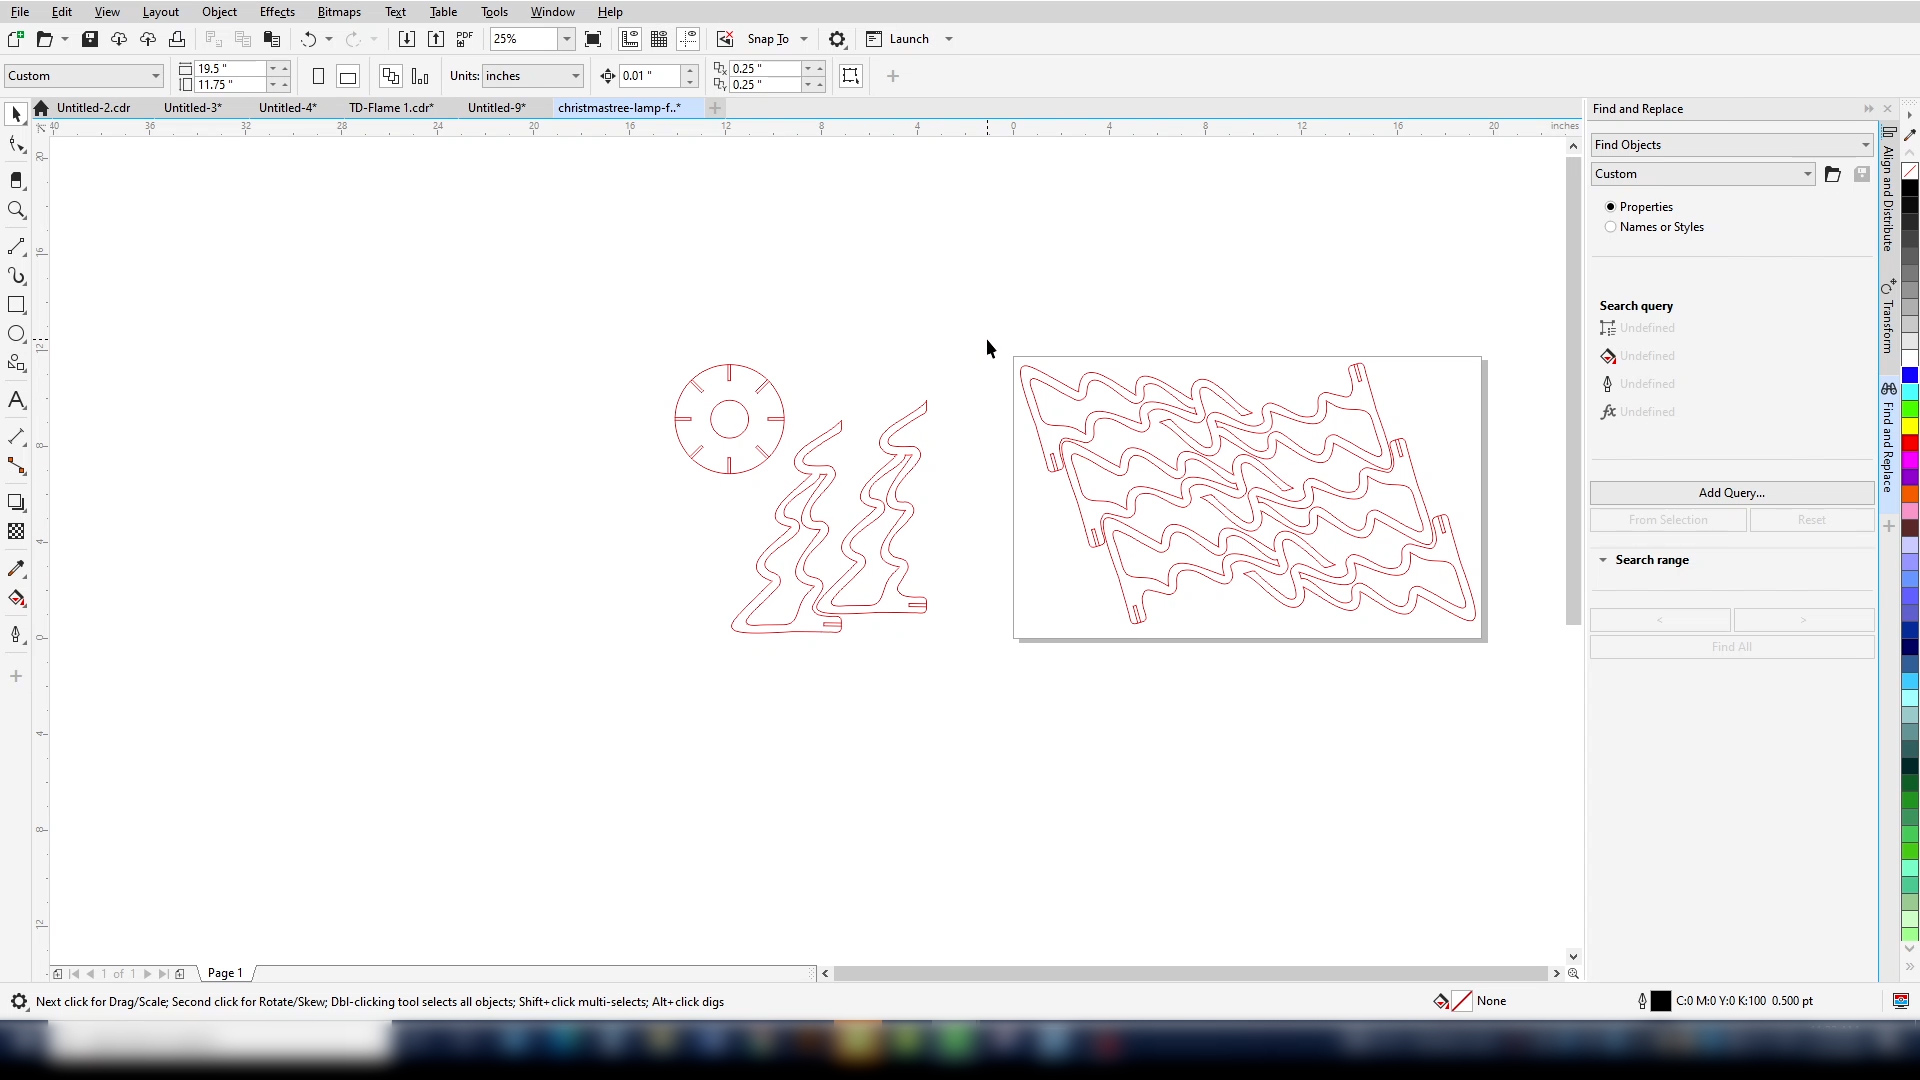
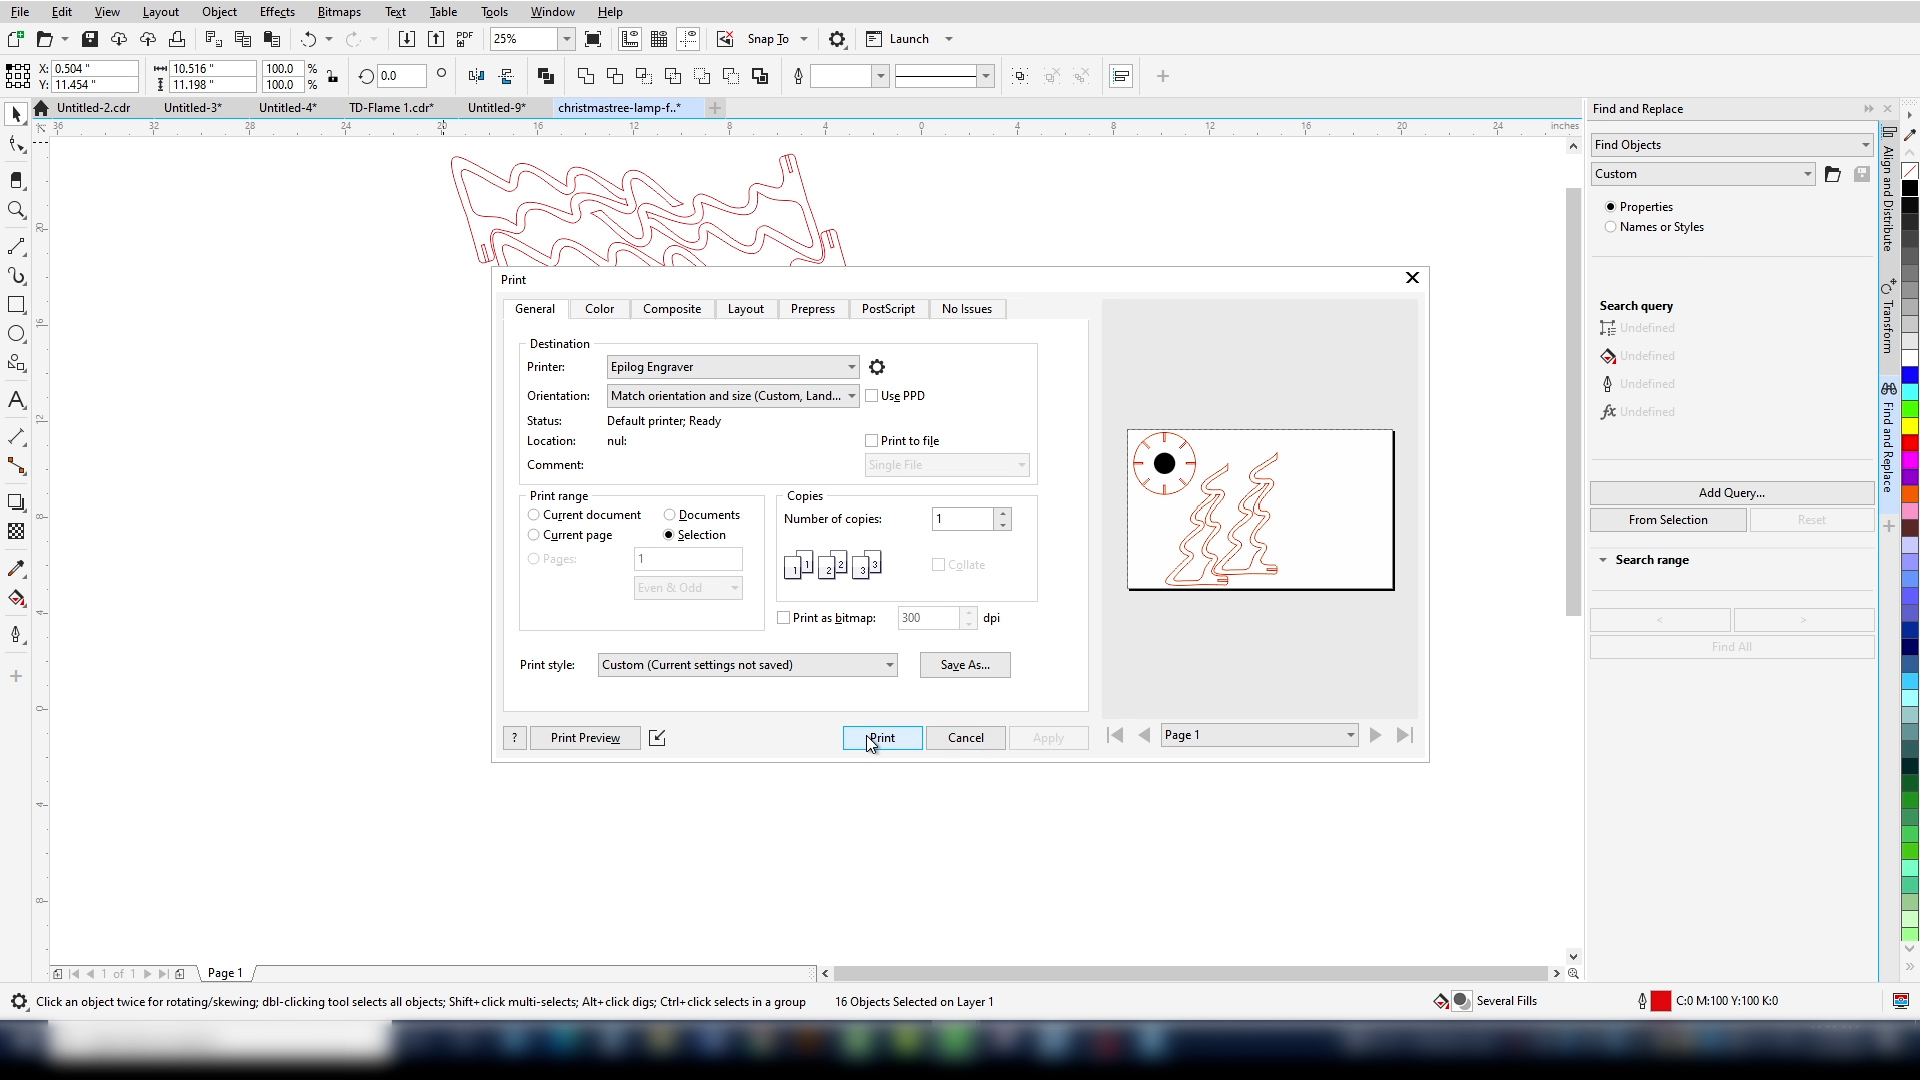
When you open the file, you’ll see two sections of the graphic. Select the six pieces that are laid out on the page and print them to the laser, using selection only.
Step 2: Print the First Layer
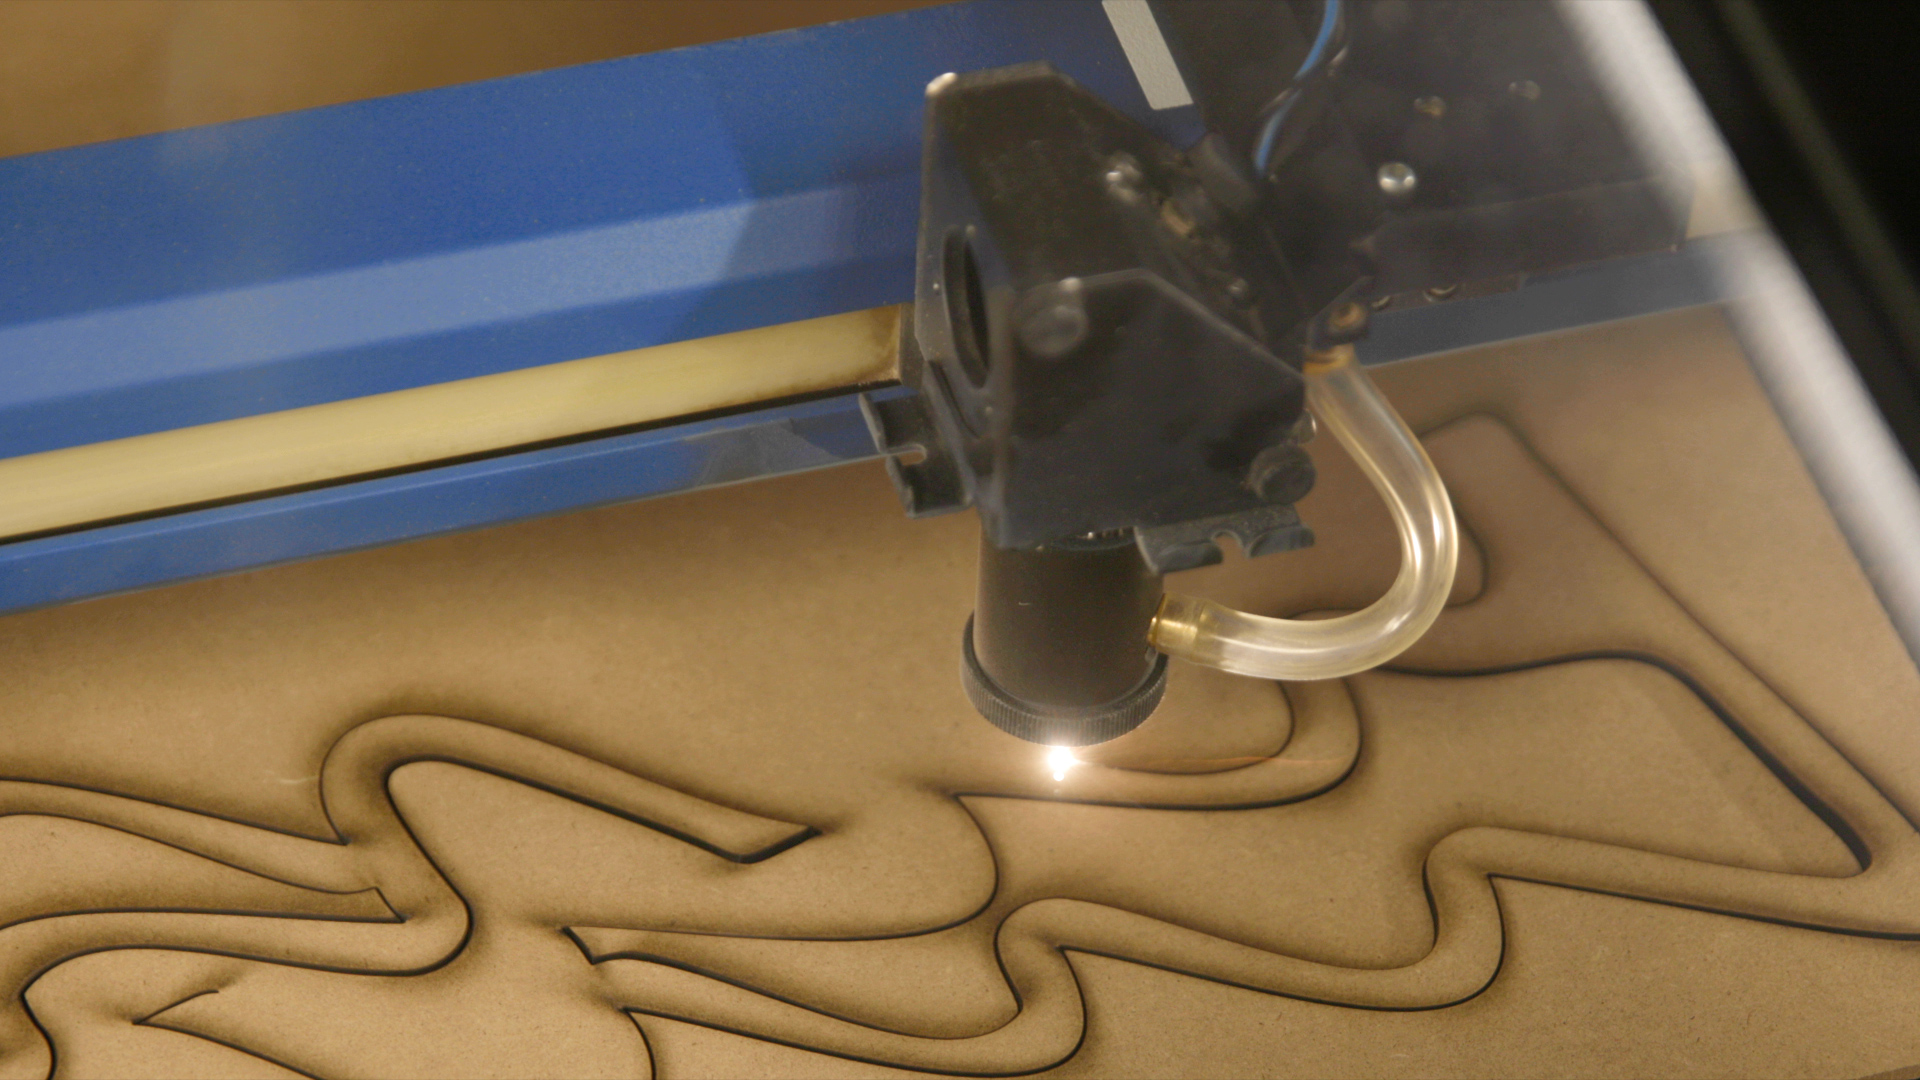
In the Laser Dashboard import the material settings for vector cutting 3 mm wood. We’re using an 80 watt Fusion Pro 36 laser for this project, so we’re using 12% speed, 100% power, and 10% frequency. When you’re happy with the settings, print the file to the laser.
Step 3: Print the Second Layer
When the file has finished cutting, go back to your design file. Move the second portion of the graphic to the page. Select the image, and print it to the laser “Selection Only”.
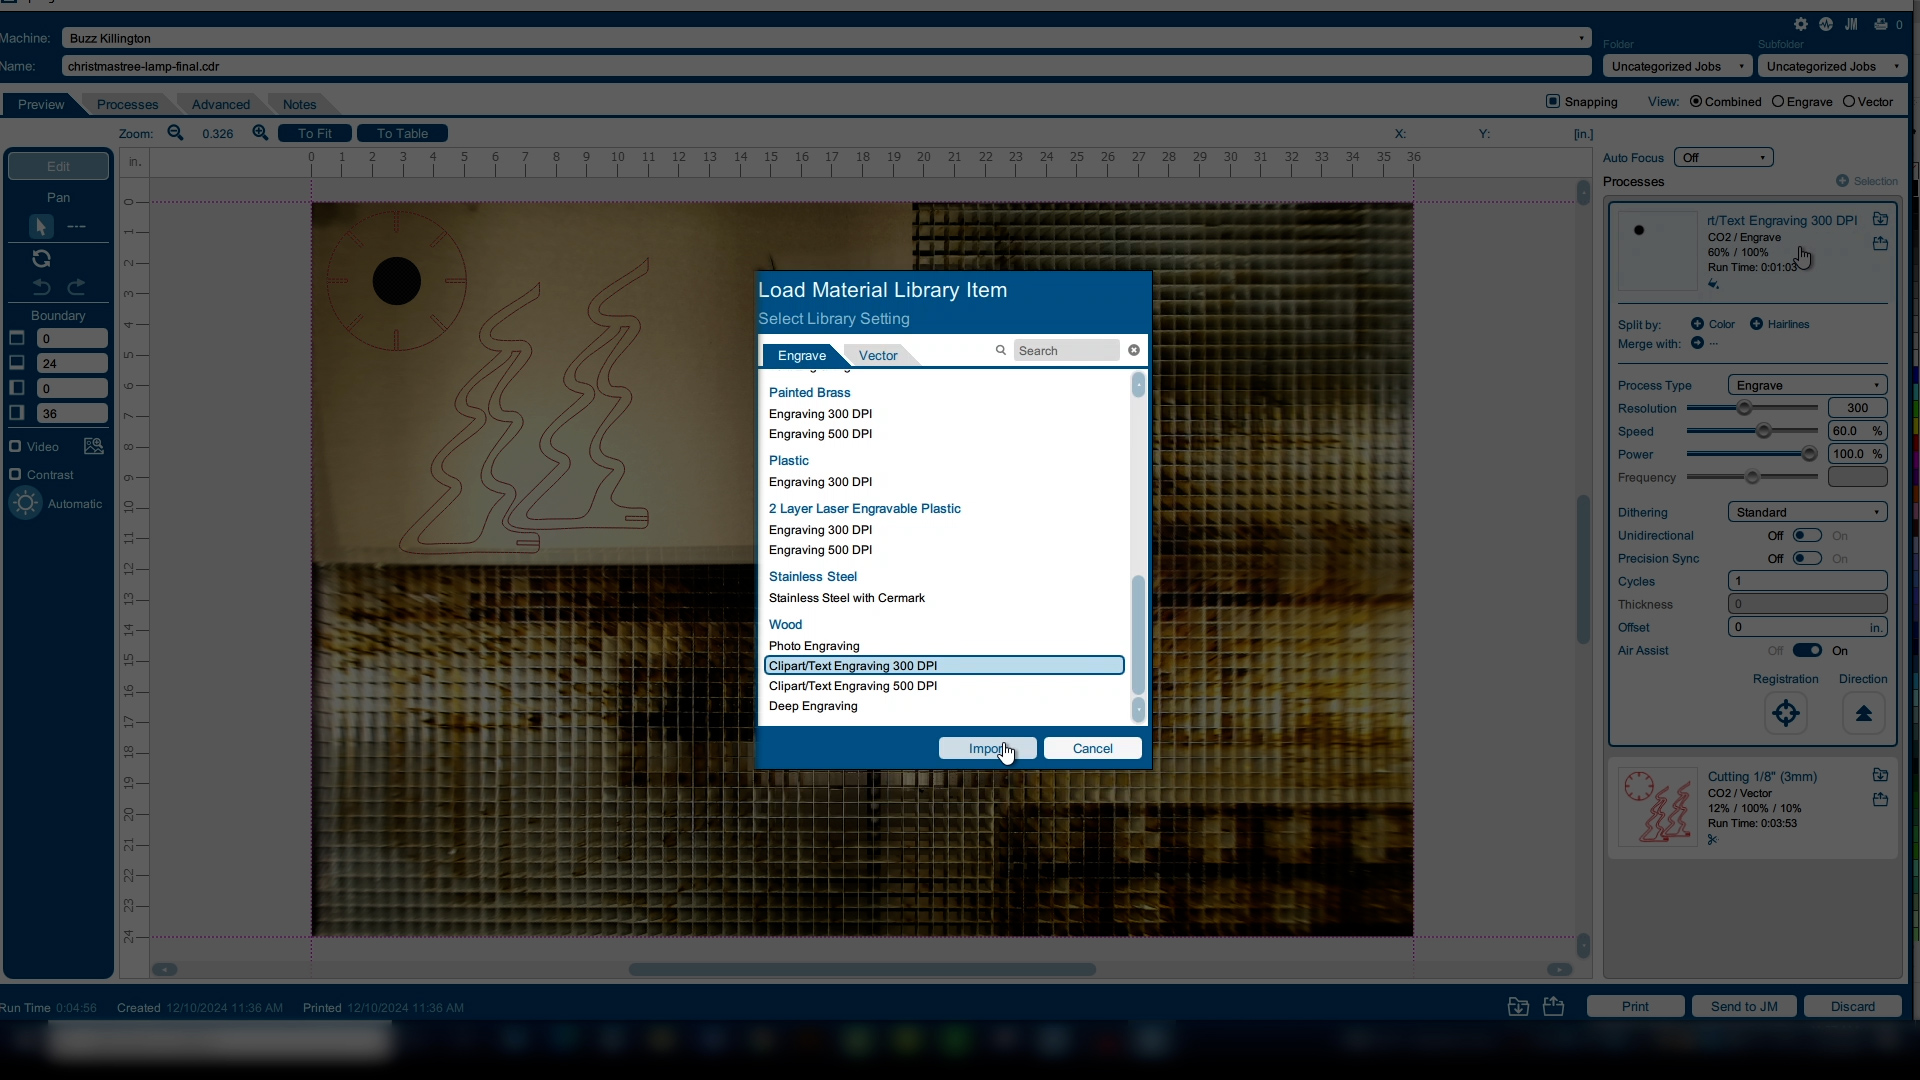
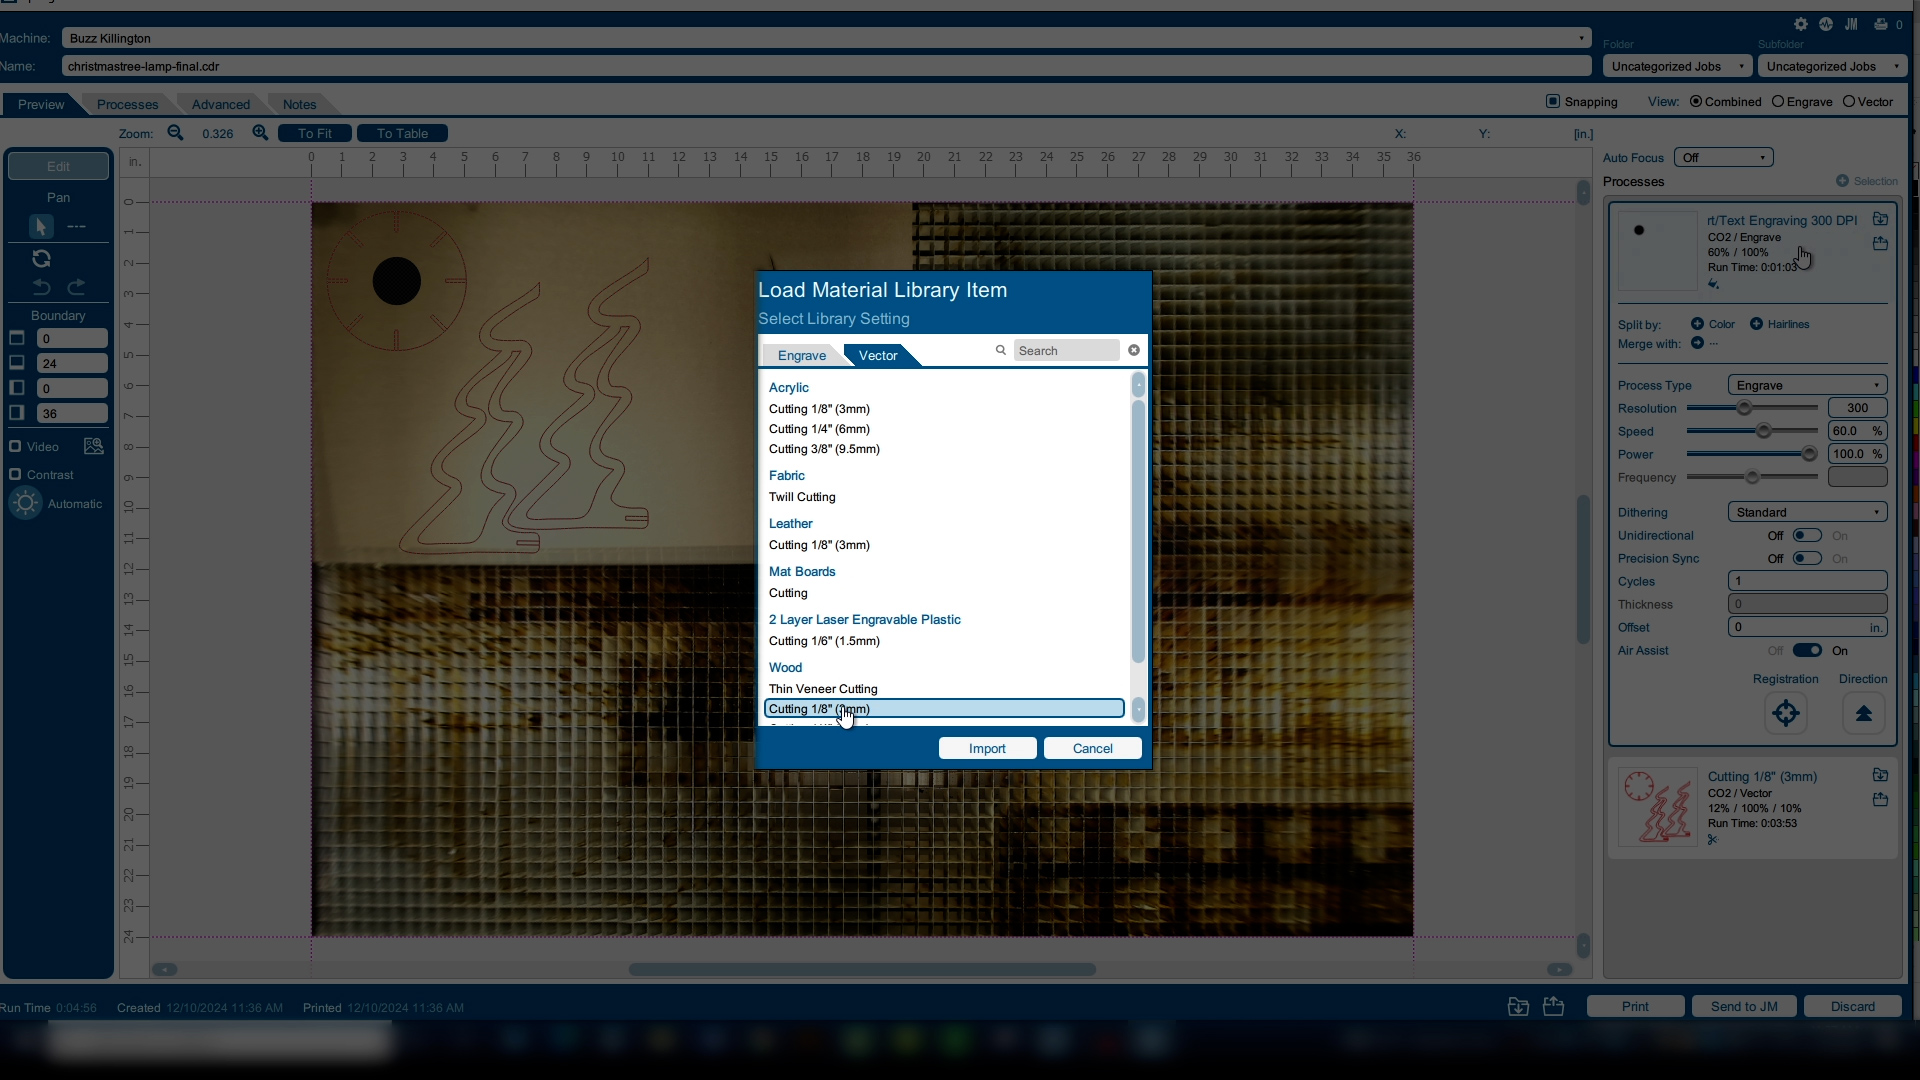
In the laser Dashboard you’ll see two processes, one for engraving and one for cutting. For the engraving layer, import the settings for 300 dpi engraving of wood. For the cutting layer, import the settings for 3 mm wood. We’ll adjust the engraving layer to be bottom to top engraving and print the file to the laser.
Step 4: Spray Paint your Cut Out Pieces
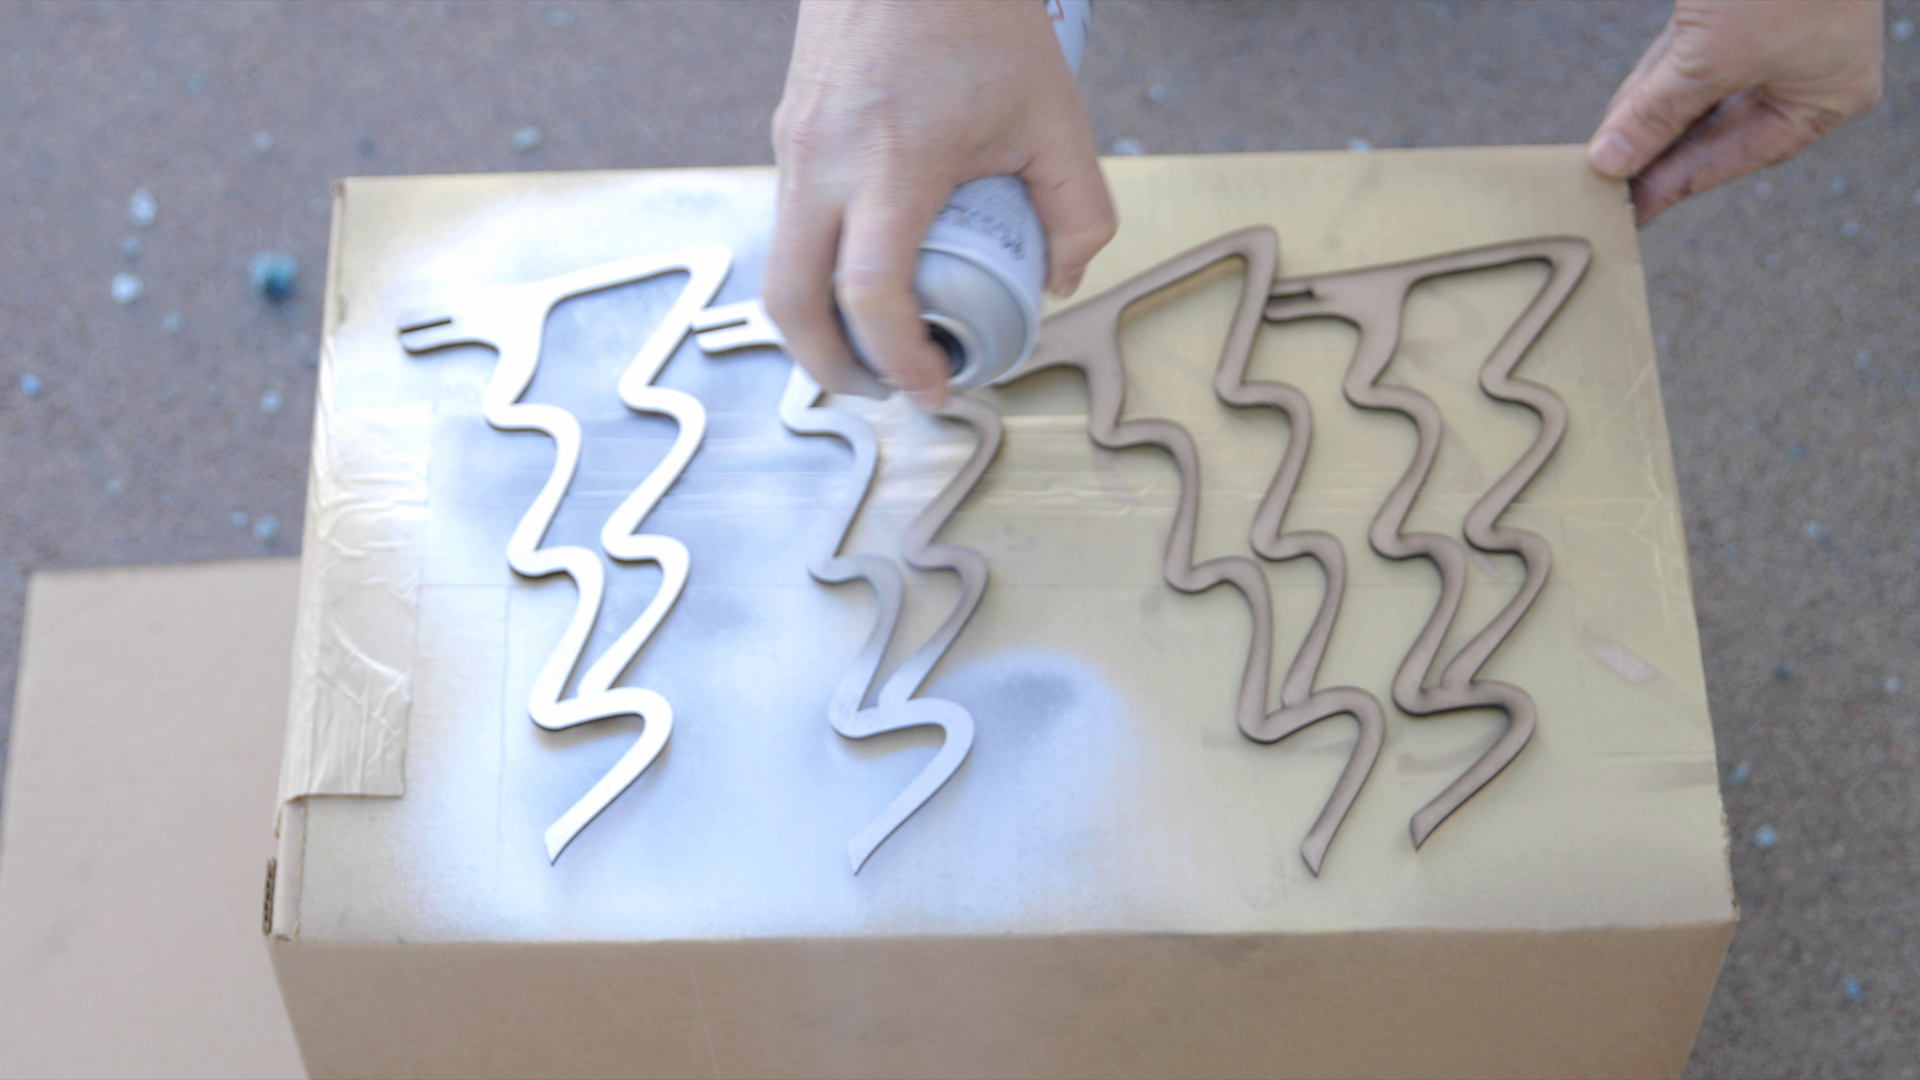
Once you’re done, spray paint each of the pieces on both sides. Using the MTN 94 paint is a great way to get even coverage on the mdf in a single pass without the blotchy look that most paints have on MDF.
Step 5: Assemble your Laser Cut Christmas Tree Candle Holder
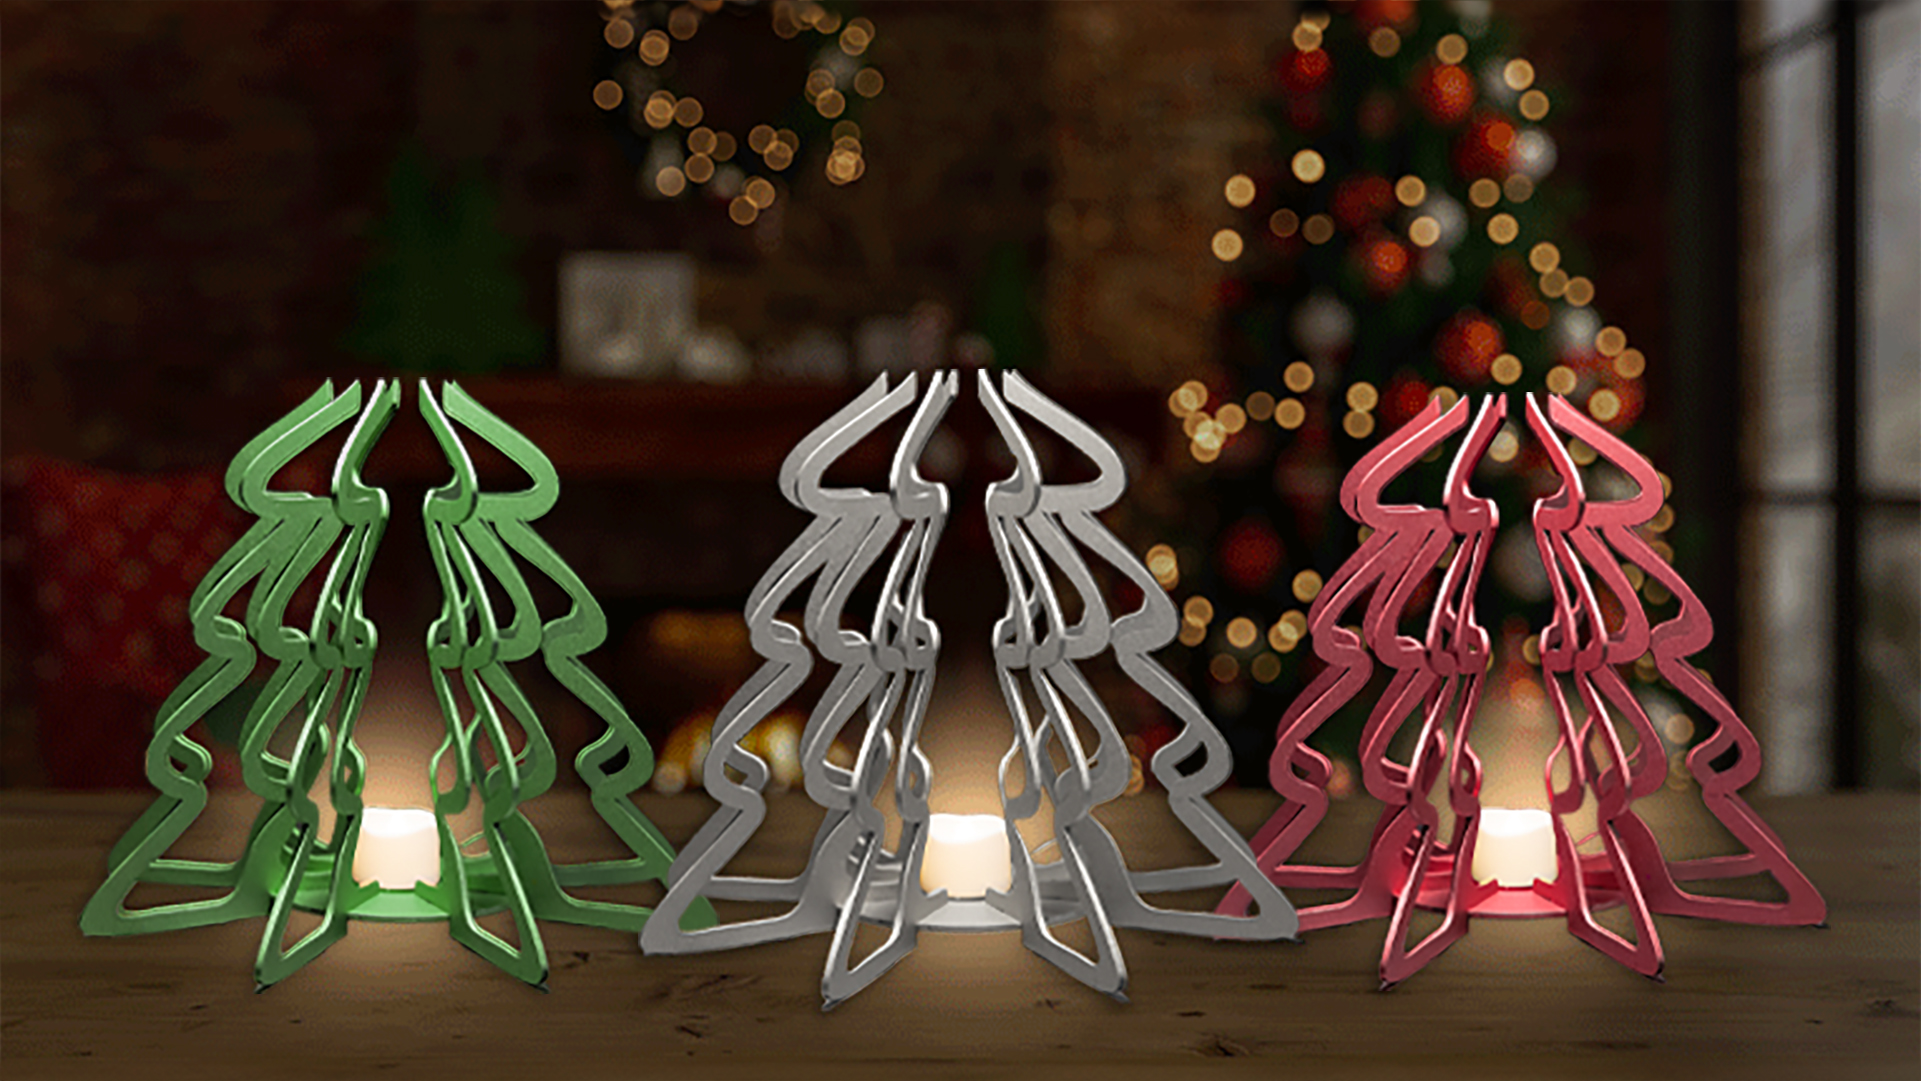
When dry, assemble the pieces, and you’re done!

Where can you sell custom laser cut Christmas Tree Candle Holders?
Selling laser-cut Christmas Tree Candle Holders can be done through various channels, both online and offline. Here are some options:
- Online marketplaces like Etsy, Amazon Handmade, Facebook Marketplace, etc.
- Craft fairs and local markets.
- Holiday Pop-up shops.
- Your website.
