Laser Cut Wooden Lamp
Wood
Introduction
Project Settings
-
Our plywood was 2’x 2′, so you will need to purchase accordingly for your table size.
-
Wood stain of your choice (optional)
Step 1: Setup
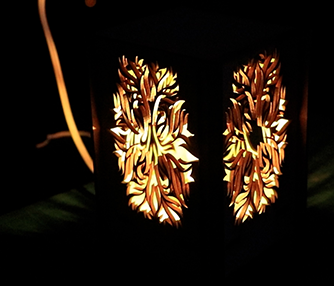
Begin with staining the plywood with your preferred staining product. We used a dark stain resembling oak for this project. Once it’s dry, it’s time to open the artwork files and customize as necessary.

Step 2: Send the Job to the Laser
After you’ve modified the artwork to your liking, insert your plywood material and focus the machine. You may need to test your speed/power/frequency settings prior to cutting. Send the job to the laser with the correct parameters for your machine/wattage.

Step 3: Assemble the Lamp
This lamp was cut to fit the specific cord we purchased; however, it is a fairly standard size from a variety of manufacturers.
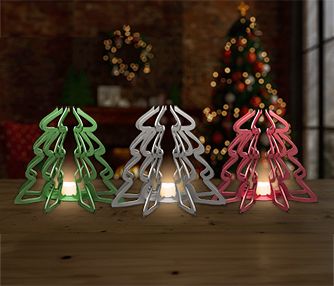
Start by unscrewing the plastic circular piece on the lighting kit. Slide the base of the lamp (the wooden circle) on the light cord. Reattach the plastic circle piece back to the light cord. Attach the wooden inserts into the cut outs of the circular base. The pieces should fit snugly, but if you are looking for added stability you can use wood glue to adhere them. Insert a light bulb into the kit and you are good to go!

Step 4: Attach a Light Fixture
Attach the lamp to a lighting fixture and decorate as you please!

Where can you sell wooden lamps?
- Online Stores
- Home décor retailers
- Woodworking fairs
