Make Thanksgiving Napkin Holders & Place Cards with Epilog
Acrylic, Holidays
Introduction
Project Settings
-
5 sheets total
-
We used the following 5 colors: Light Yellow, Kalani Orange, Phoenix Orange, Mars Orange, and Tangerine
Step 1: Prepare Artwork for your Thanksgiving napkin holders and place cards
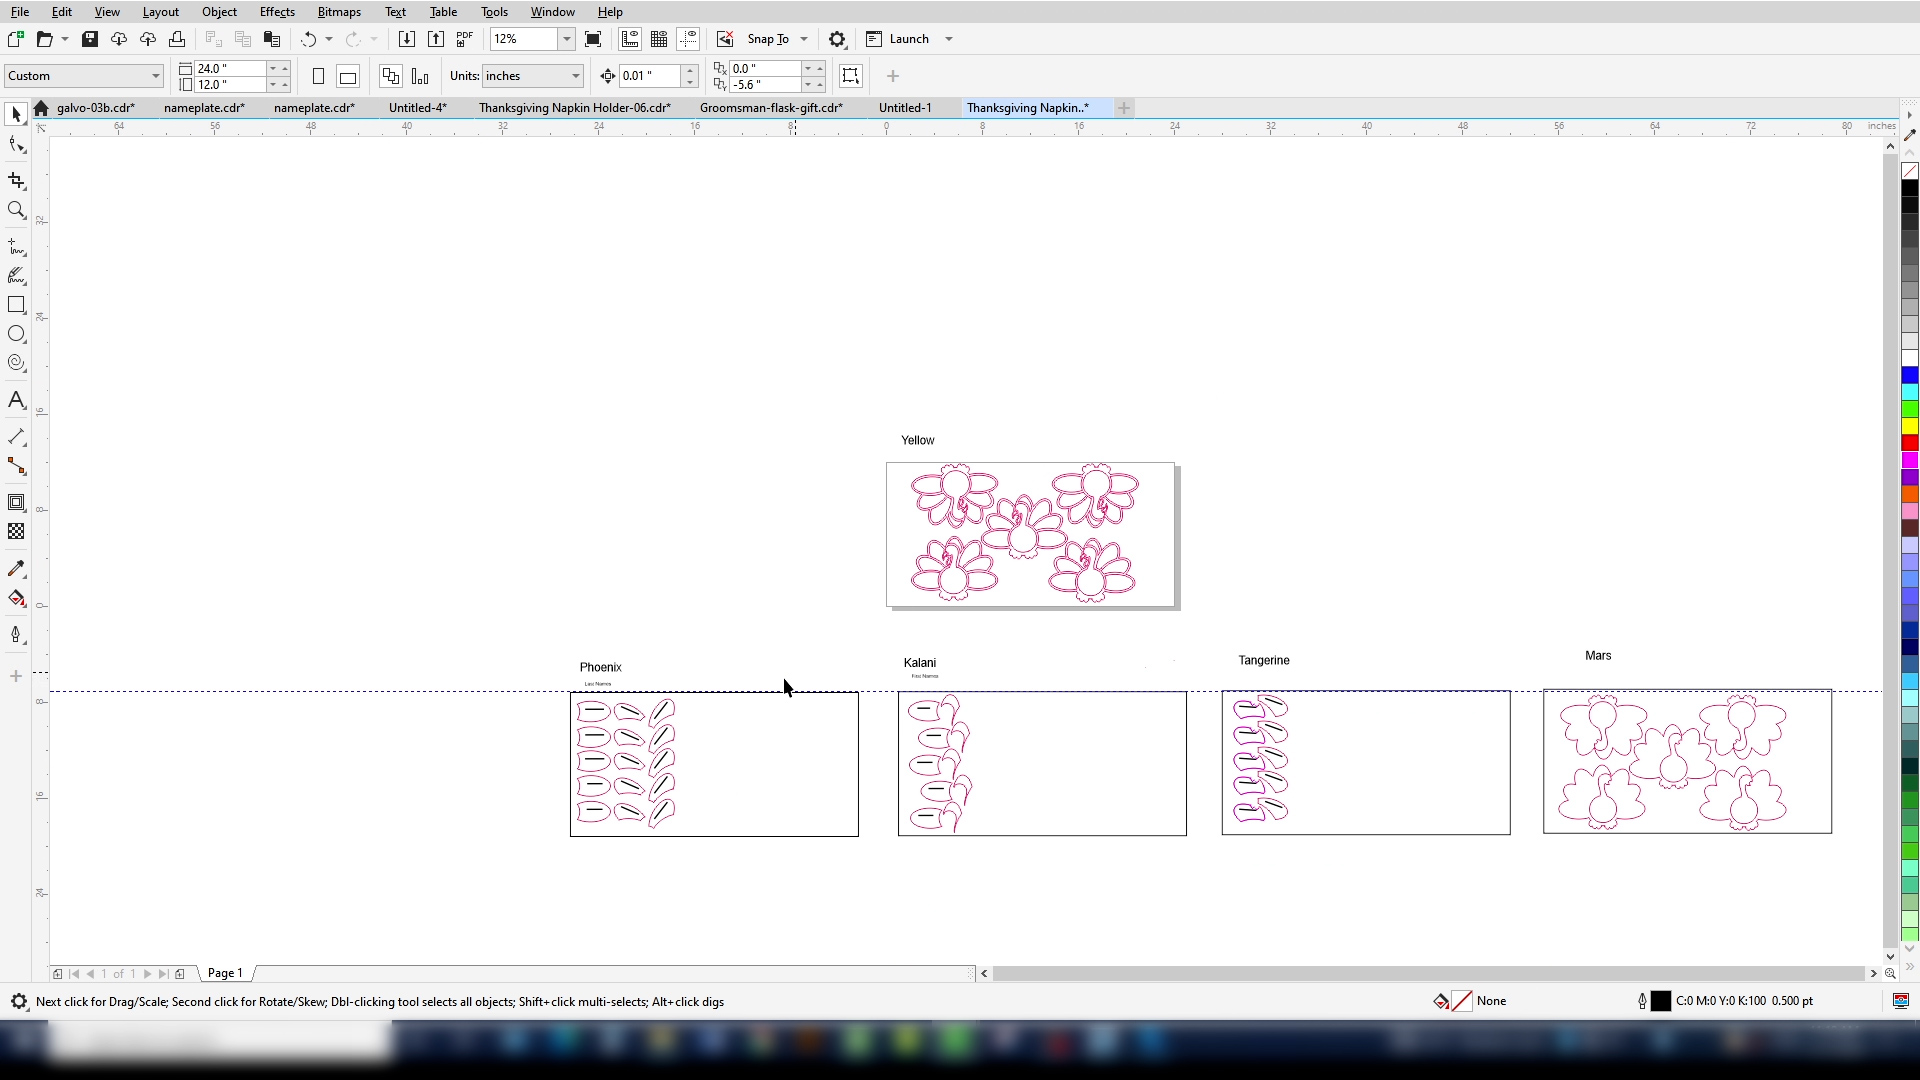
This Thanksgiving, customize the artwork with the names of your choosing. On one sheet you’ll find a list of last names that will be engraved for individual place cards. The other sheet has the first names that you’ll change for your customers.
Step 2: Prepare Materials
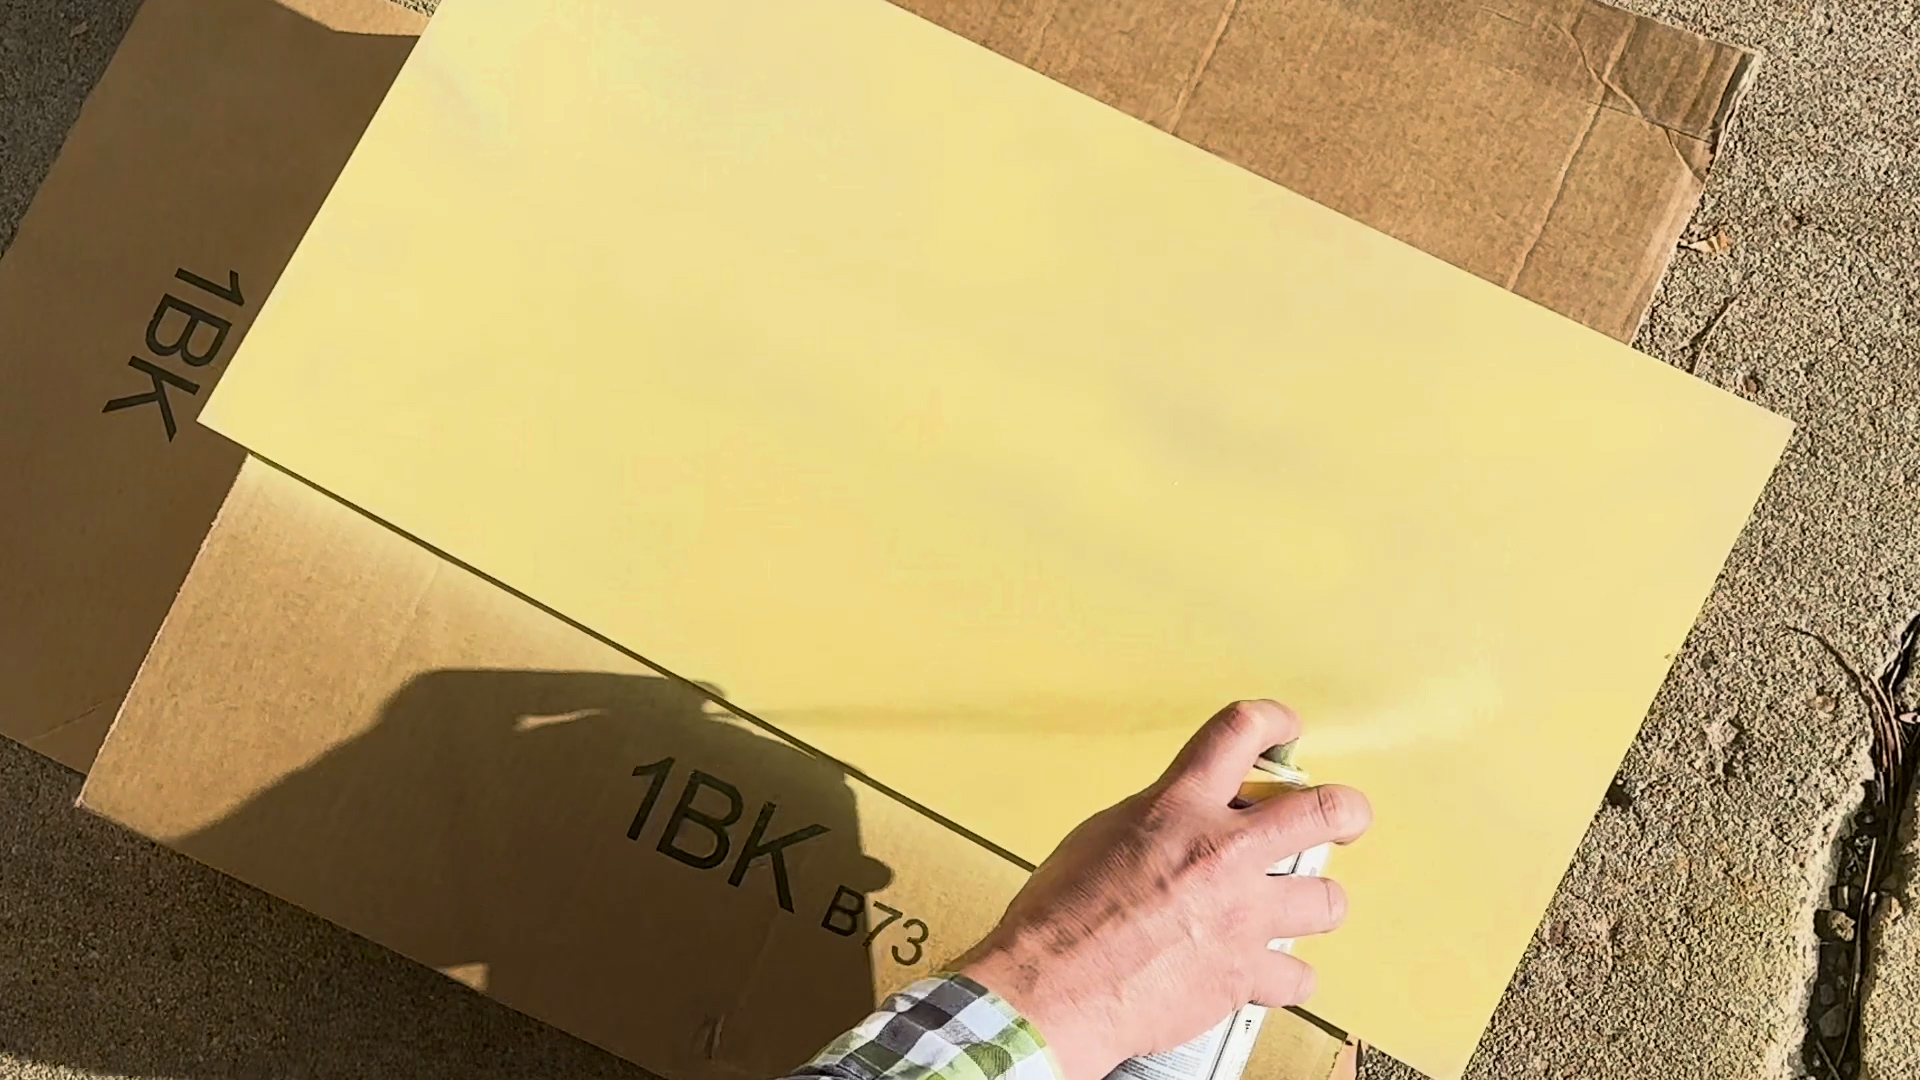
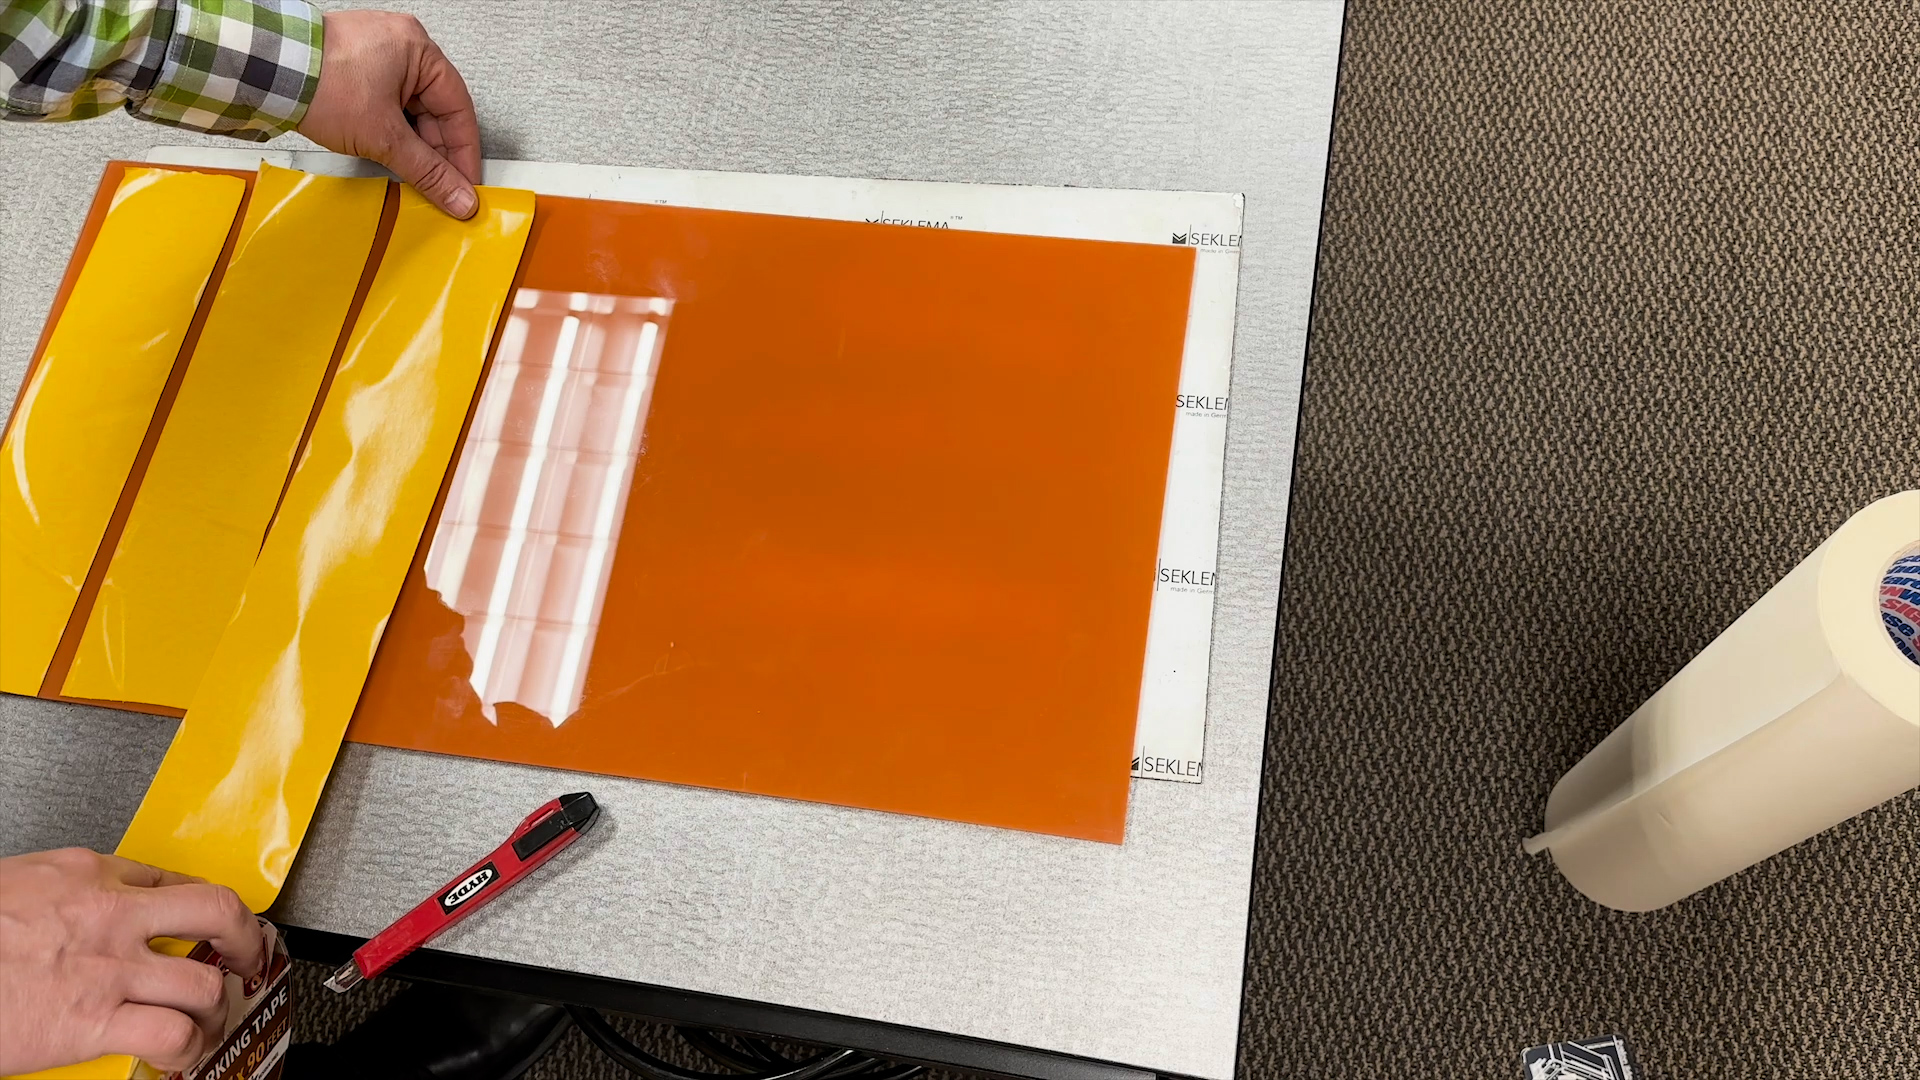
Spray paint each acrylic sheet one of the five colors you’ve chosen. Once the paint has dried, apply double stick tape to the painted side in the area you are going to be cutting. Only one sheet of acrylic doesn’t need tape applied, this is the back sheet, labeled “Mars” in the artwork file.
Step 3: Print the First Layer
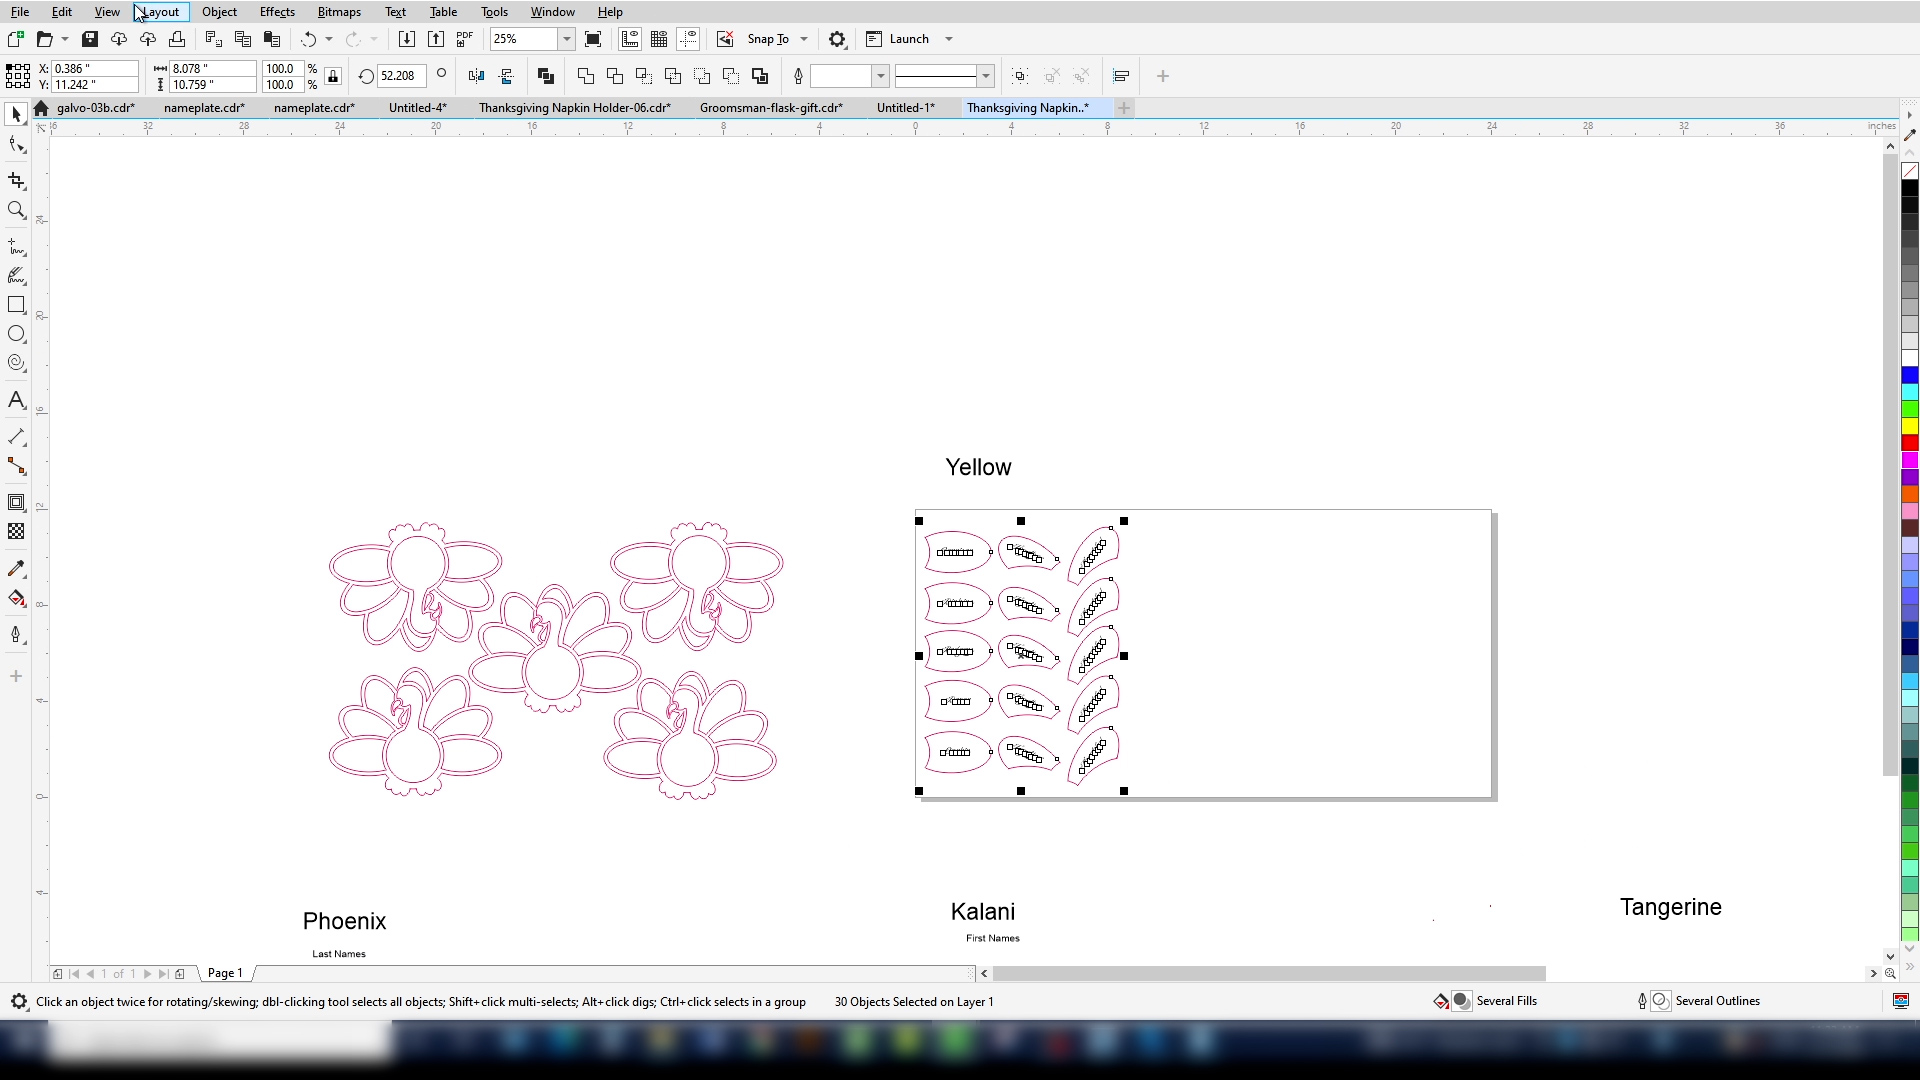
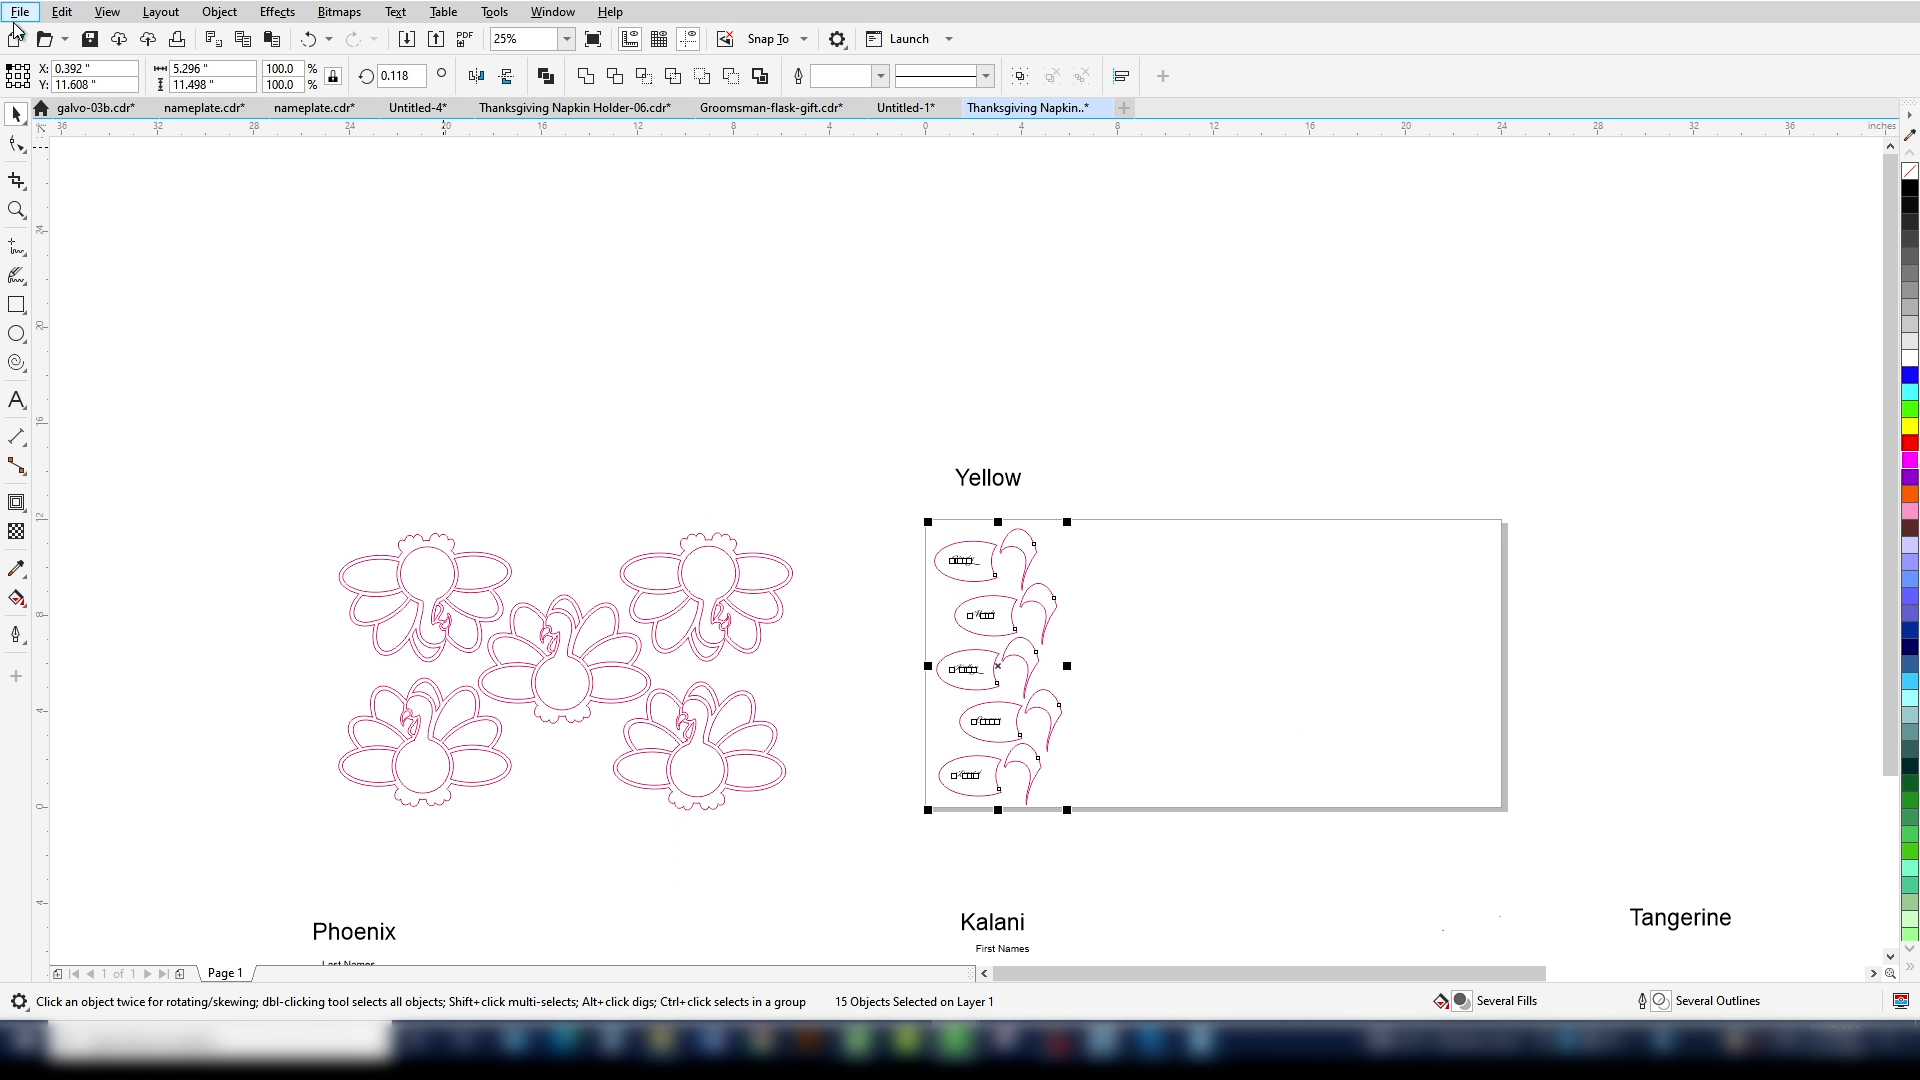
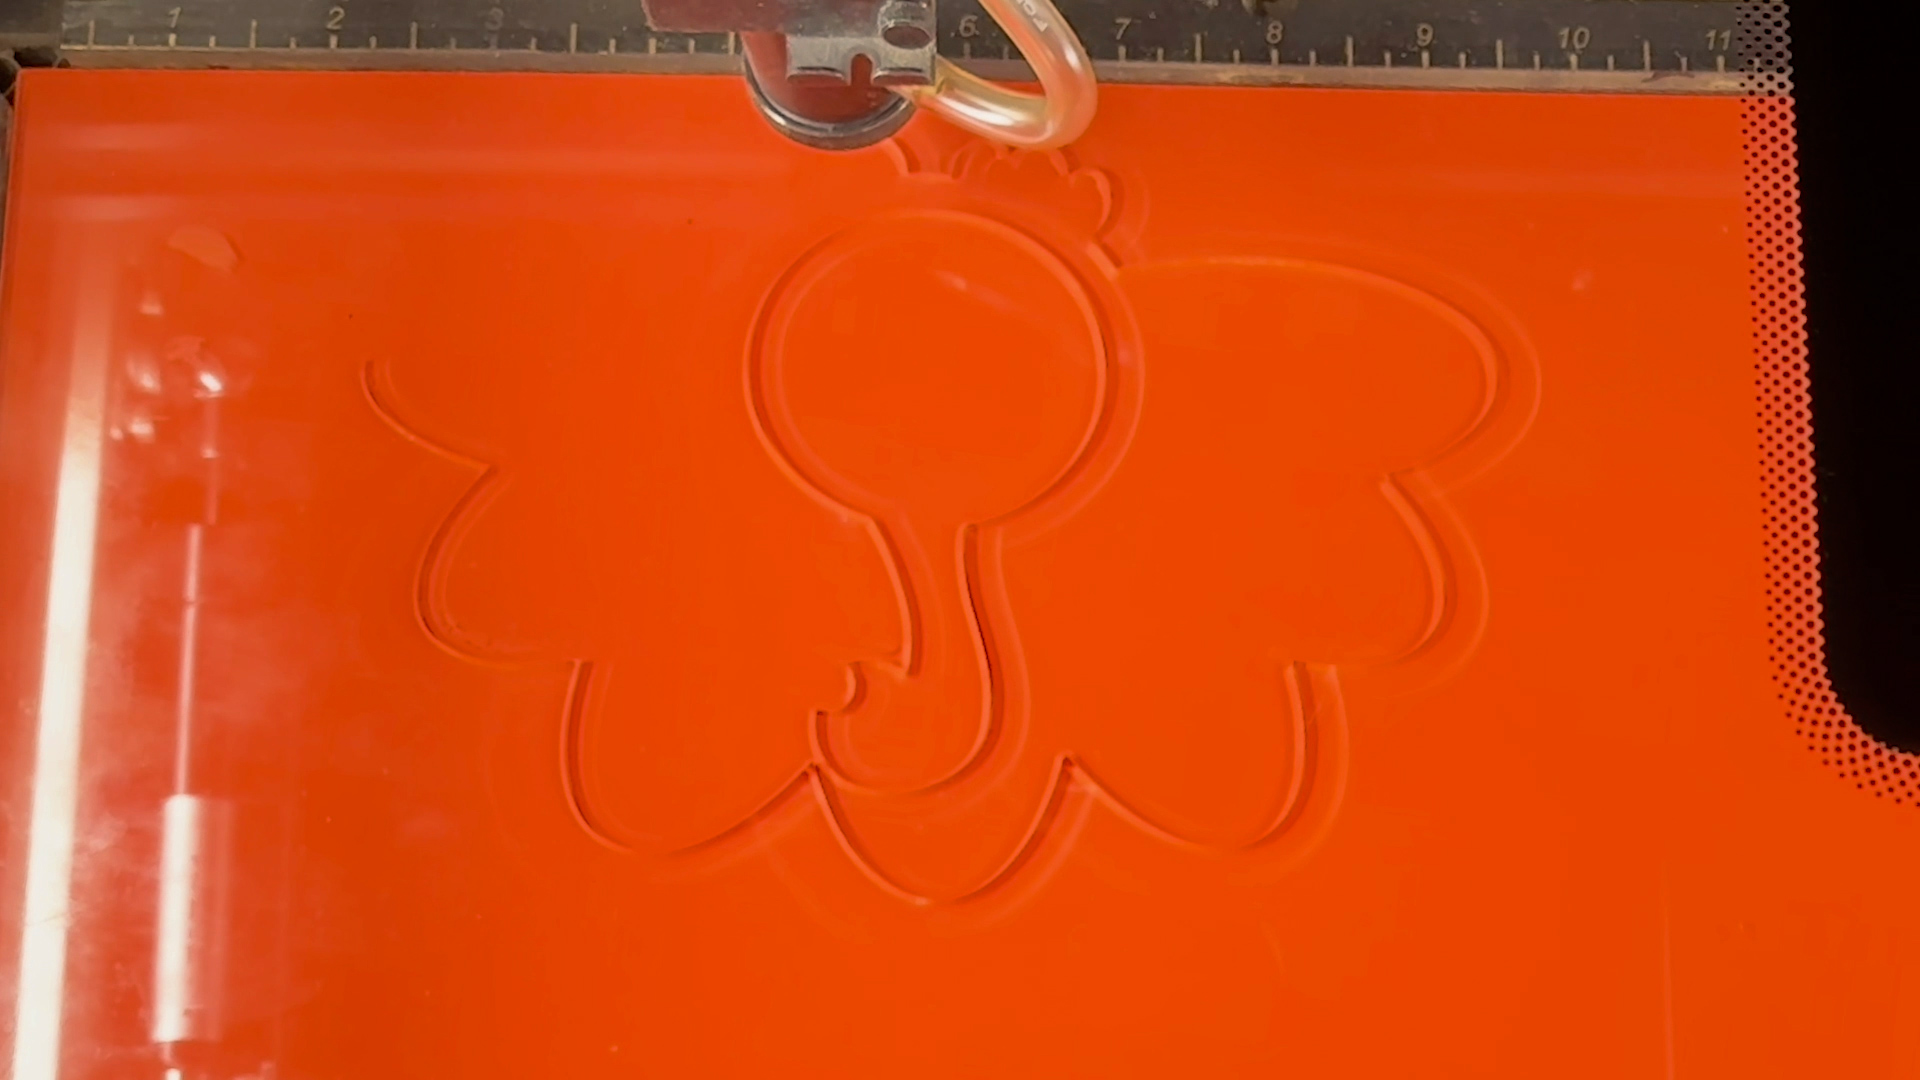
Let’s begin by selecting the items on the Yellow layer of the napkin holders. Print these to the laser, choosing selection only.
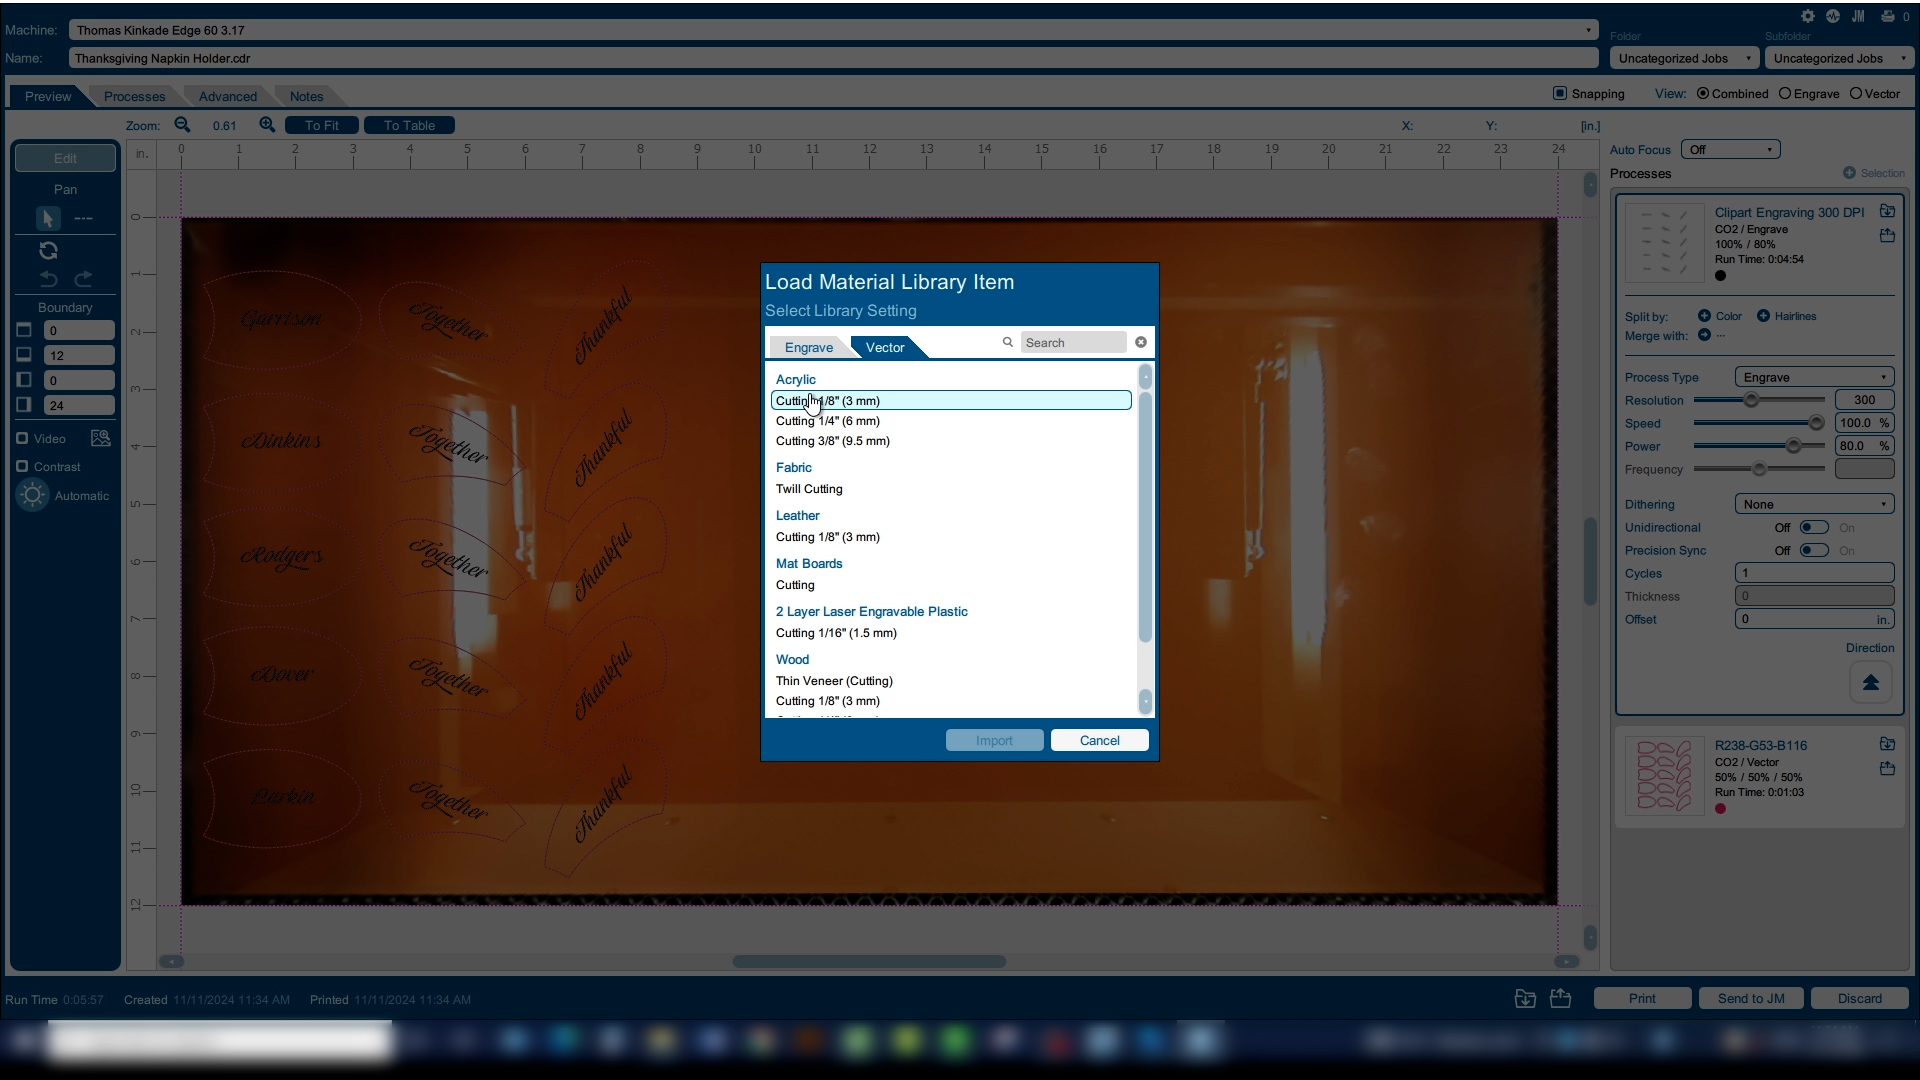
In the Laser Dashboard we’ll import the settings for cutting 1/8” acrylic. We’re using a 60 watt Fusion Edge 12 for this project. So adjust your settings accordingly.
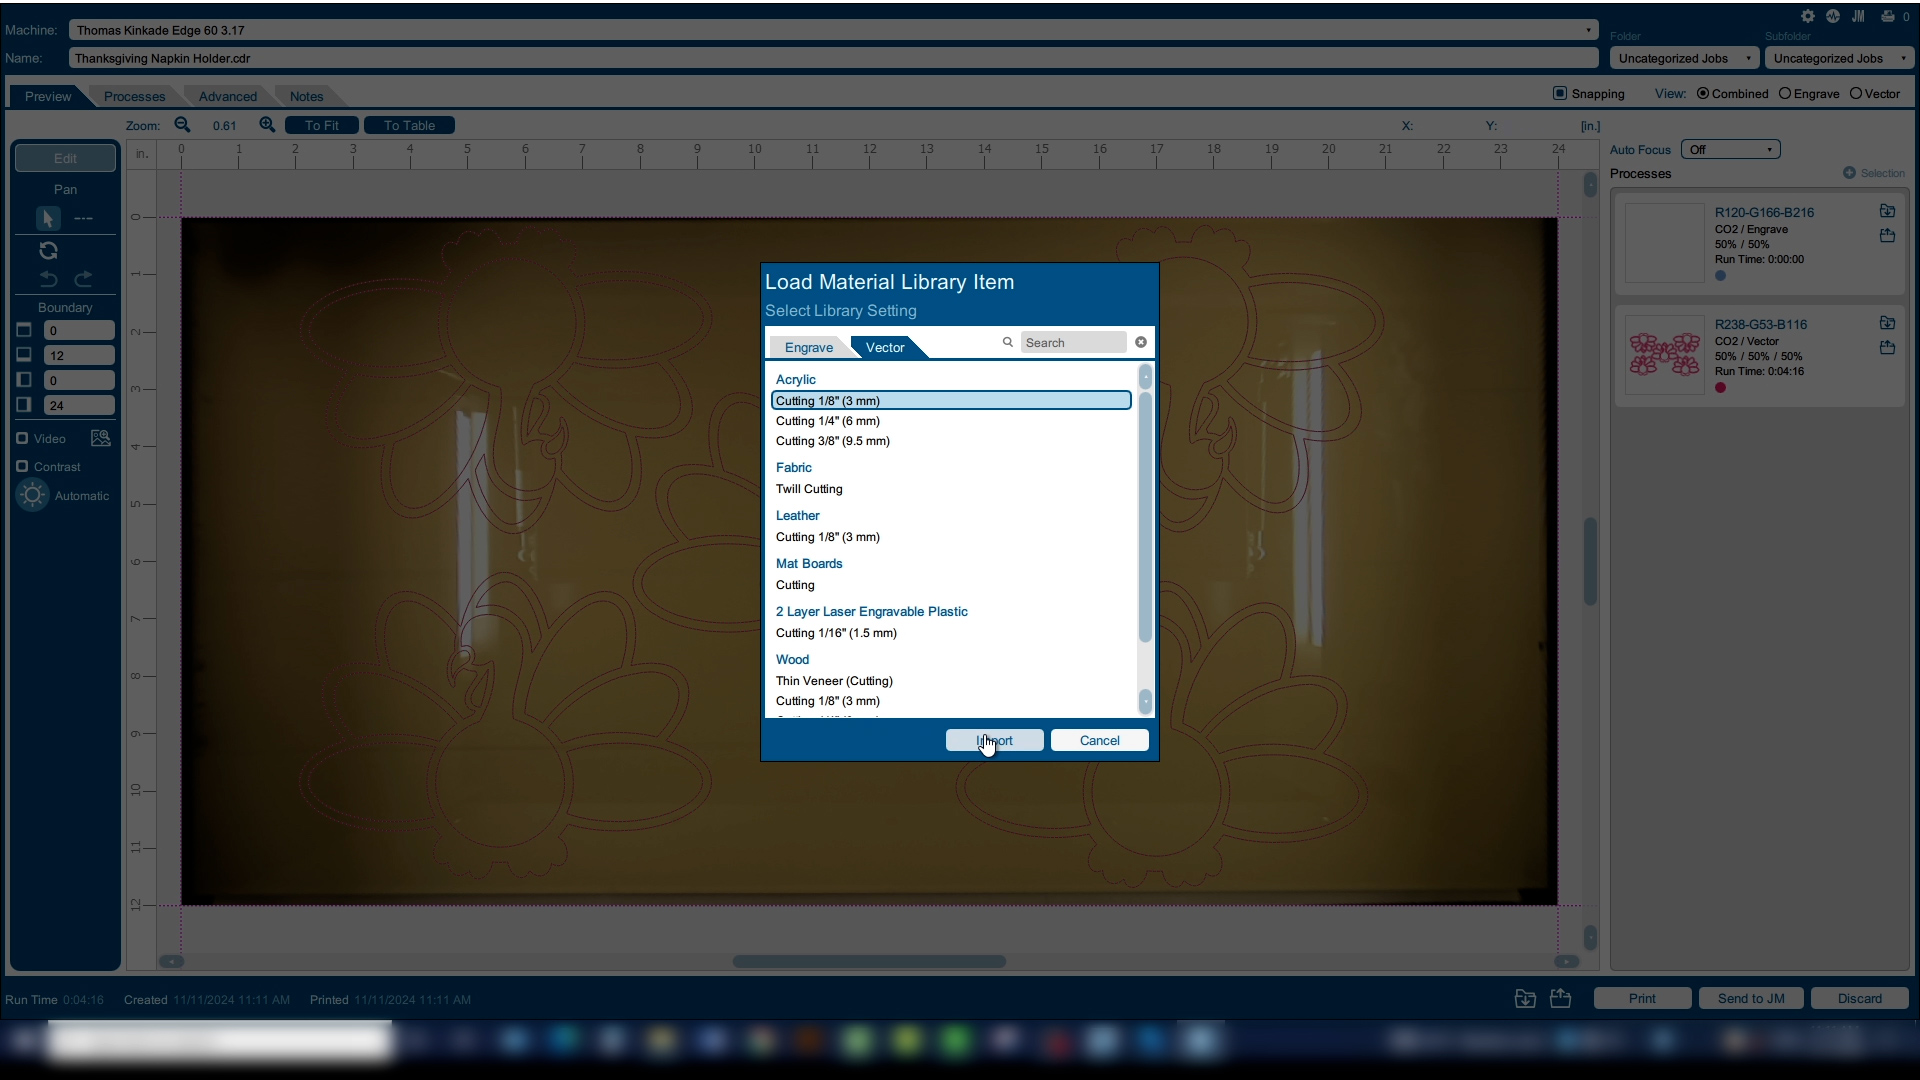
Since we’re also cutting through the double sided tape, we’ll adjust the speed setting down to 15%. Print the file to the laser. With the non-painted side of the acrylic facing up, press print at the laser.
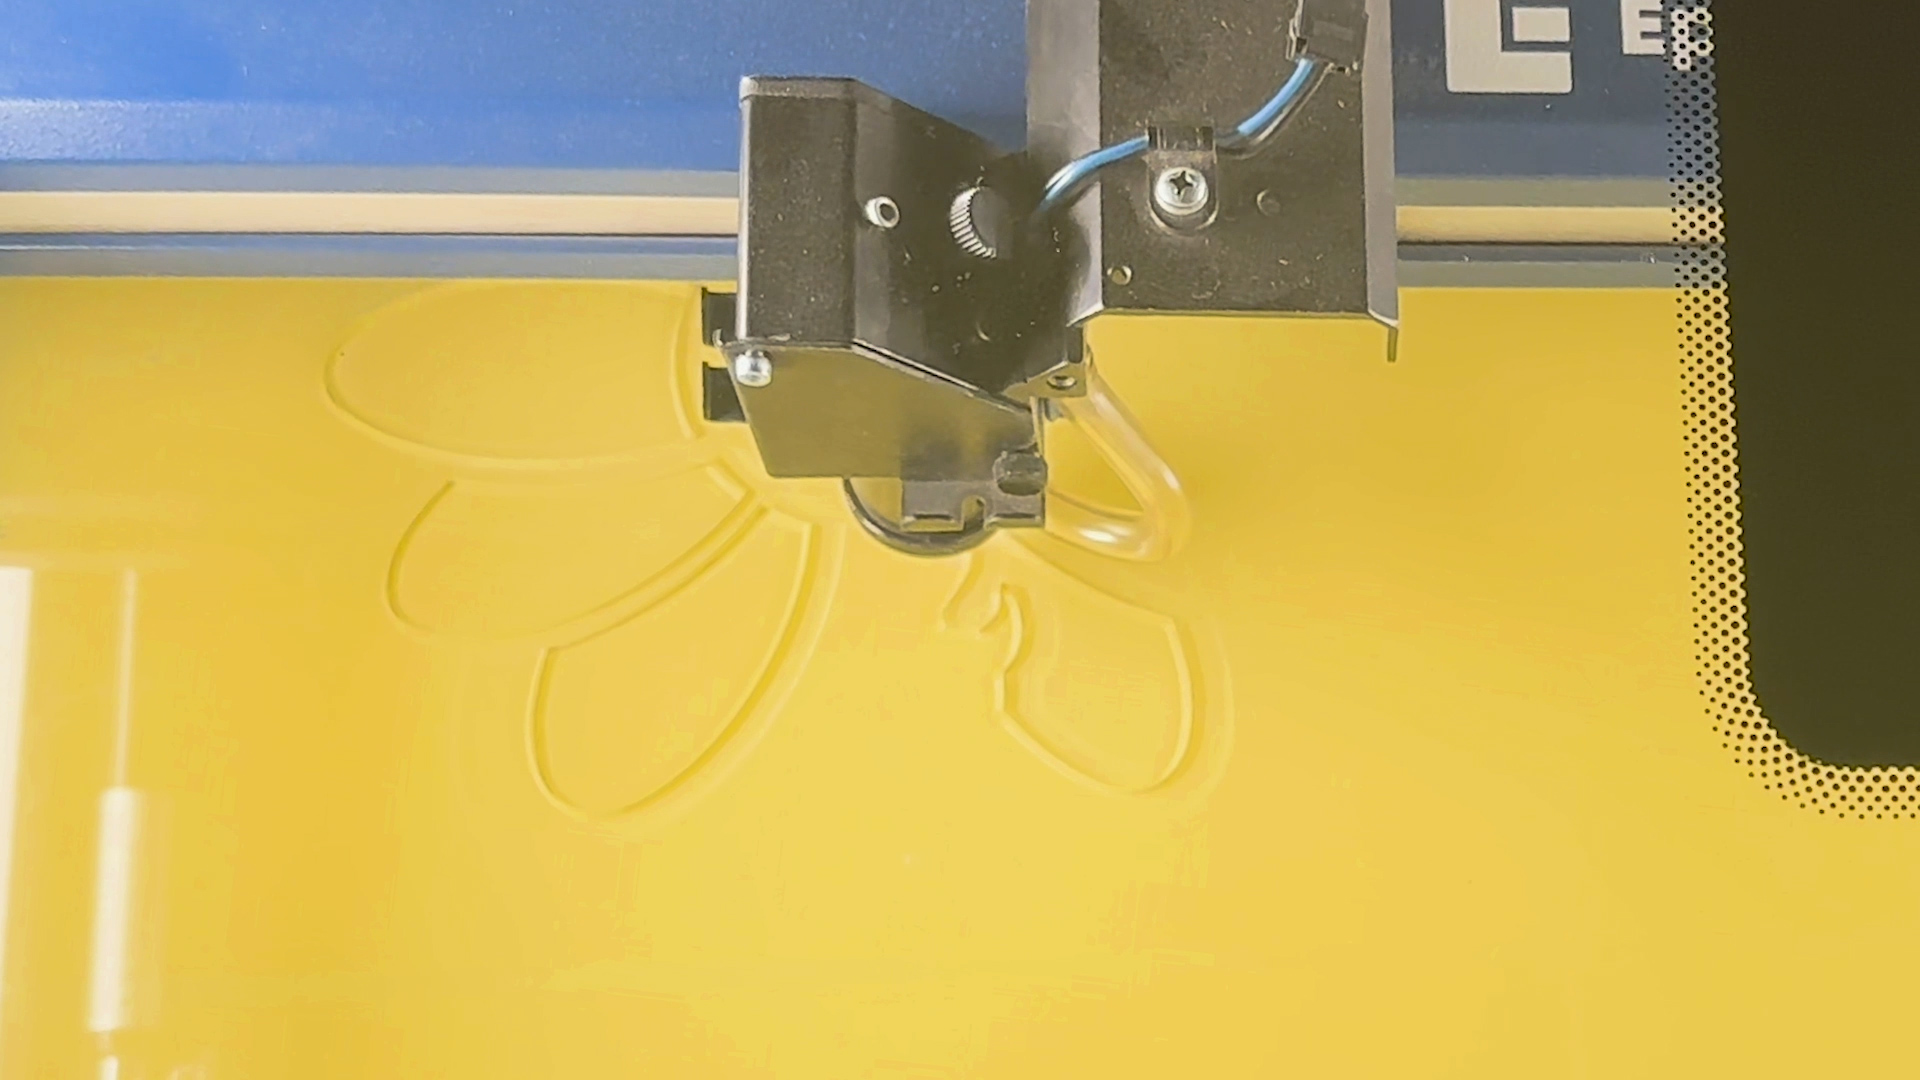
Step 4: Print the Second Layer
Now we’ll move the yellow items off the page and replace them with our first color items. Print the file to the laser.
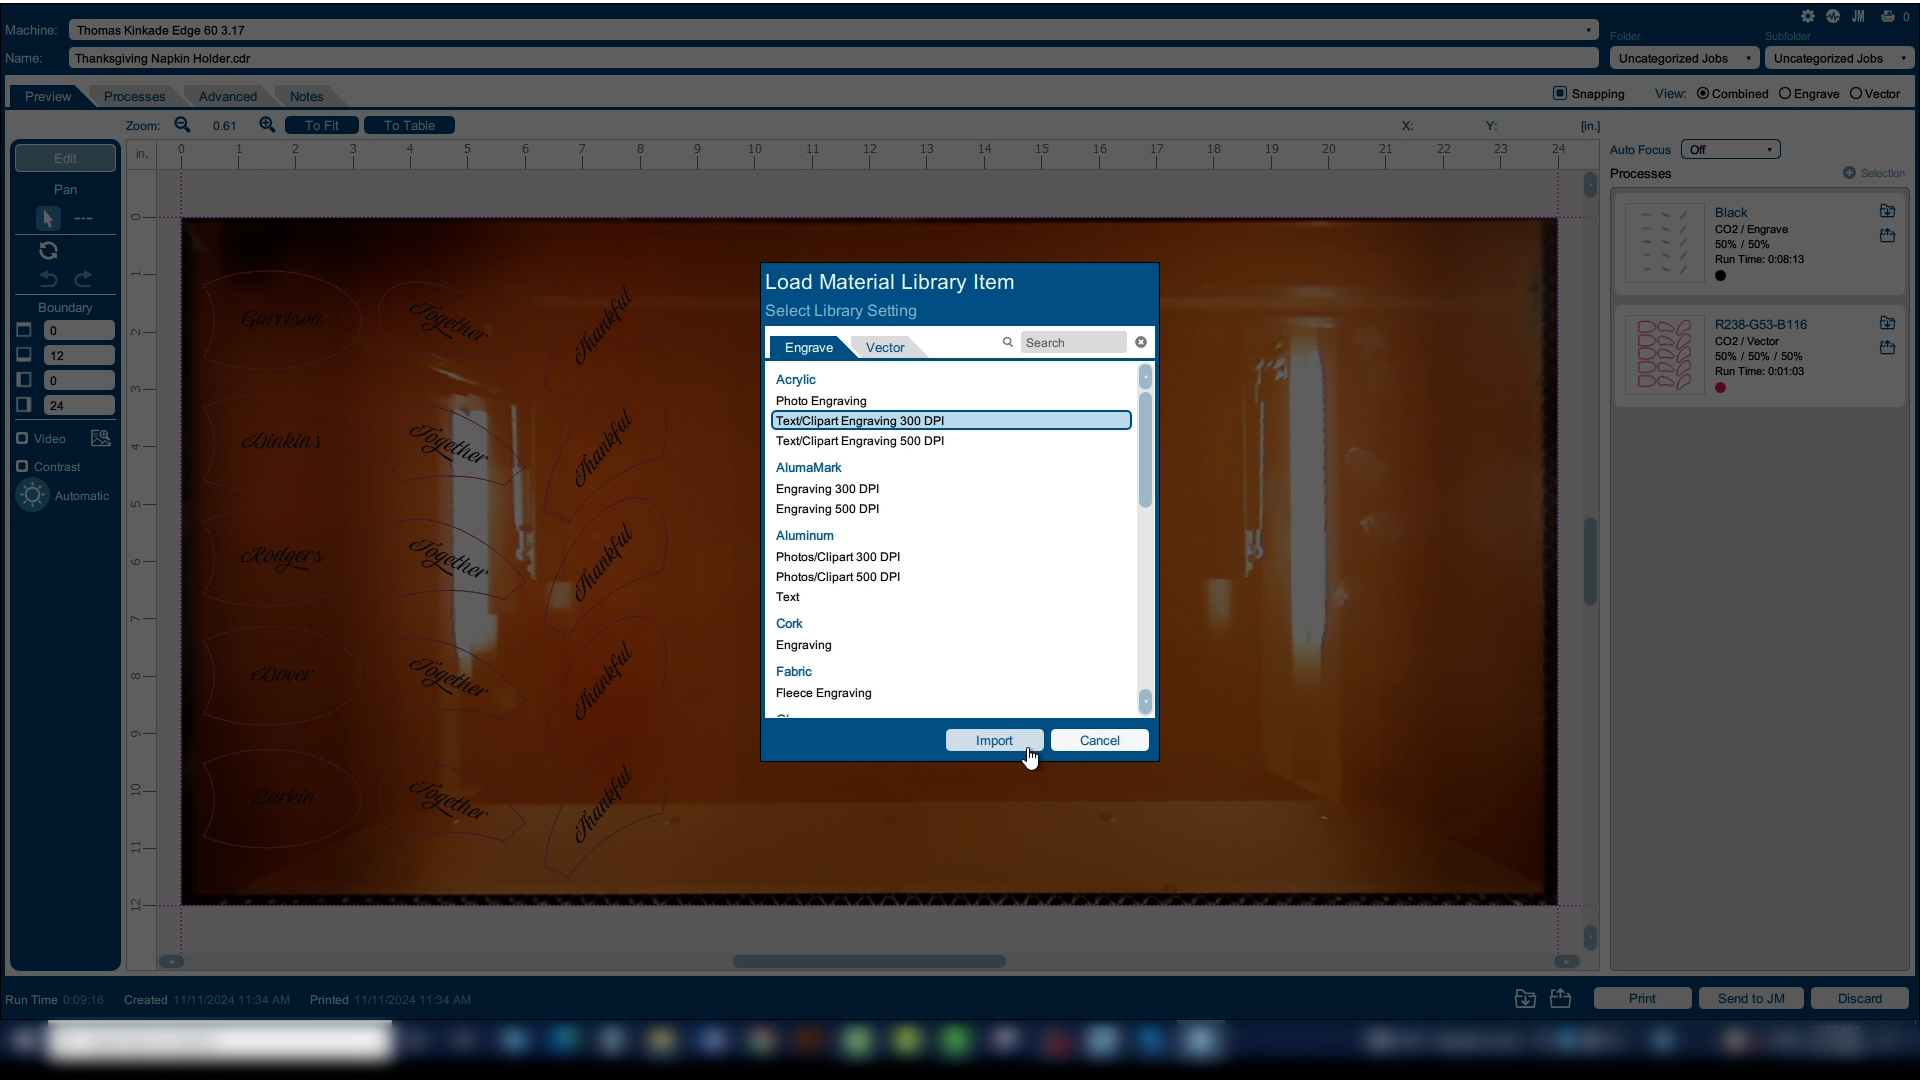
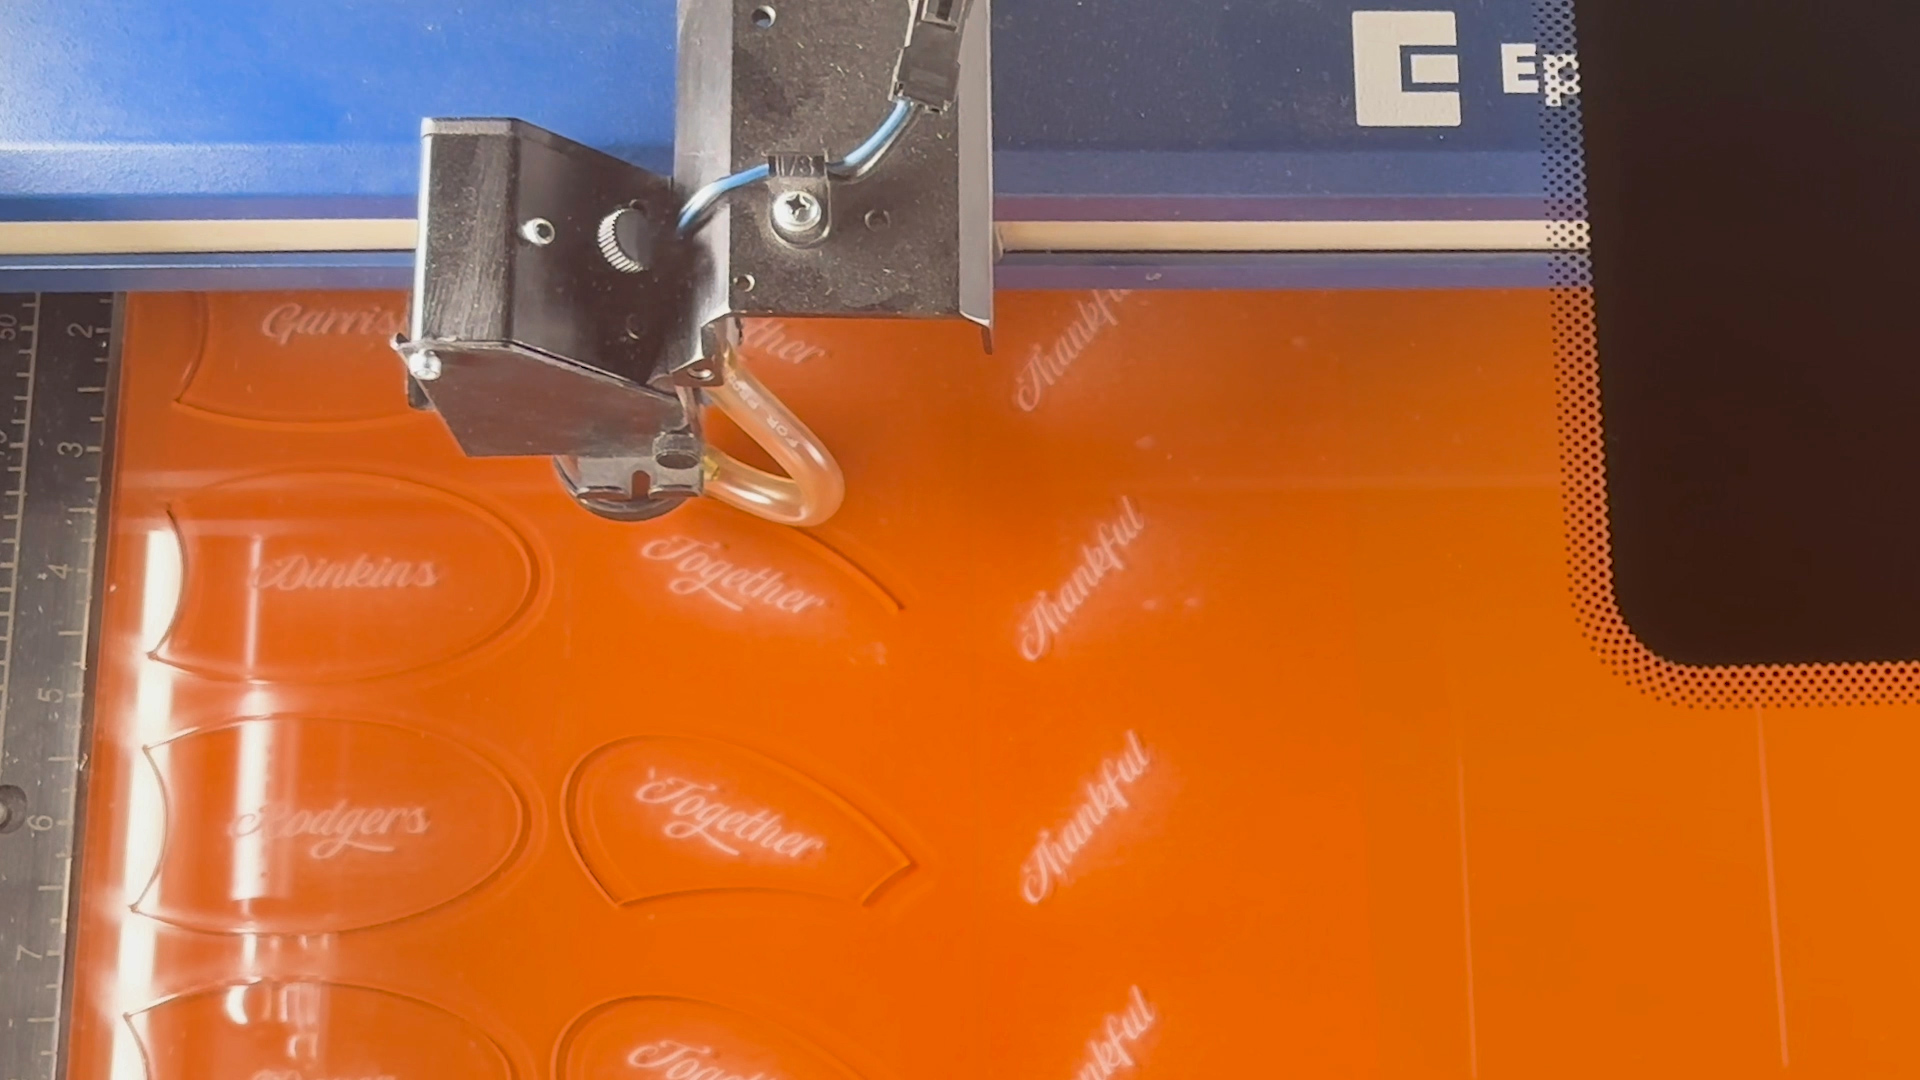
In the dashboard, we can see two processes have been created – black for the engraved text and one for the cutouts. Import settings for the text as Text/Clipart engraving 300 dpi. Since we want a slightly deeper engraving, we’ll increase the power by 20%. Set the engraving direction as bottom-up.
For the cutting items, import our 1/8” cutting settings and adjust the speed down by 5%. Print the file to the laser.
Step 5: Print the Remaining Layers
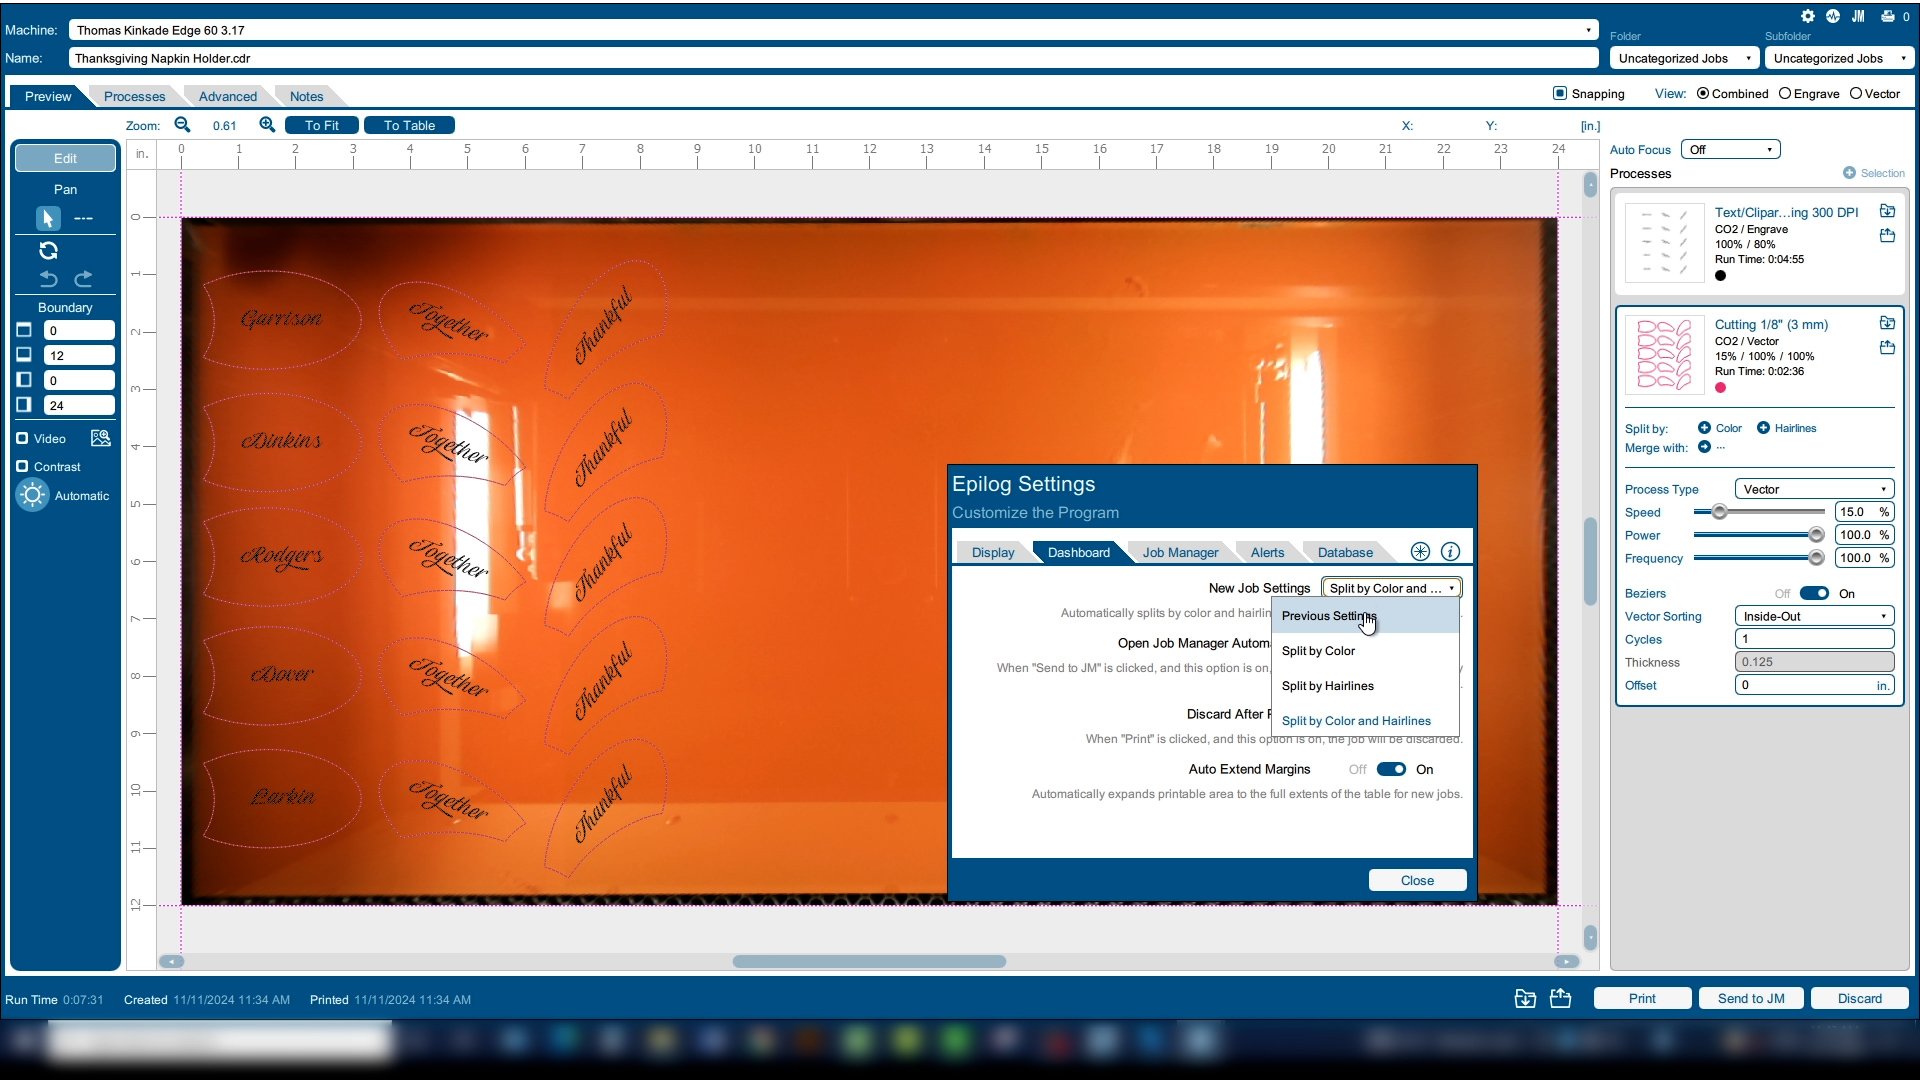
Let’s adjust a setting to make the rest of the project quicker and easier. In the Laser Dashboard go to the Settings Menu. Under the Dashboard tab, change “New Job Settings” to “Previous Settings”. This will allow us to use our dialed in settings for the rest of the file layers.
Back in CorelDRAW, swap your graphics on the page with the next sheet of images. Print it to the Laser Dashboard. Now we have our previous settings ready to go, so we’ll print it to the laser.
Continue the process with layers 4 and 5 of the napkin holders.
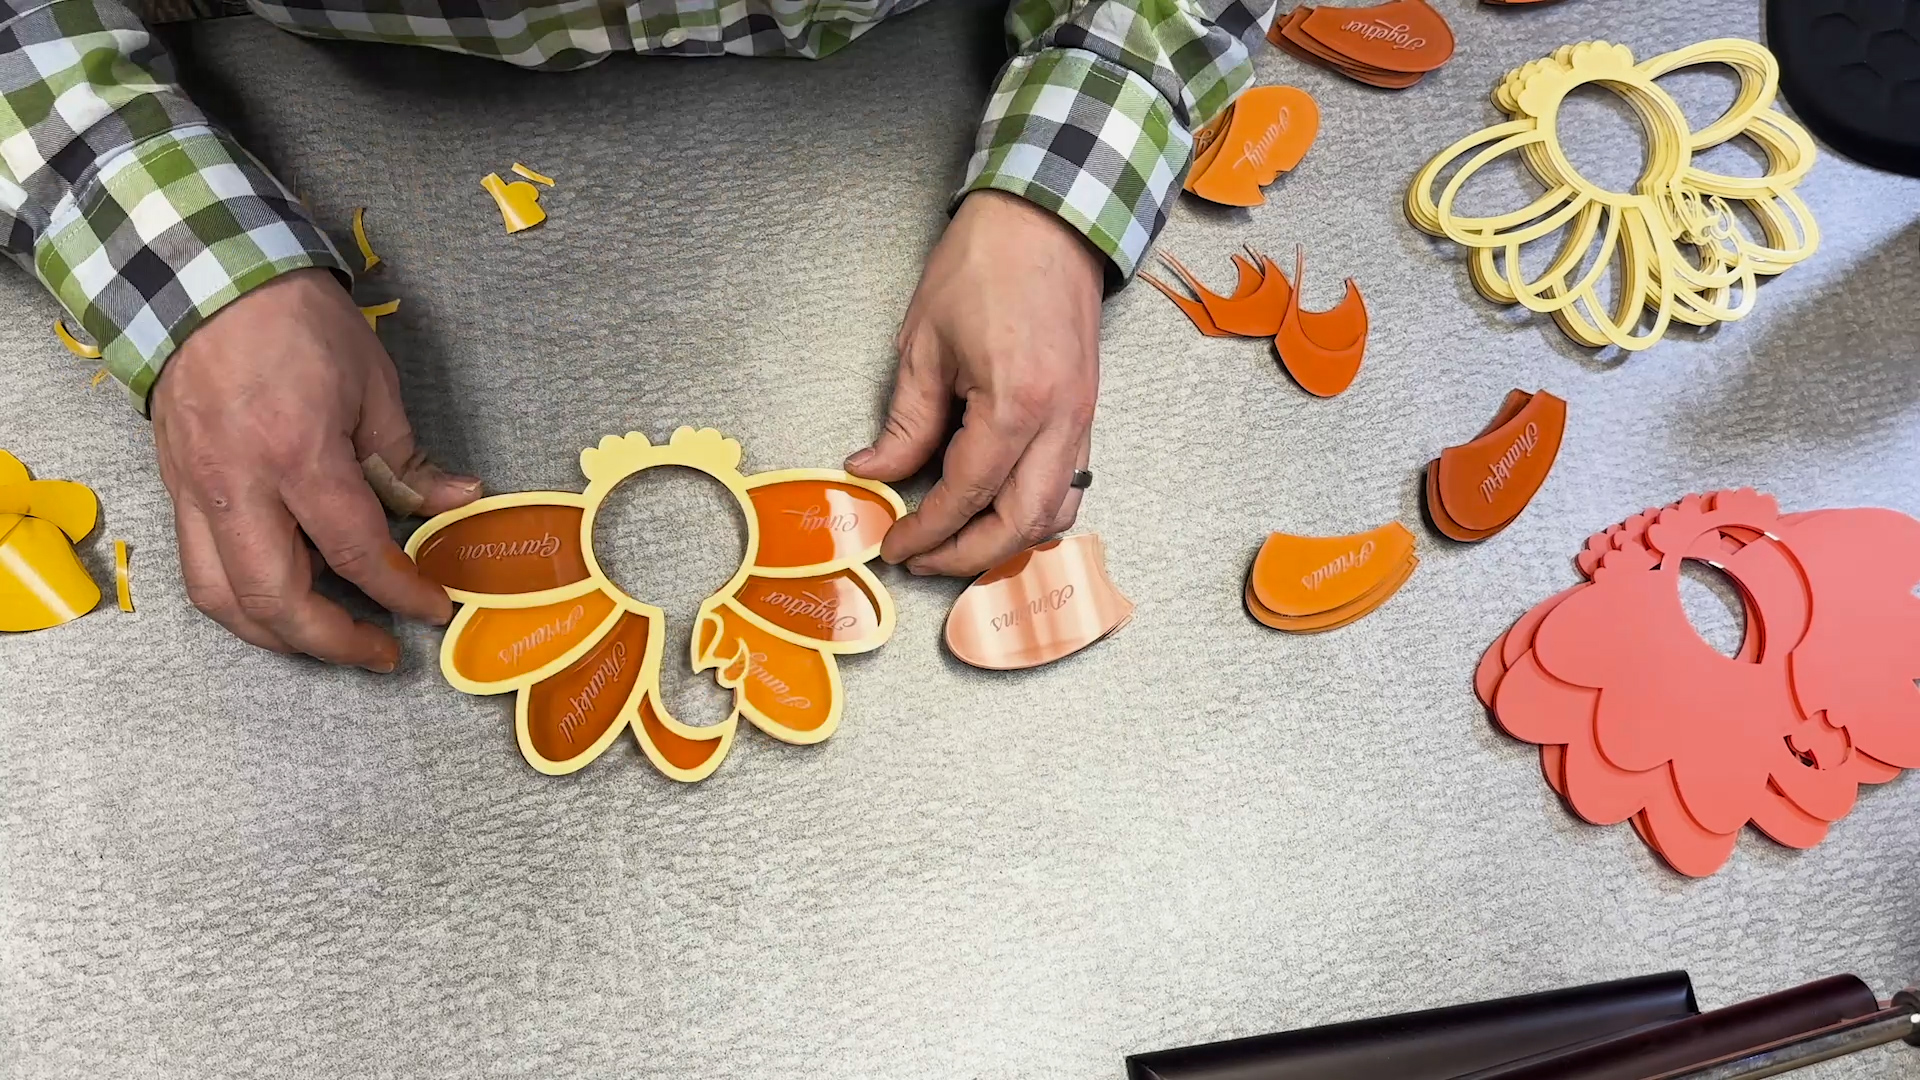
Step 6: Assemble the Napkin Holders
With our engraving and cutting finished, we’re ready to assemble our napkin holders.
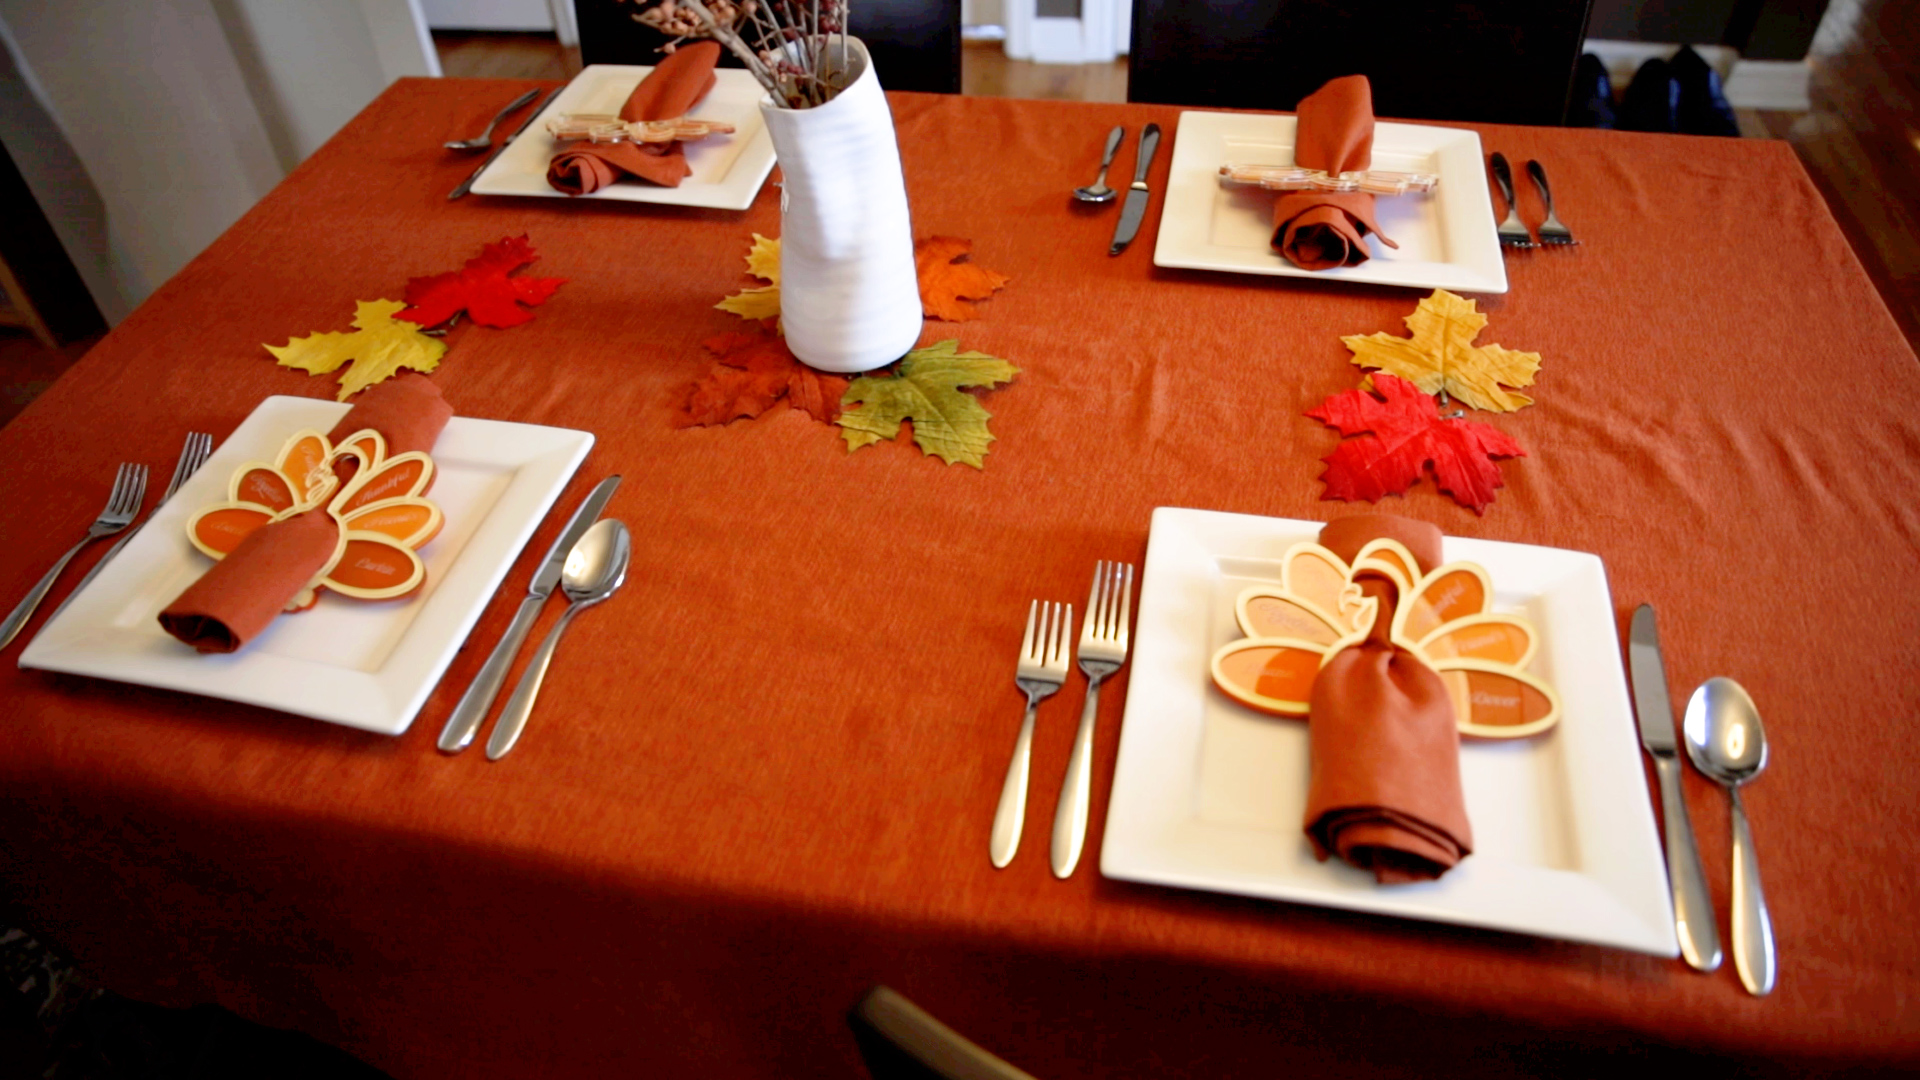
Step 7: Set the Table!
Now we can set the table for dinner. These custom turkey napkin holders add a fun personal touch to the dining table for Thanksgiving.
Where can you sell custom laser cut napkin holders/place cards?
Selling laser-cut napkin holders can be done through various channels, both online and offline. Here are some options:
- Online marketplaces, such as Etsy, Amazon Handemade, or eBay.
- Your own website.
- Social media channels.
- Craft fairs.
- Local boutiques.


