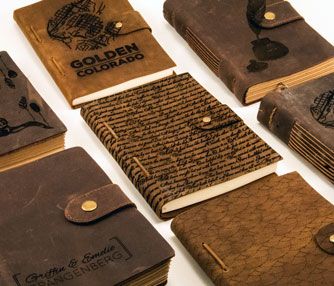
Laser Cutting and Engraving Leather Wallets
Fabric
Introduction
This Sample Club laser project was submitted by Epilog customer, Maker Experiment.
In this project overview we look at creating and constructing custom leather wallets. Watch the video above or read about the project below to see how you can create your own.
Epilog Laser systems can easily engrave ready-made products, but they’re also invaluable tools when it comes to cutting substrates to create one-of-a-kind items that are both stylish and functional. In this laser project we’ll walk you through the steps of both engraving and cutting leather to create unique and colorful wallets that make perfect gifts for a variety of occasions.
Project Settings
-
(optional)
Prepare the Artwork
Start by customizing your artwork as necessary.
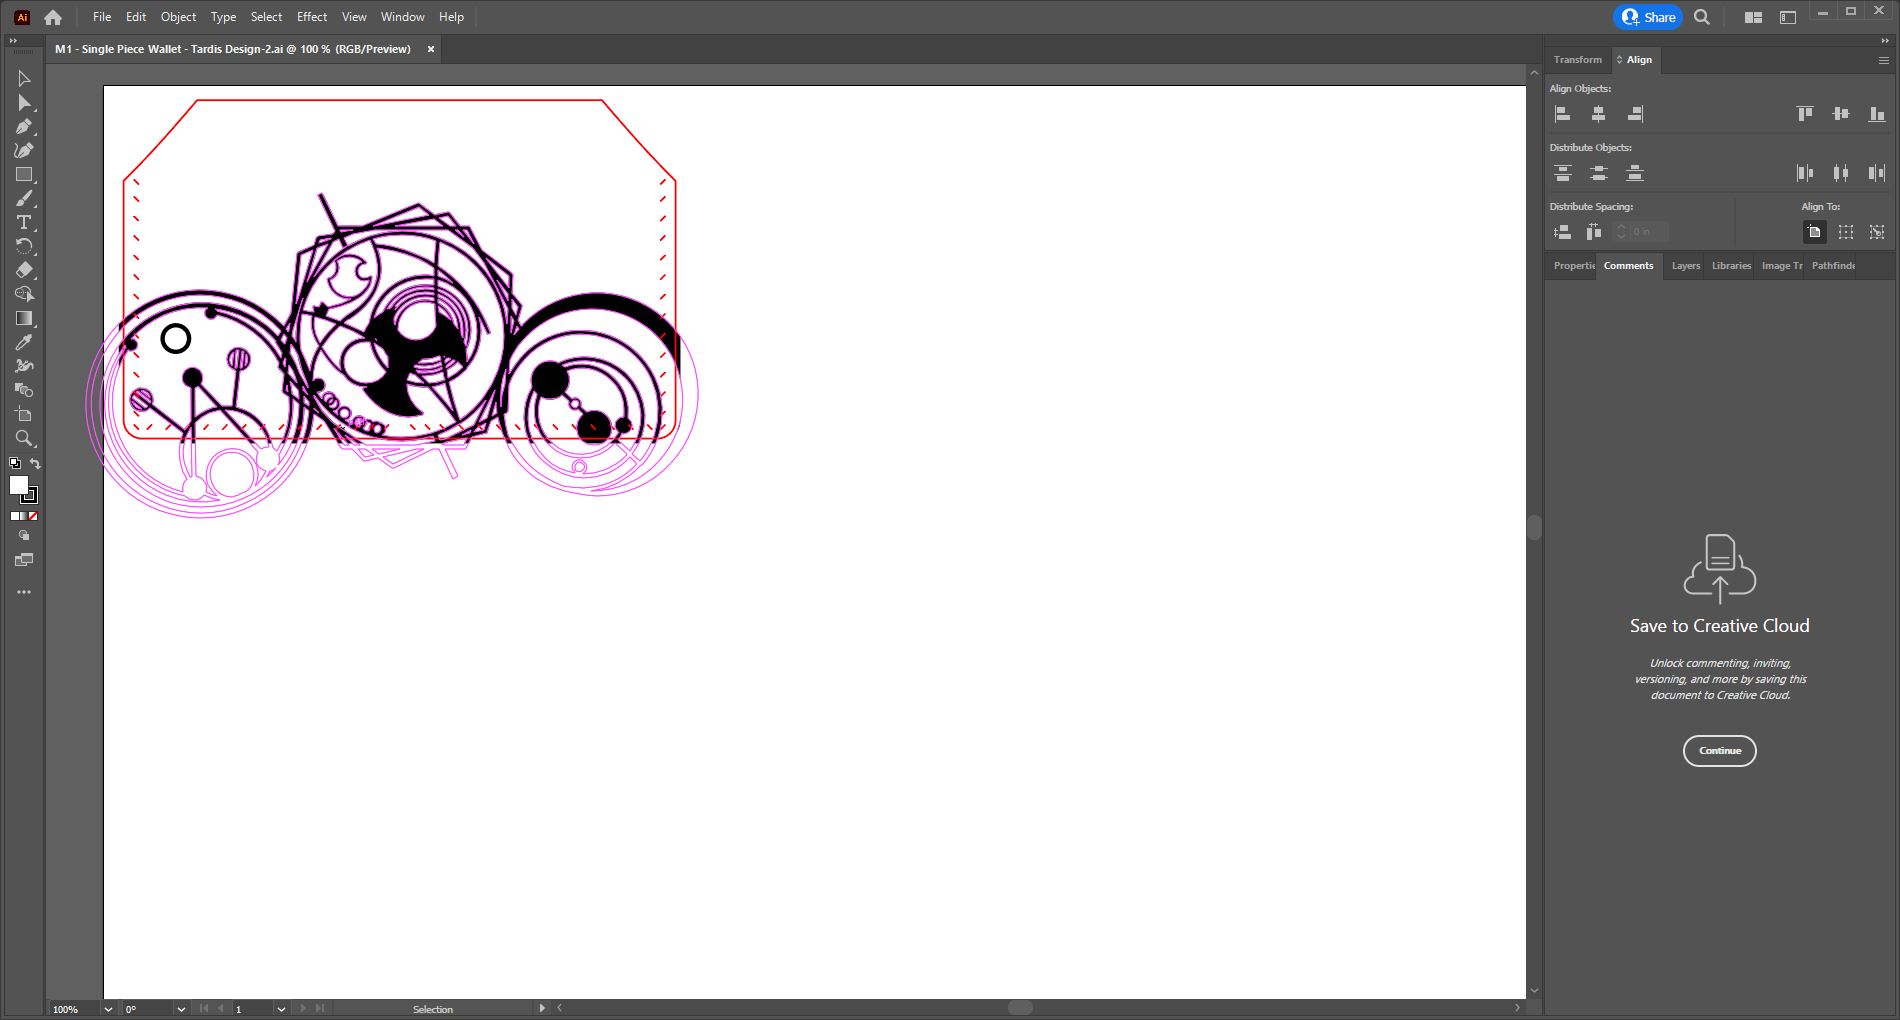
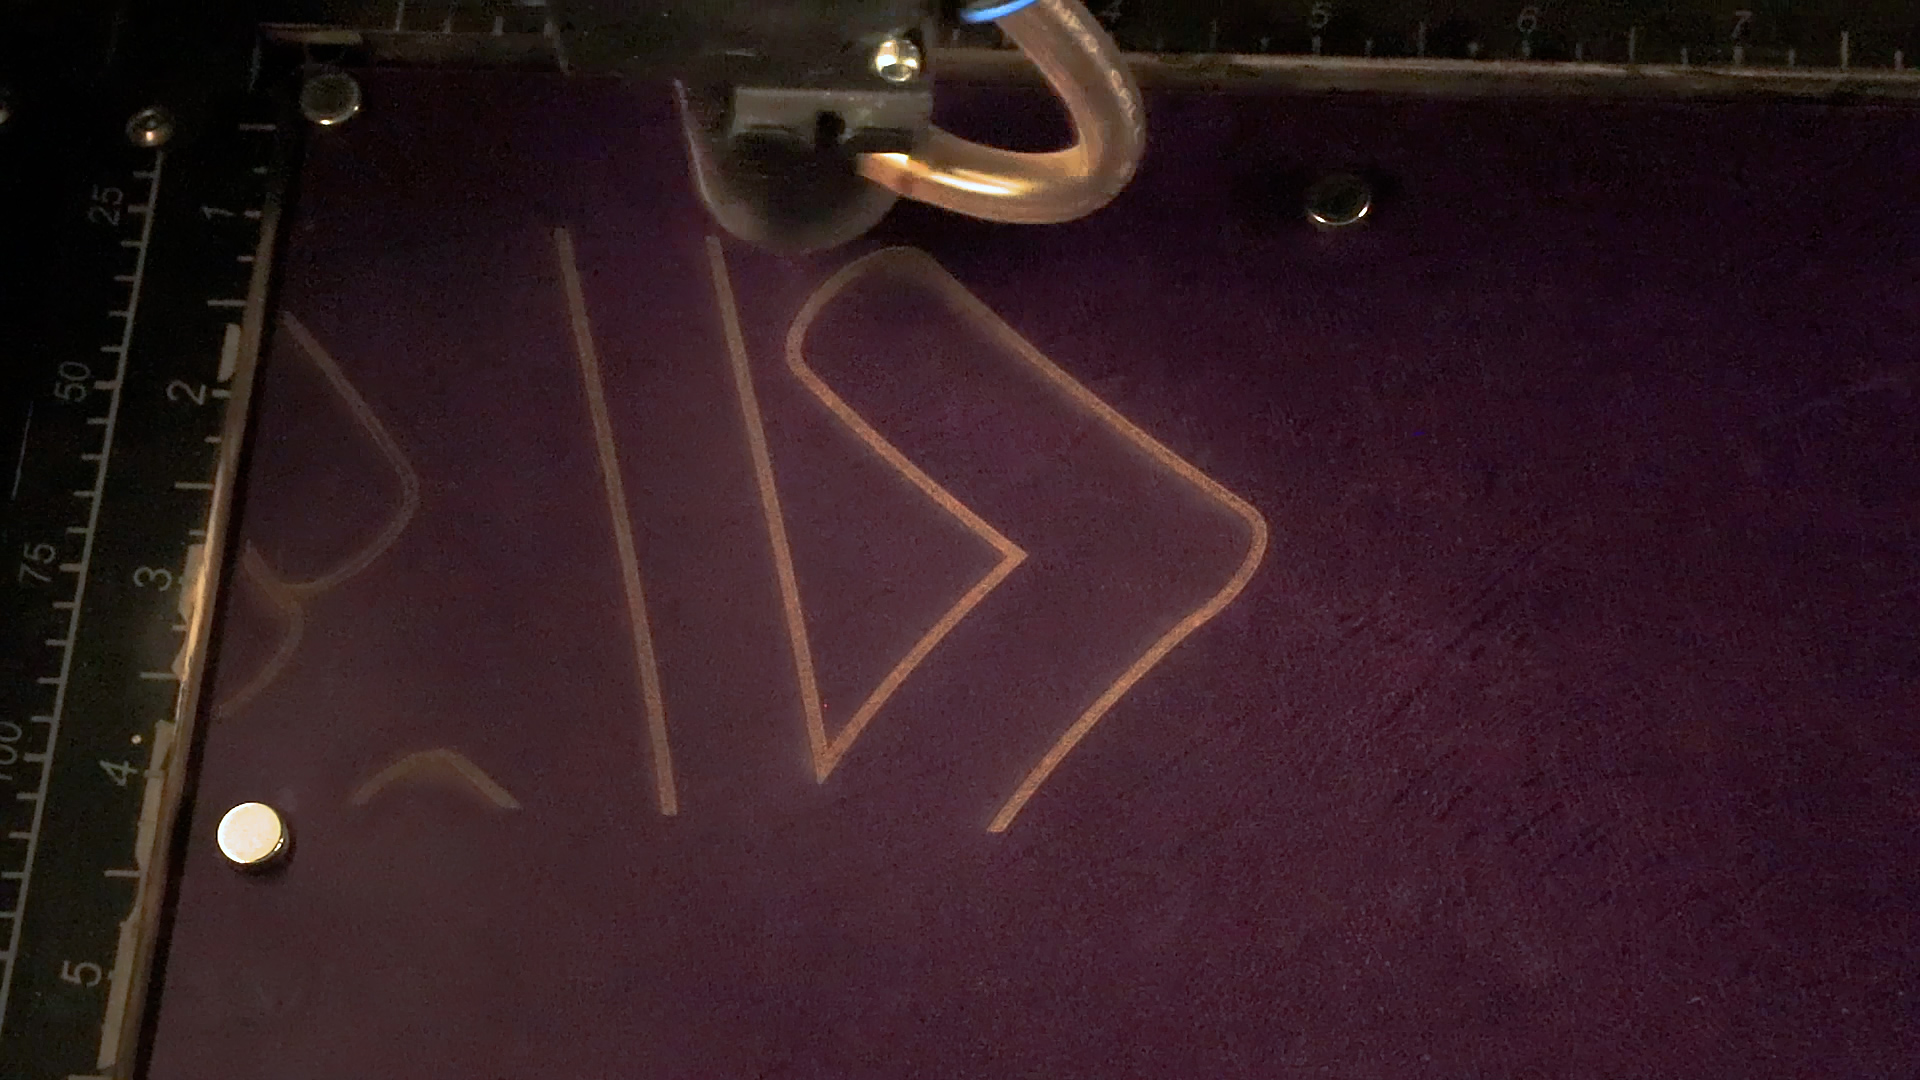
Engraving the Leather
After placing your material in the machine, set up your engraving artwork in the laser dashboard. From the dashboard, select the pre-loaded settings for engraving/cutting leather, or consult your owner’s manual for recommended settings for your machine and wattage. Enter your selected settings and send the job to the laser. Press go and let the laser go to work.
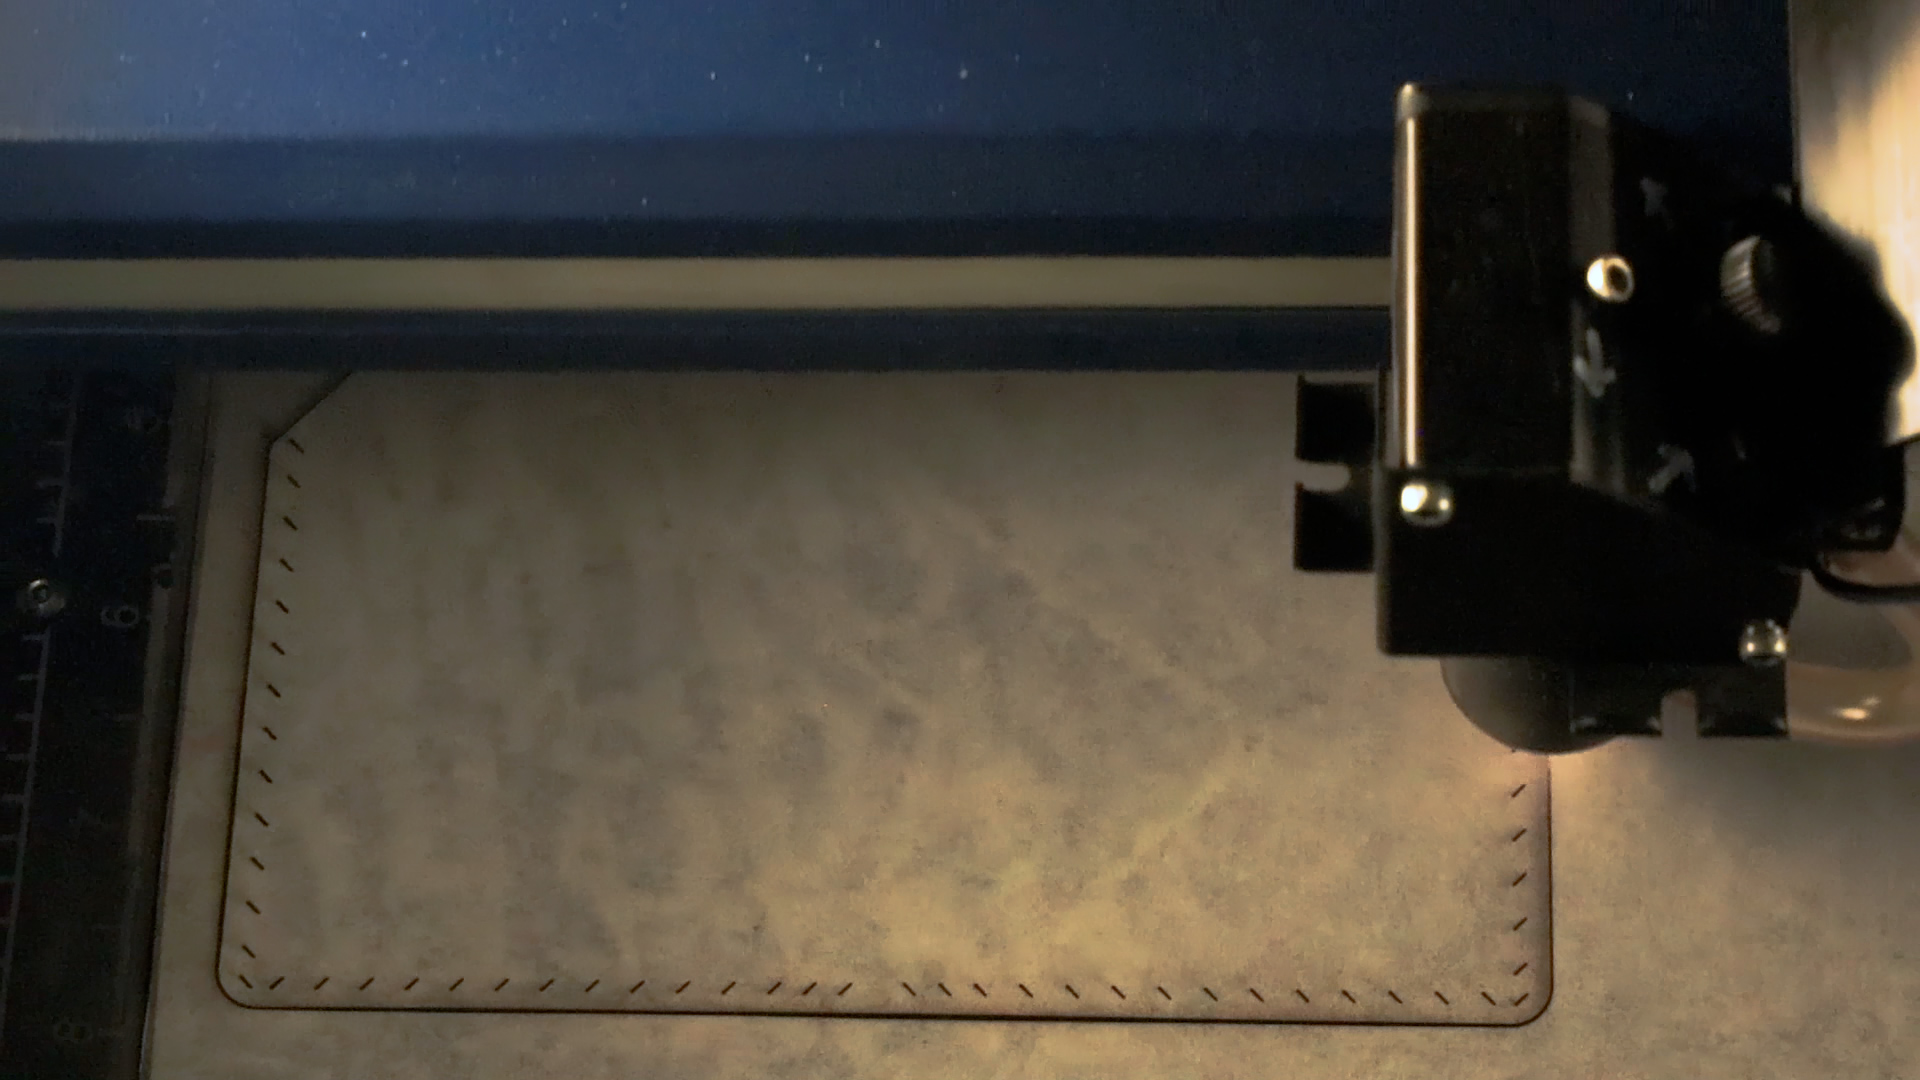
Cutting the Leather
Lightly wipe off any debris from the leather, then apply masking tape to the leather once the engraving is complete. Now send the vector process to the laser and press go.
Cleanup
After the vector cutting process is complete, peel the adhesive off and wipe off any remaining residue from the leather.
Assembly
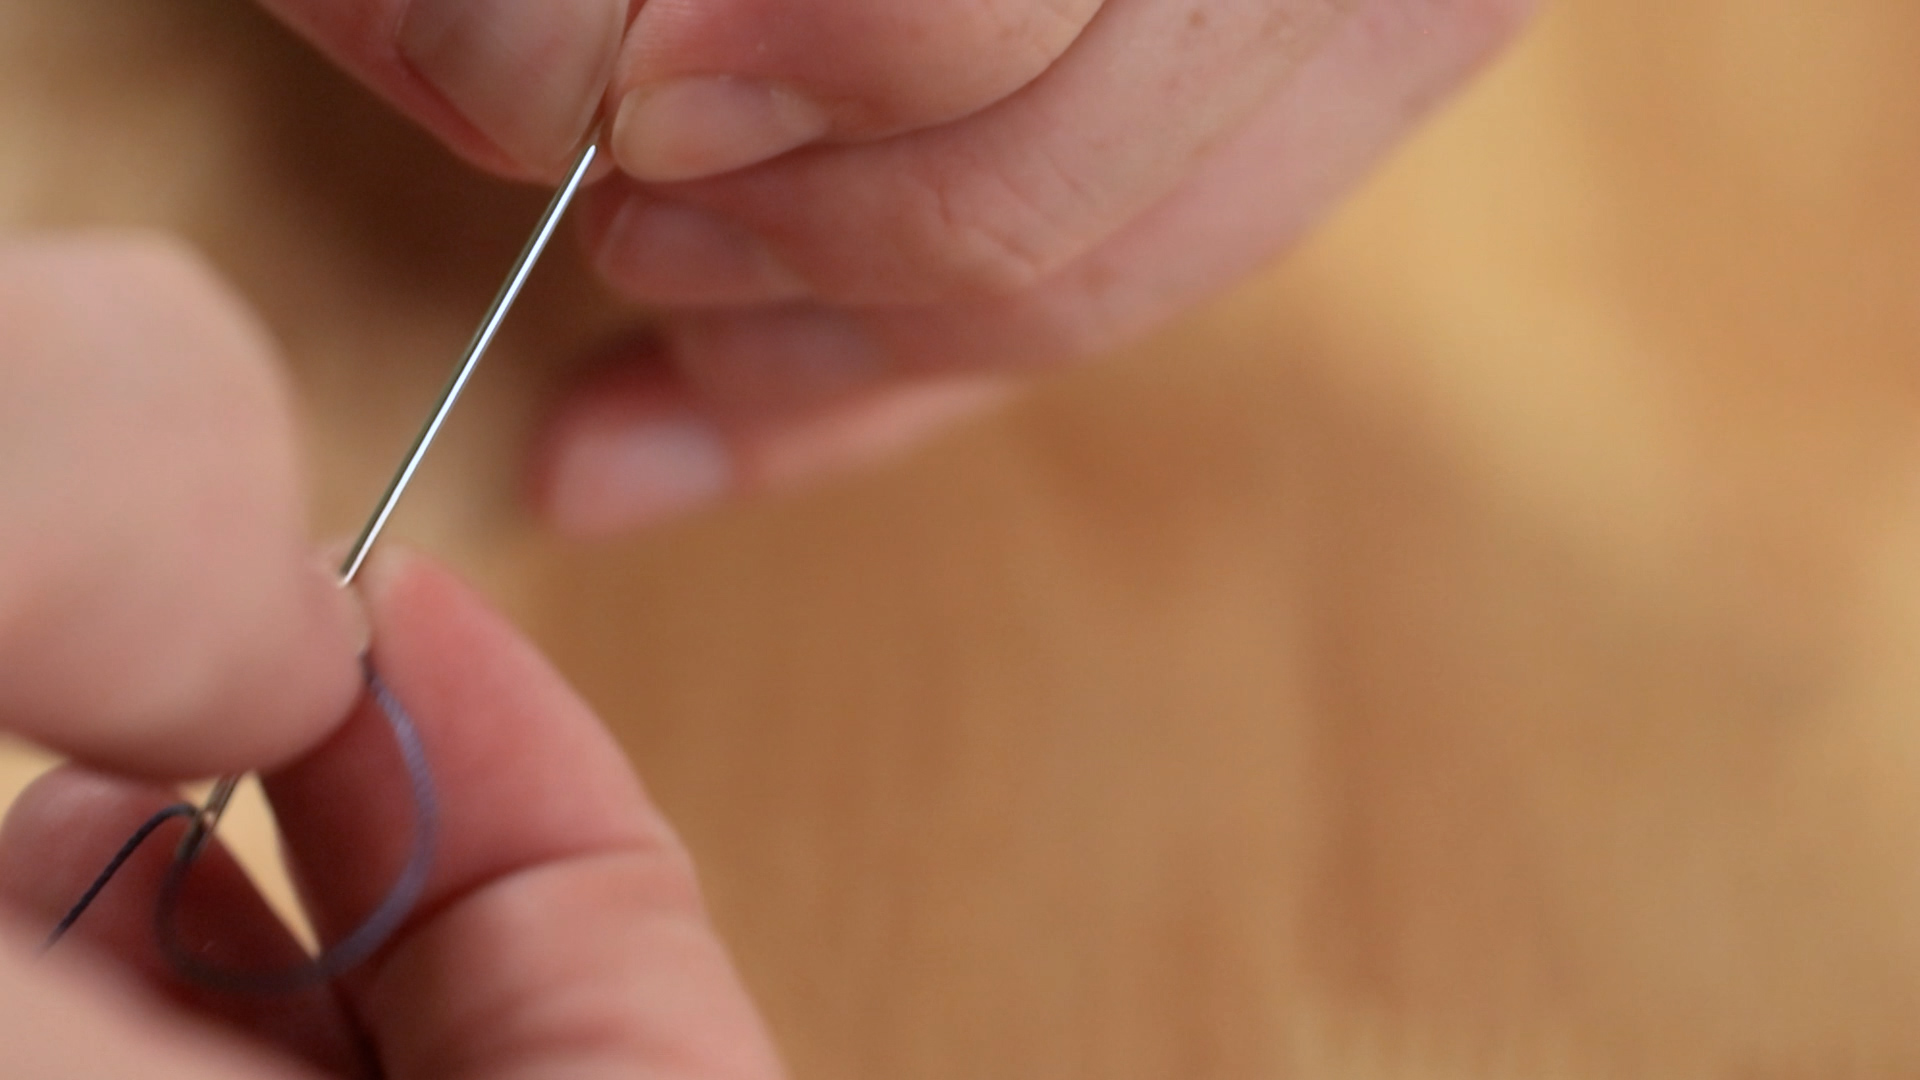
First you’ll want to prepare two needles & thread to sew the wallets with. The thread length will need to be cut to at least four times the distance of the stitching in the wallet to ensure you do not run out while sewing. Feed the thread through the eye of the needle and tie a knot on one end of your thread and keep it secure. Then repeat the process on the other end of the thread with the second needle.
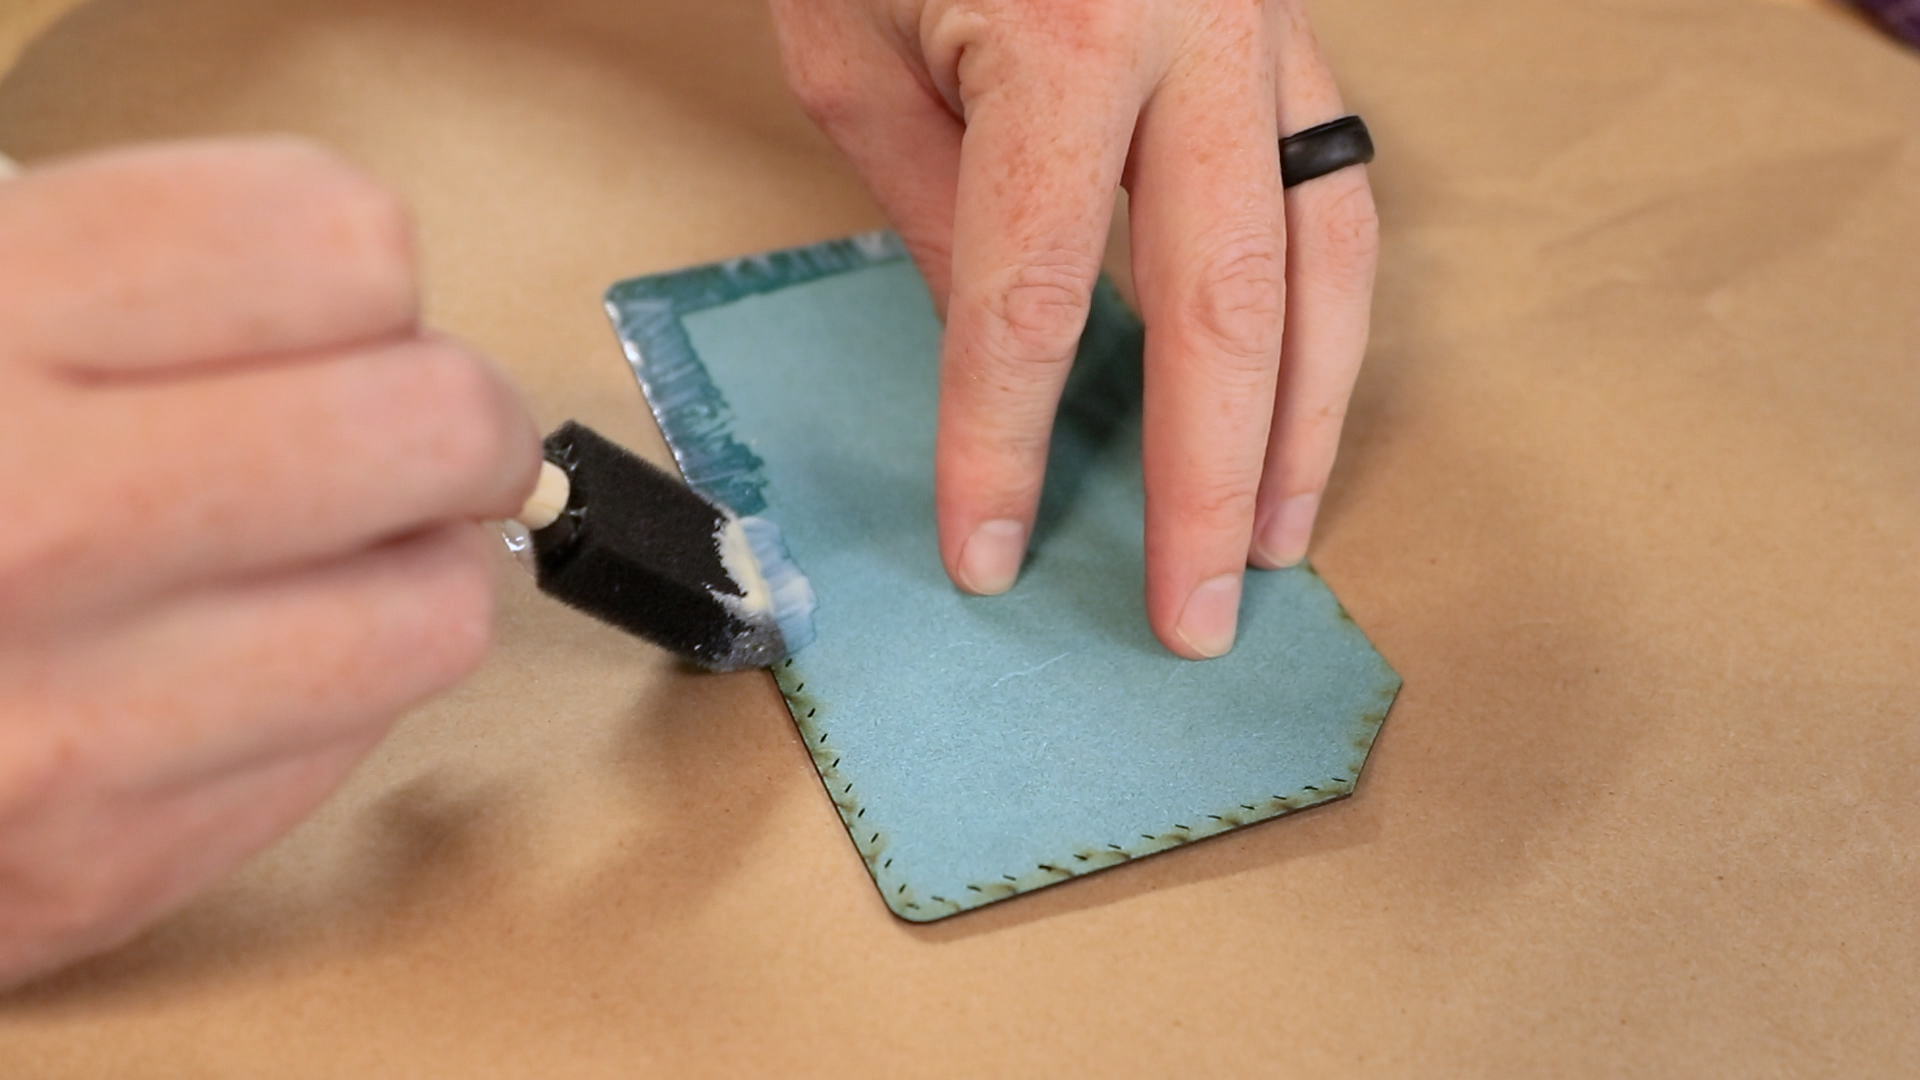
Next, fold the wallet in half to create your crease line. With a glue brush, apply adhesive to the edges with stitching holes. Once the adhesive becomes tacky, fold the wallet back in half making sure to align all of the edges.
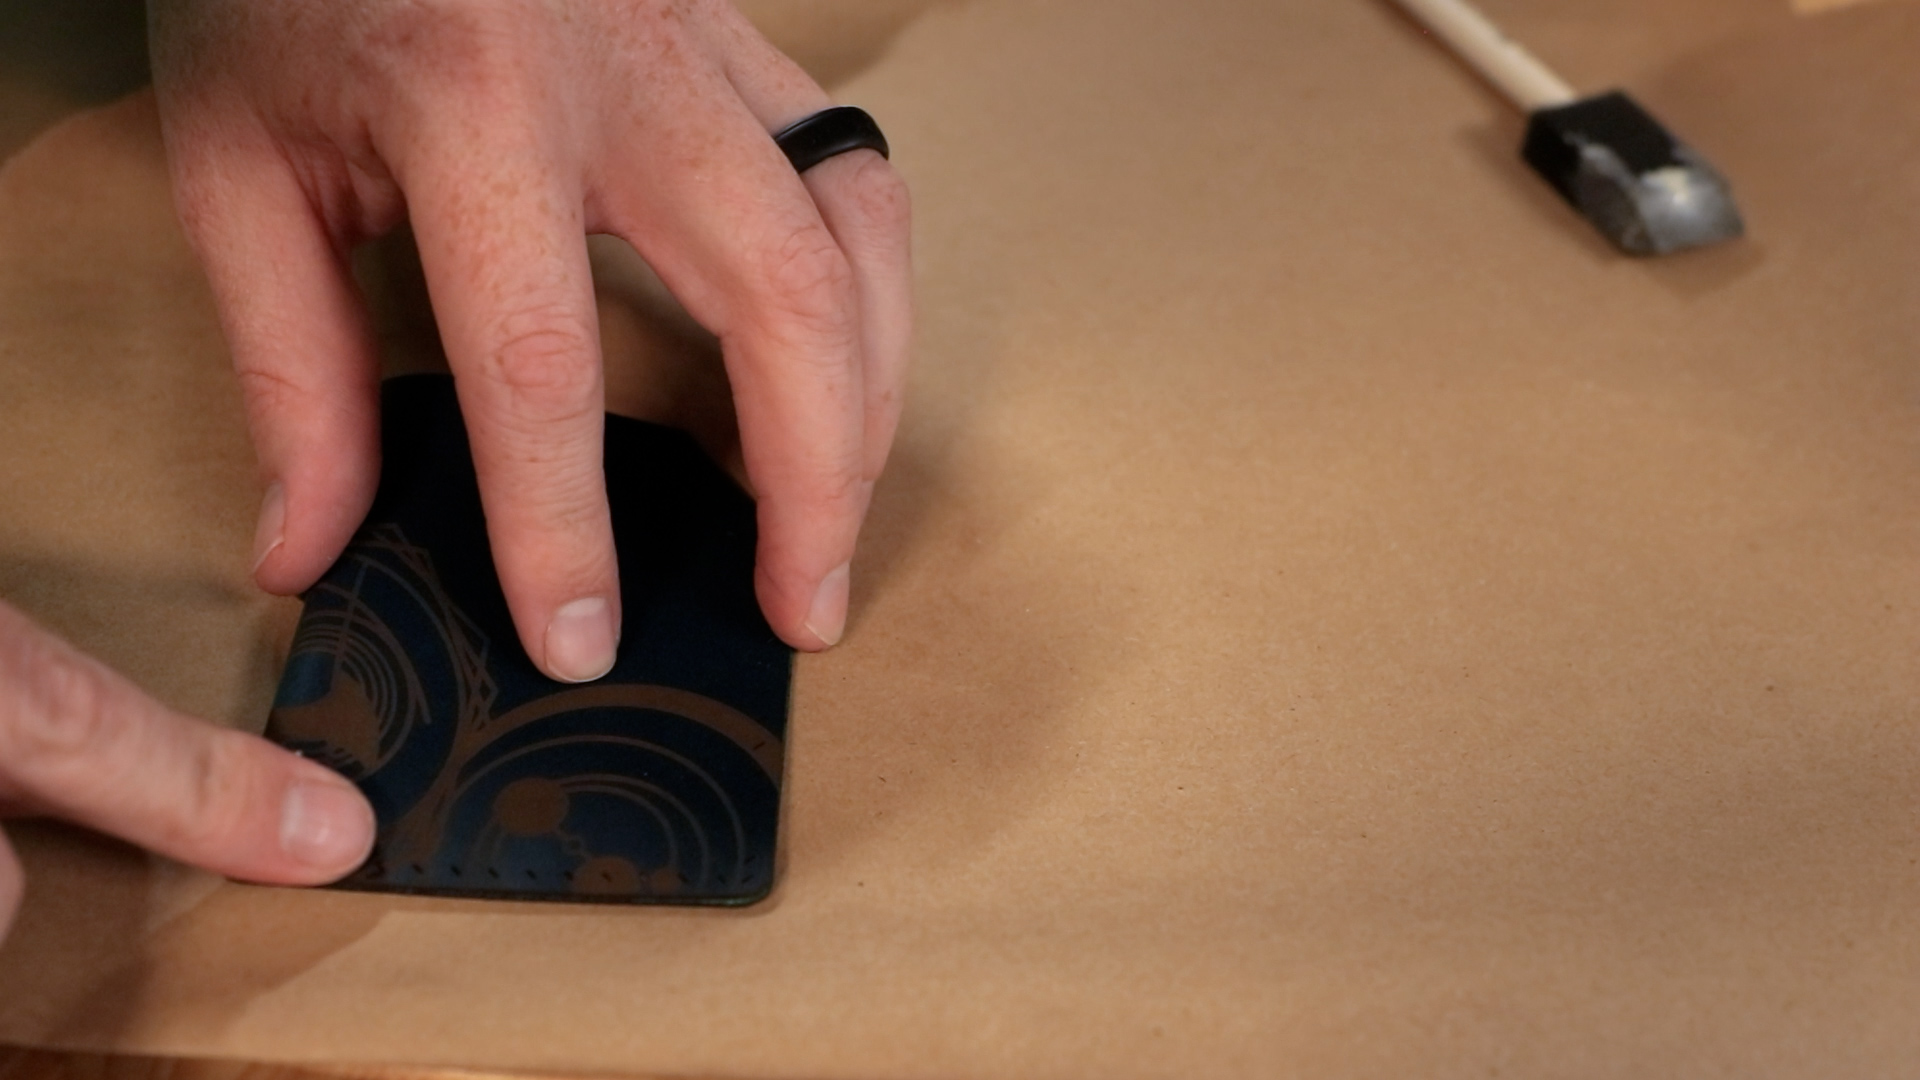
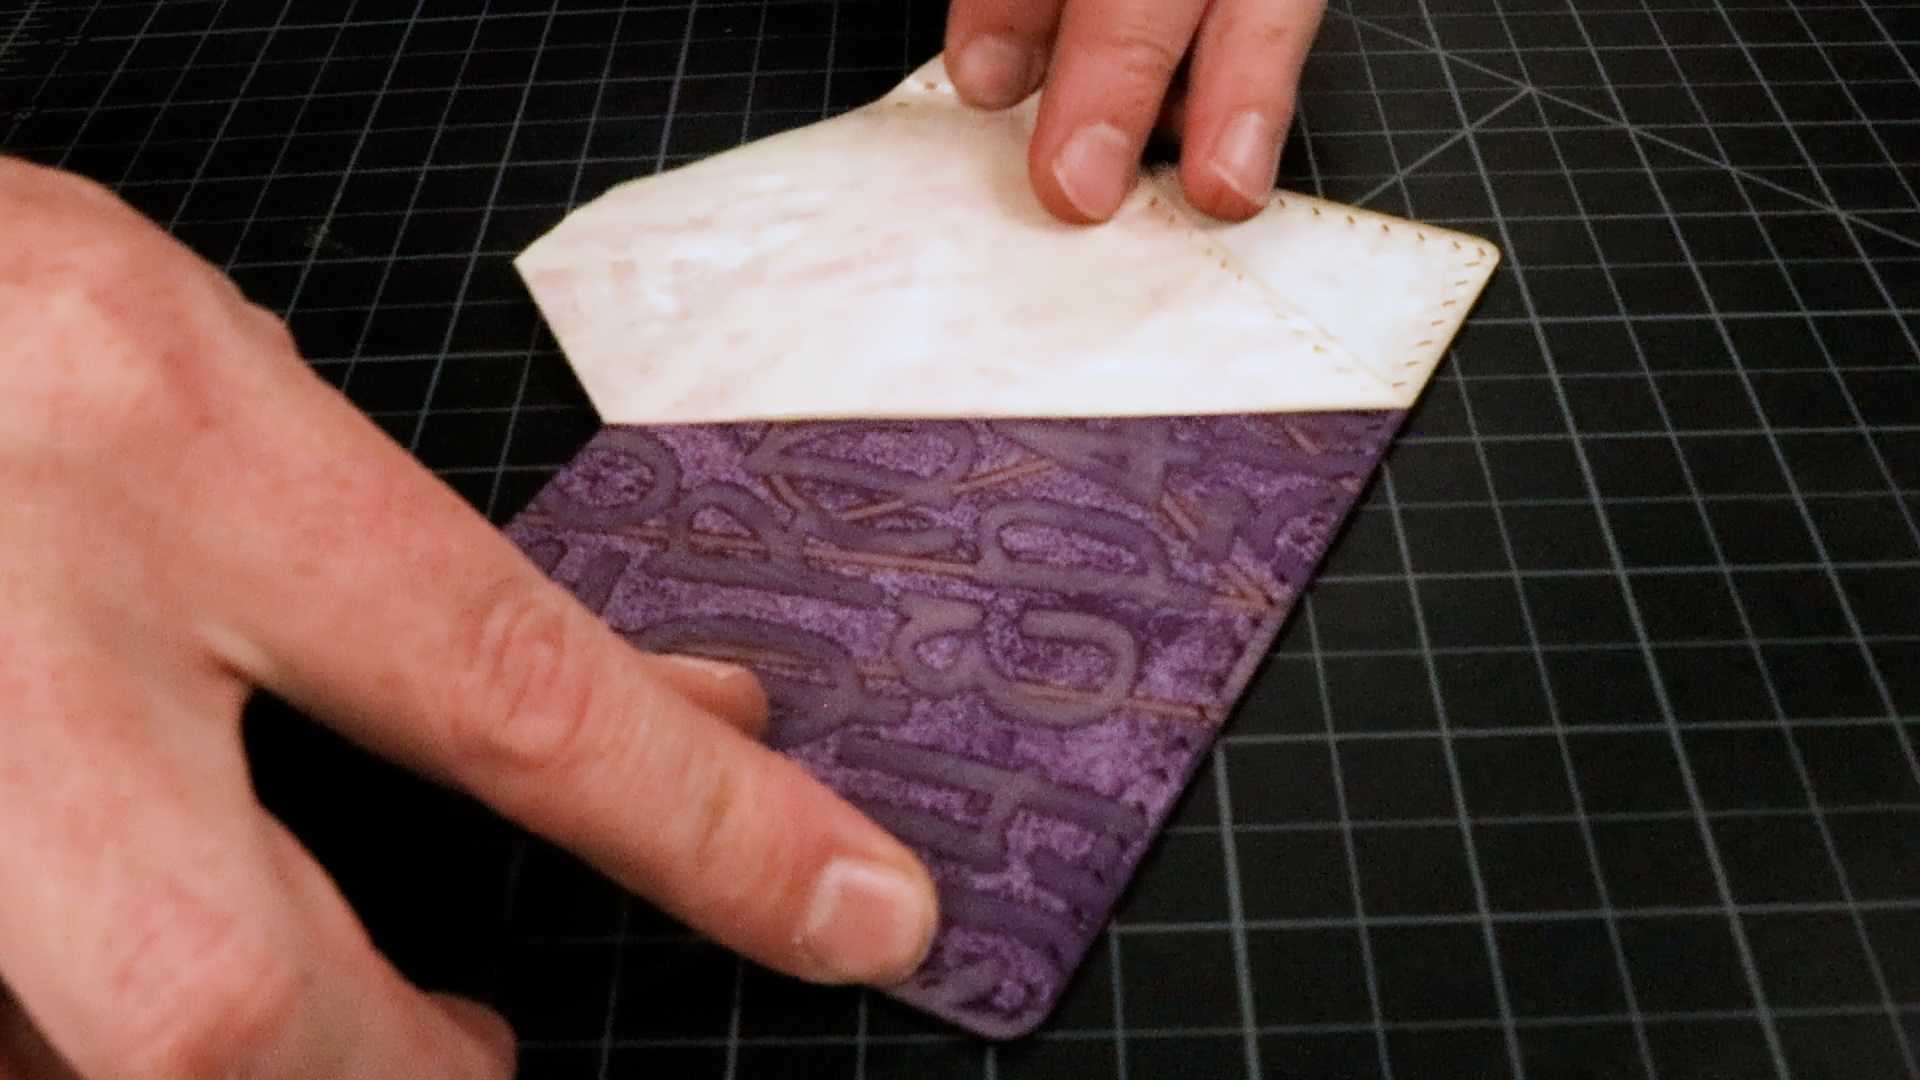
After folding the wallet together, with an extra needle pierce through the stitches to clear the adhesive out of the way when sewing the wallet together.
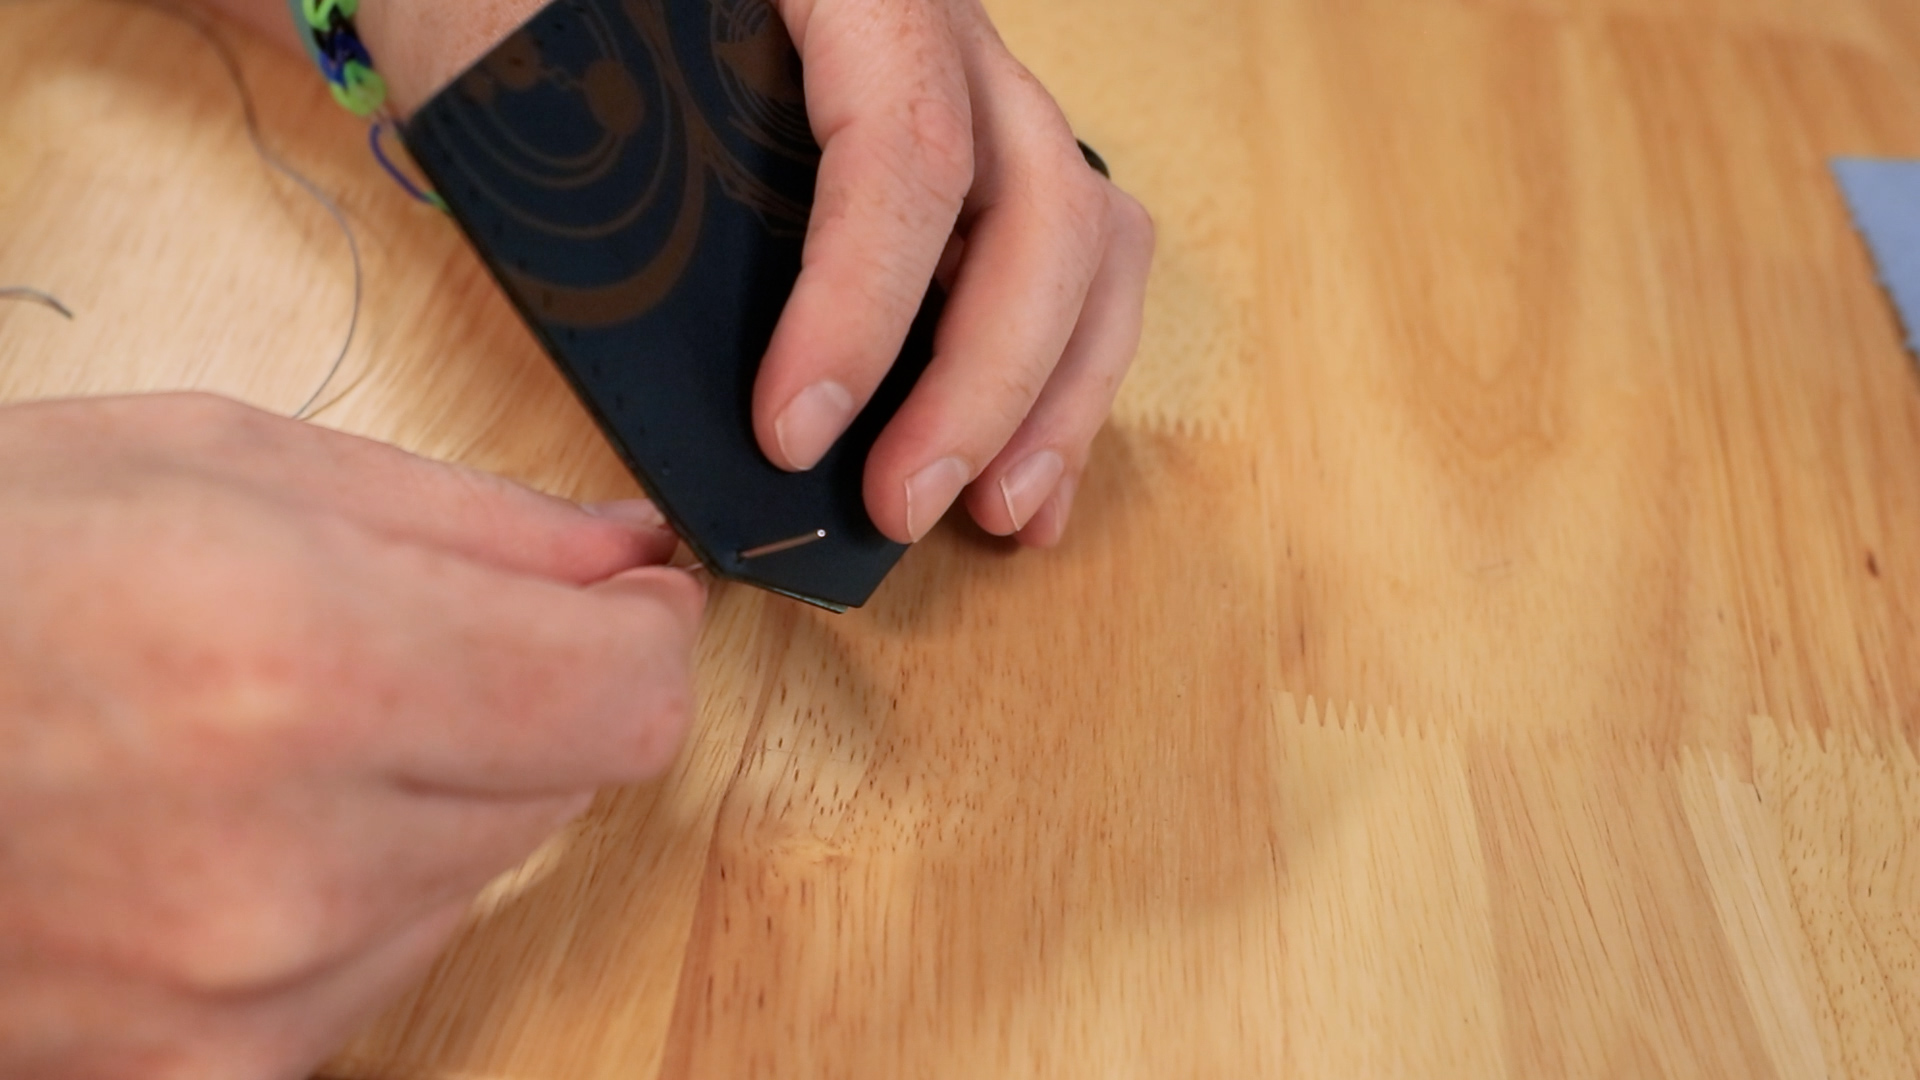
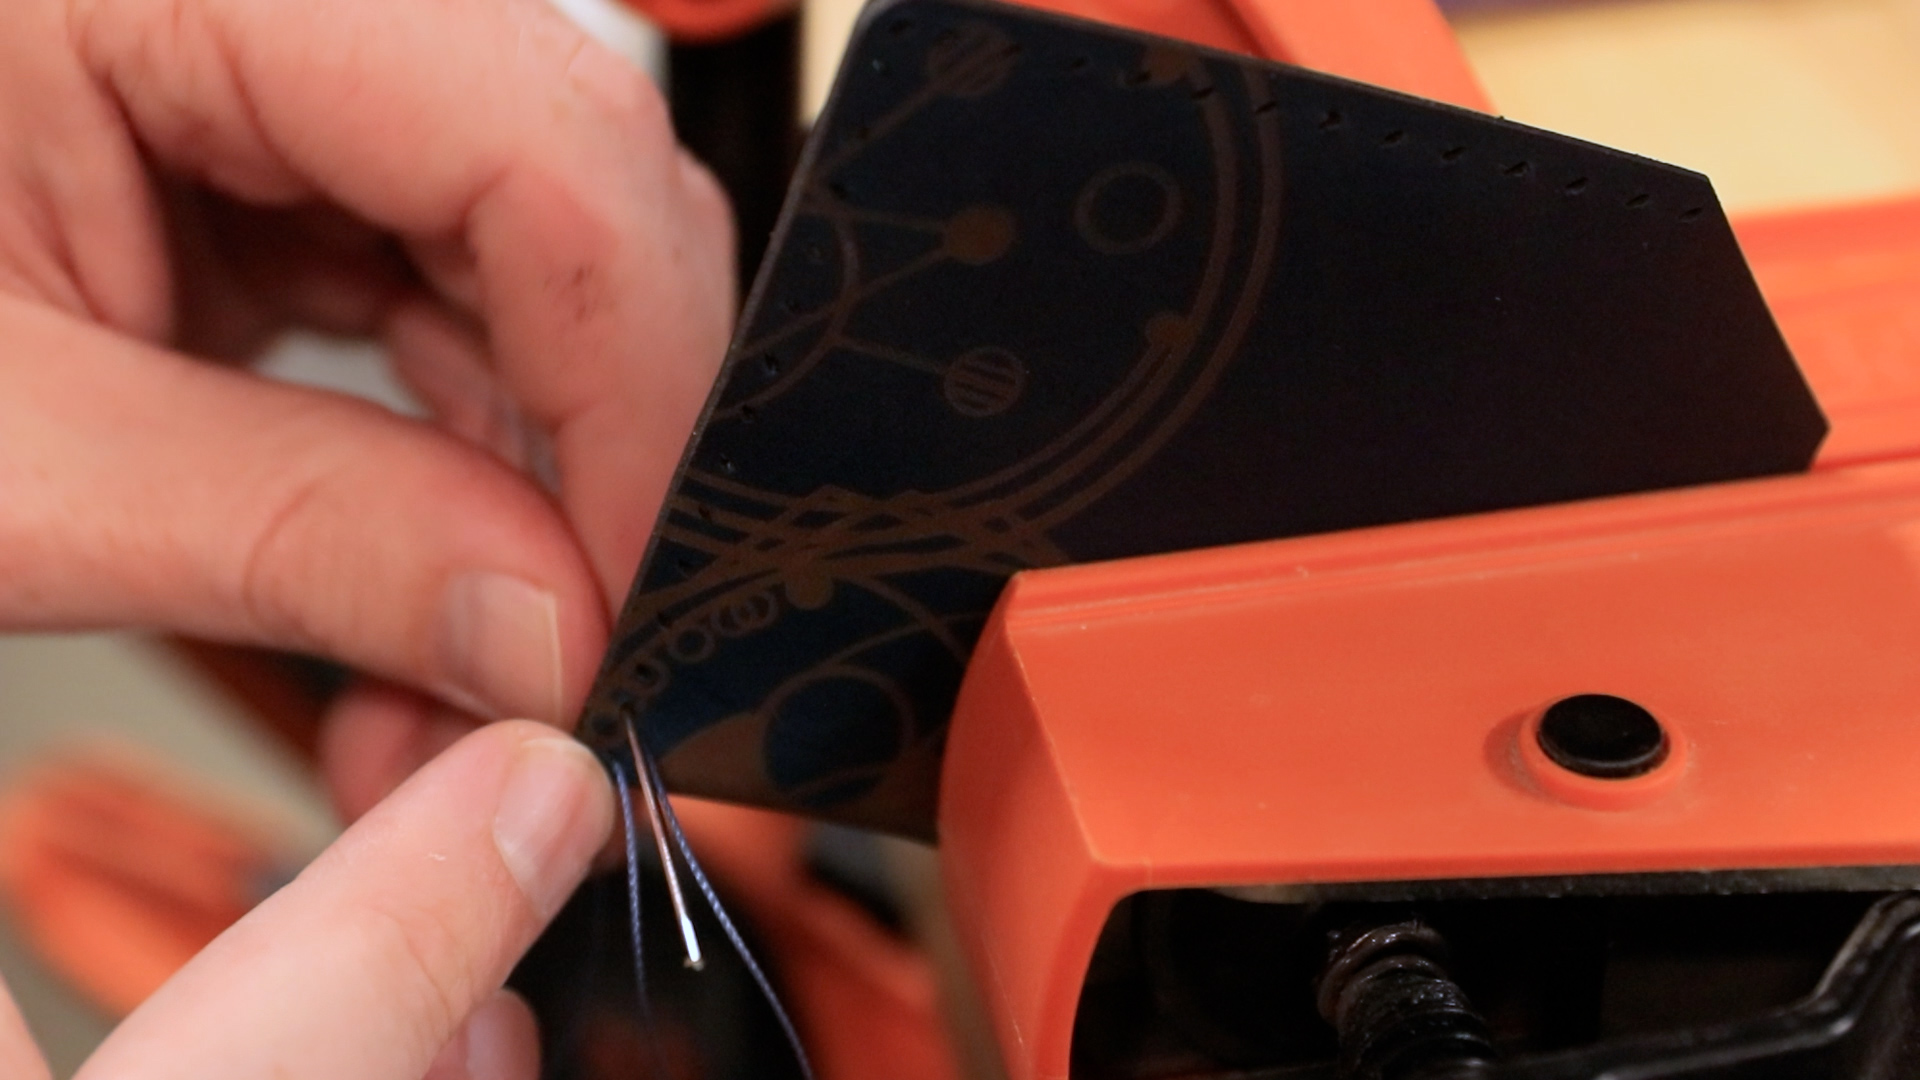
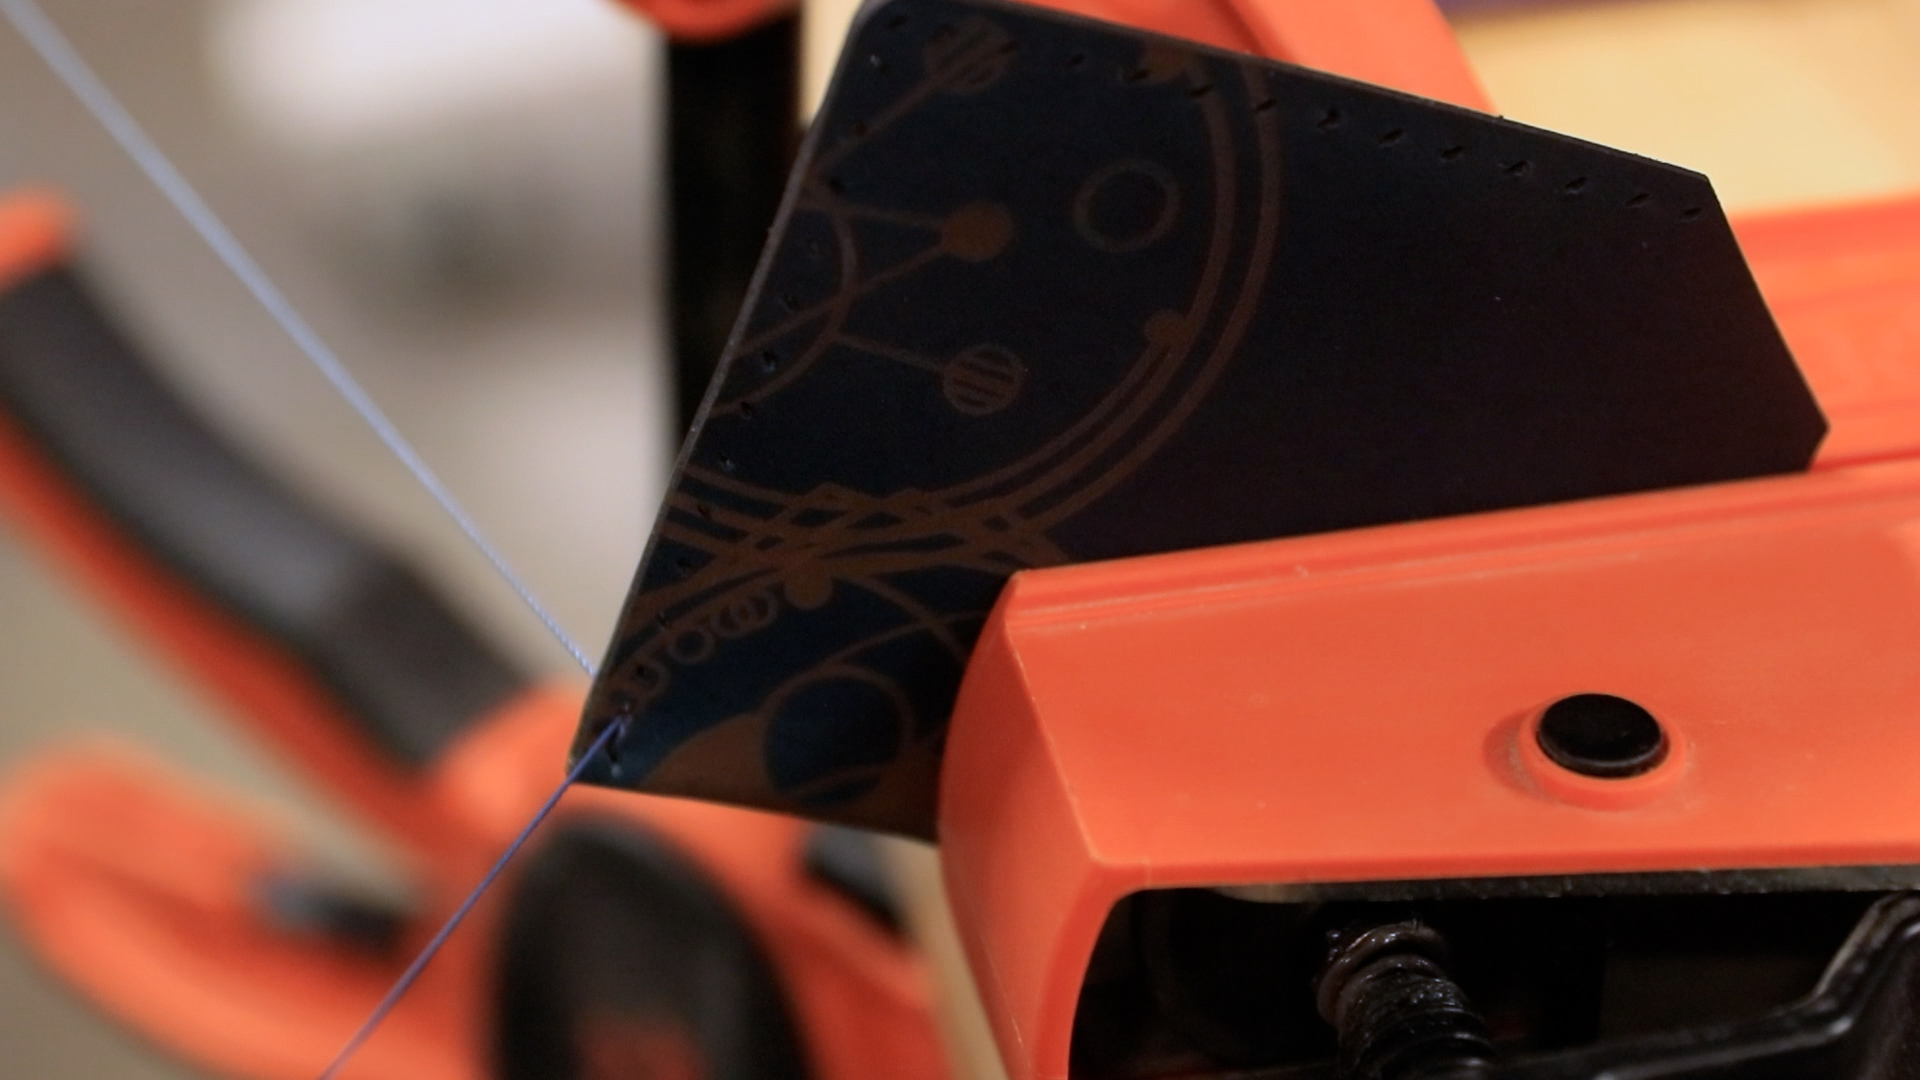
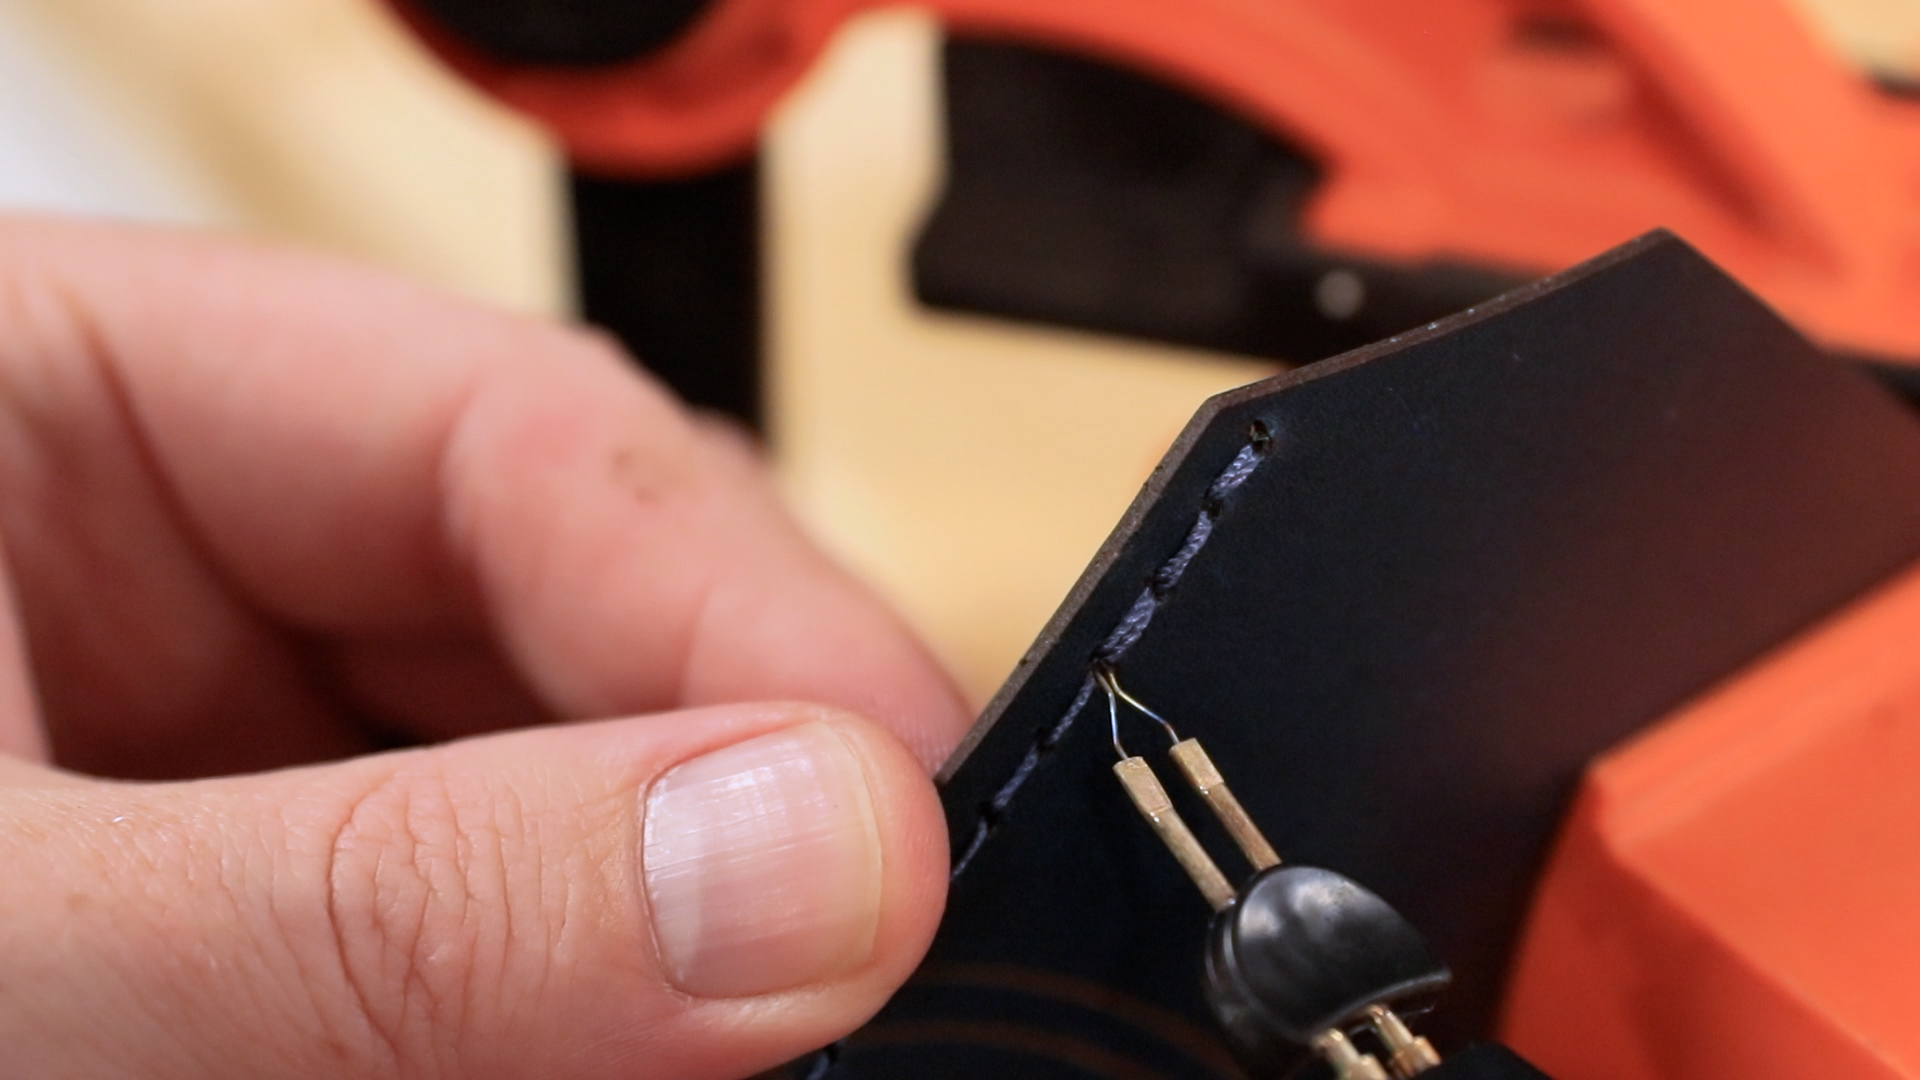
Starting from the bottom of the wallet, begin sewing the wallet together using the double-stitch method, threading both needles through each stitch all the way to the top of the wallet. Once you get to the last stitch, sew back down through the last two or three stitches to secure the last stitch. Cut the thread and lightly burn the edges on each side.
Finishing Details
Using a burnisher, take some leather finish and apply it to the cut edges of the wallet to move the finish into the edges. The goal is to make the edges look as smooth as possible and eliminate the seams.
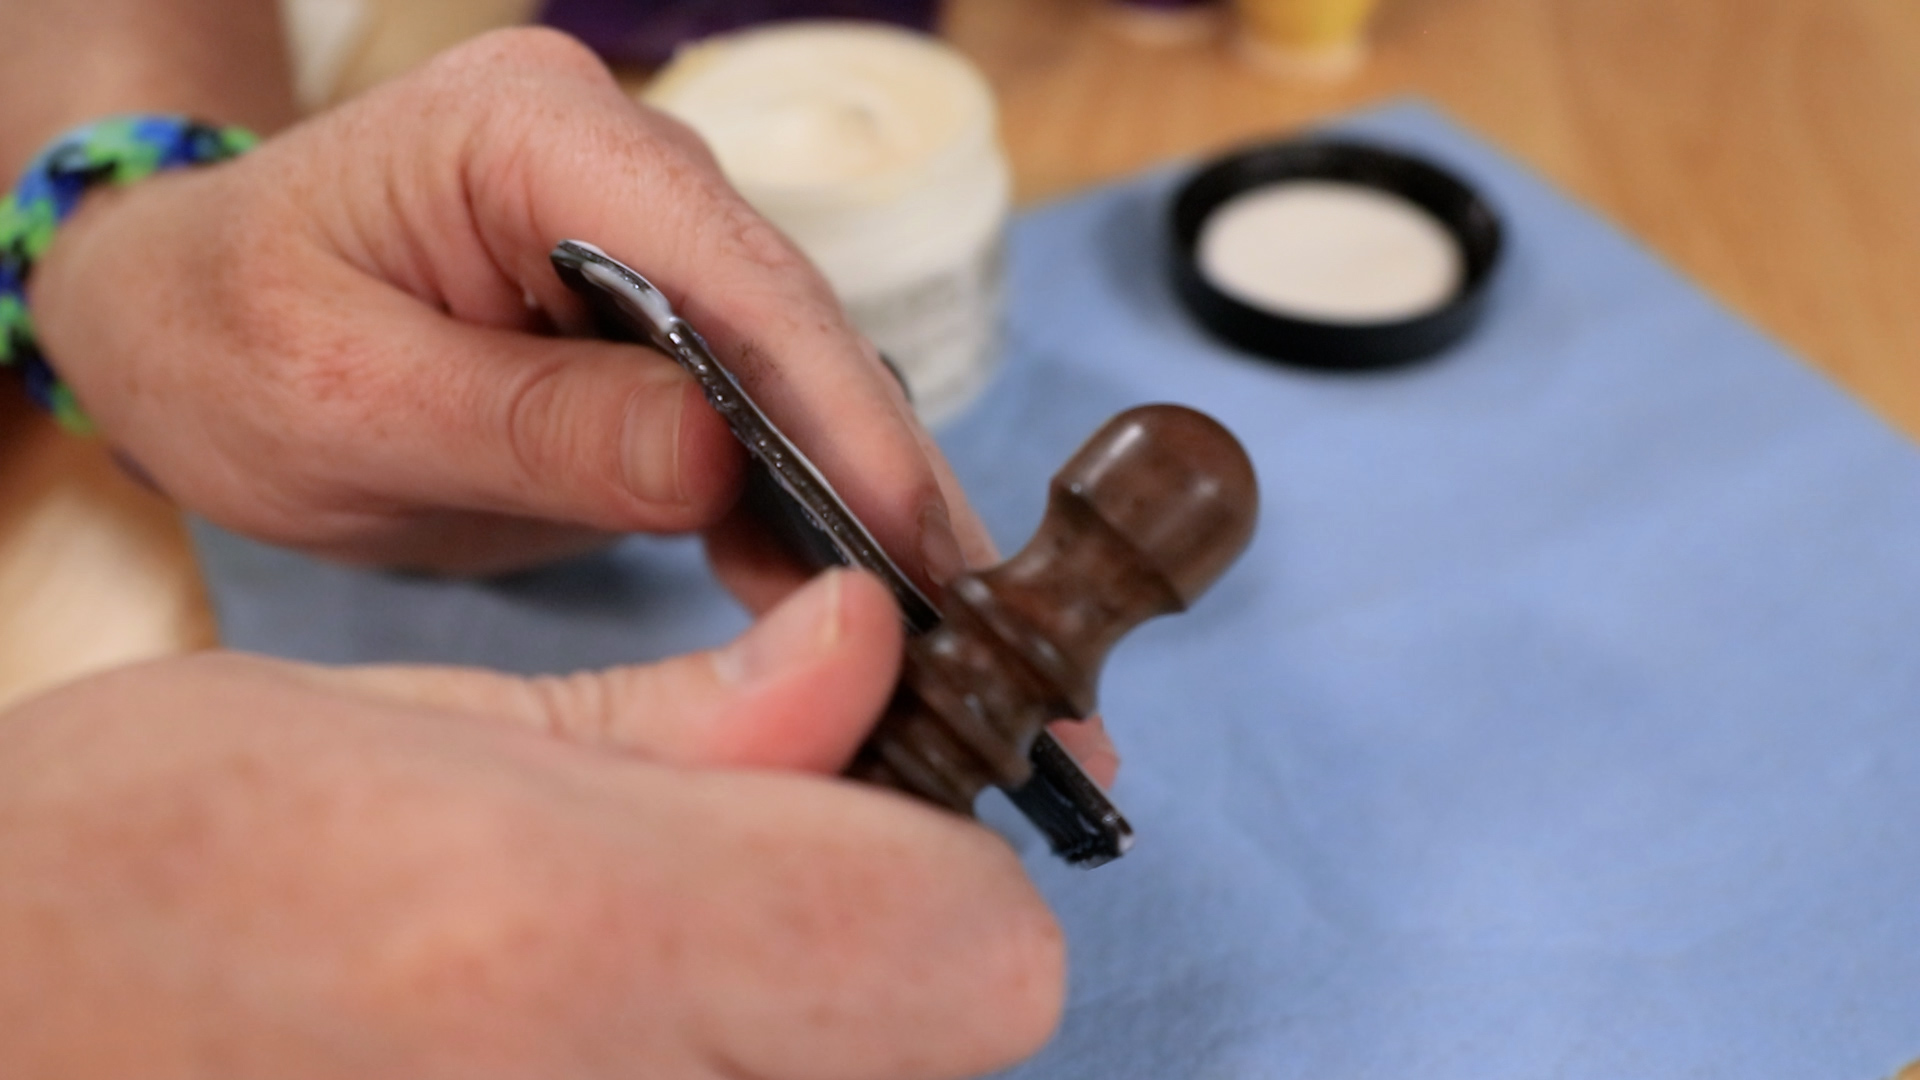
Using a bone folder or similar tool, open up the inner corners of the wallet in case the adhesive has gone too far inside the wallet.
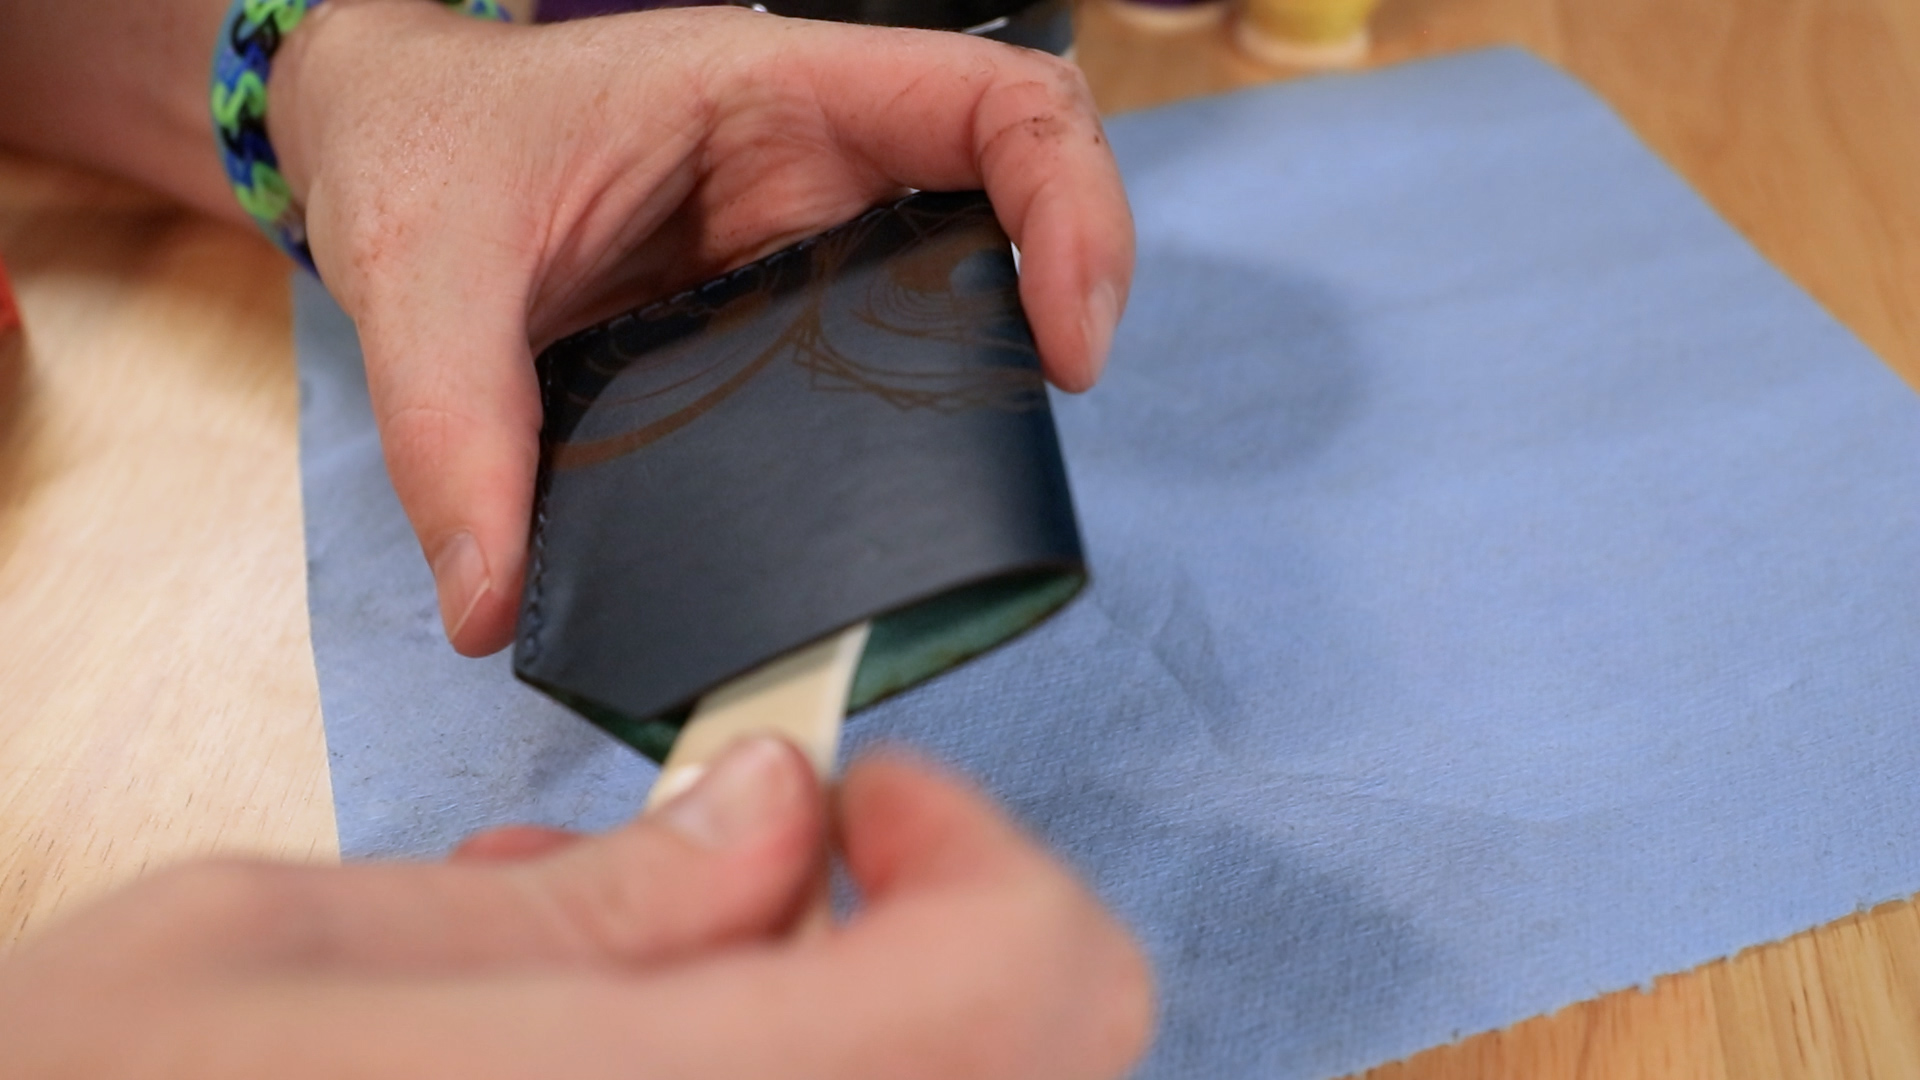
We now have completed creating custom leather wallets, cut and engraved with an Epilog Laser.
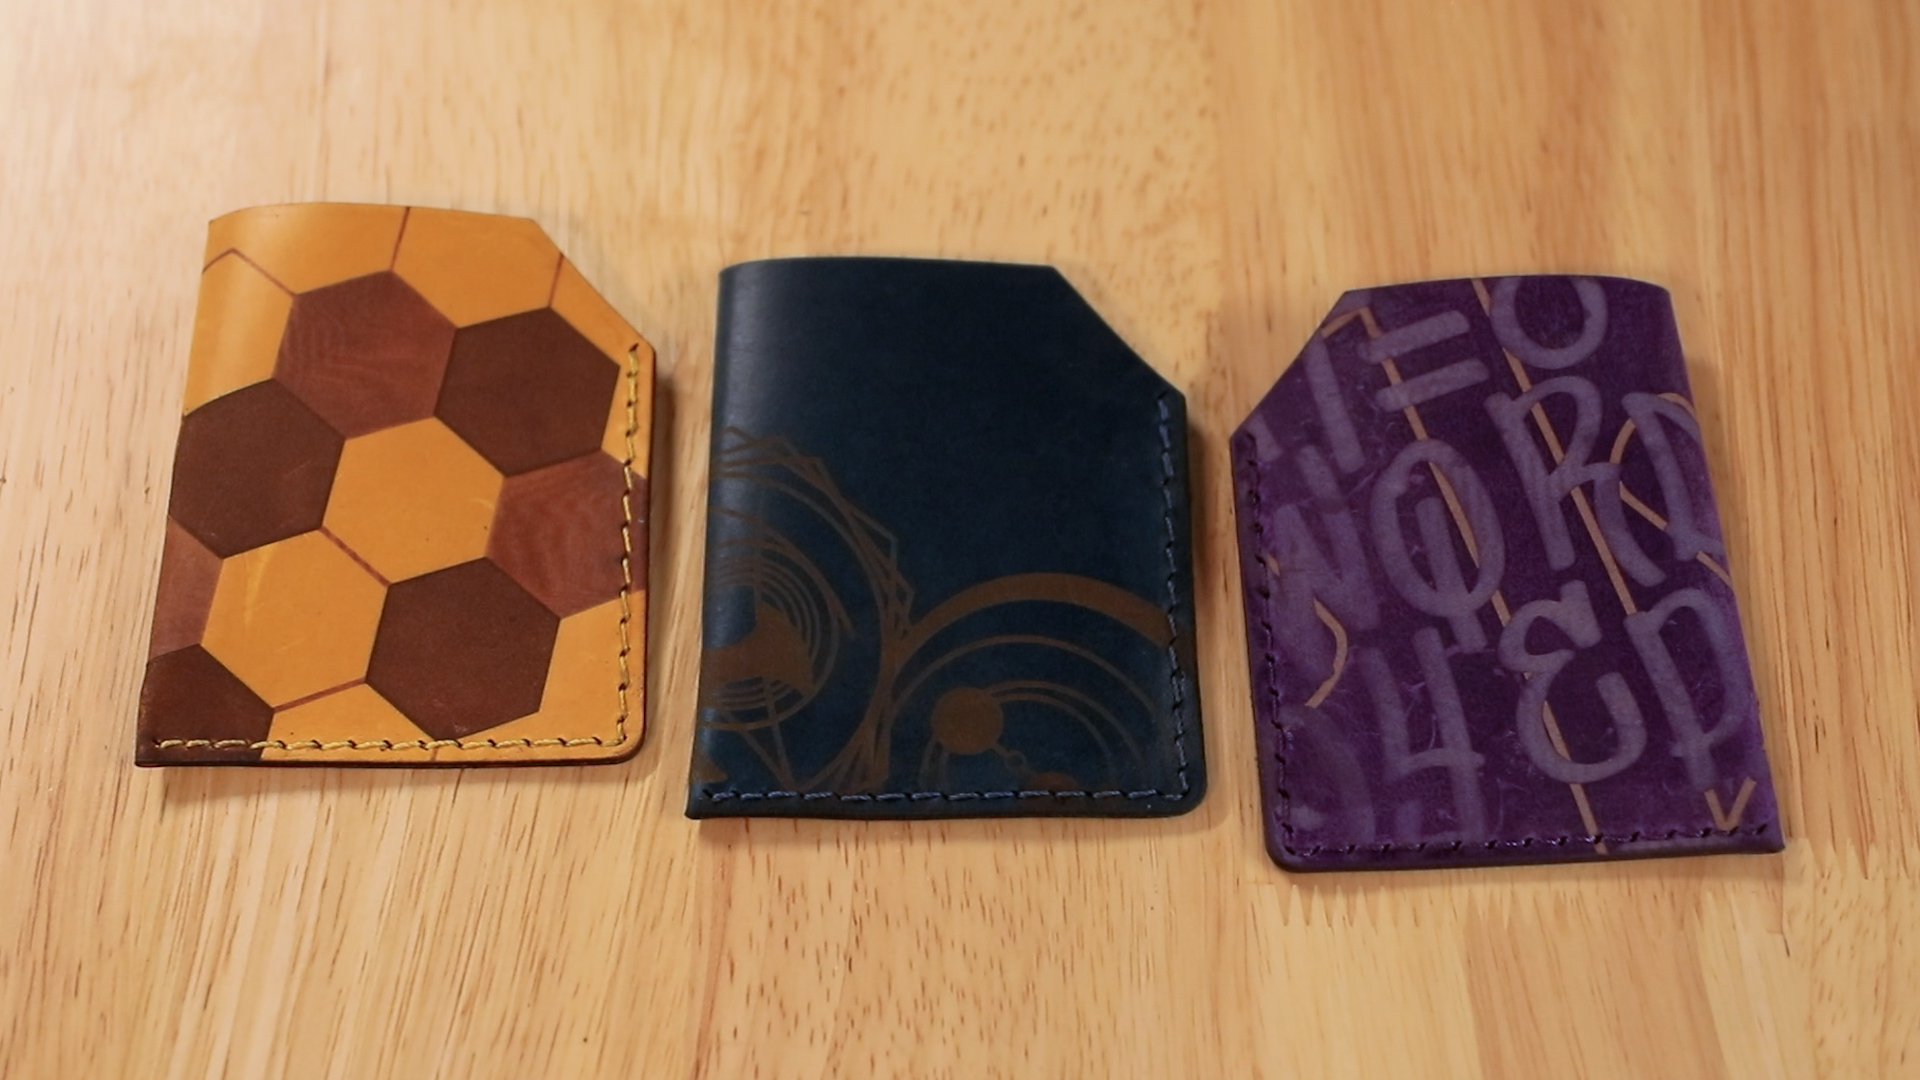
Hopefully this project has helped inspire you to think about how a laser machine can be used to not only engrave detailed graphics, but also how it can be used in the production of parts and pieces. Until next time, happy lasering!
Where can you sell laser cut and laser engraved leather wallets?
- As groomsman gifts
- Father’s Day gifts
- Online specialty gift stores
- Promotional giveaways
- Fundraisers
