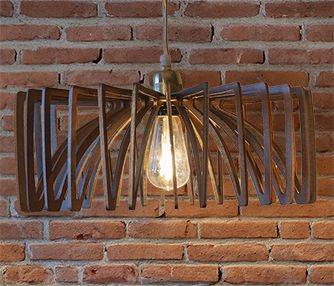
Laser Cut 3D Lamp
Wood
Introduction
Project Settings
-
1/8” MDFCan use any 1/8” material
Setup
Open the artwork files and customize as necessary.
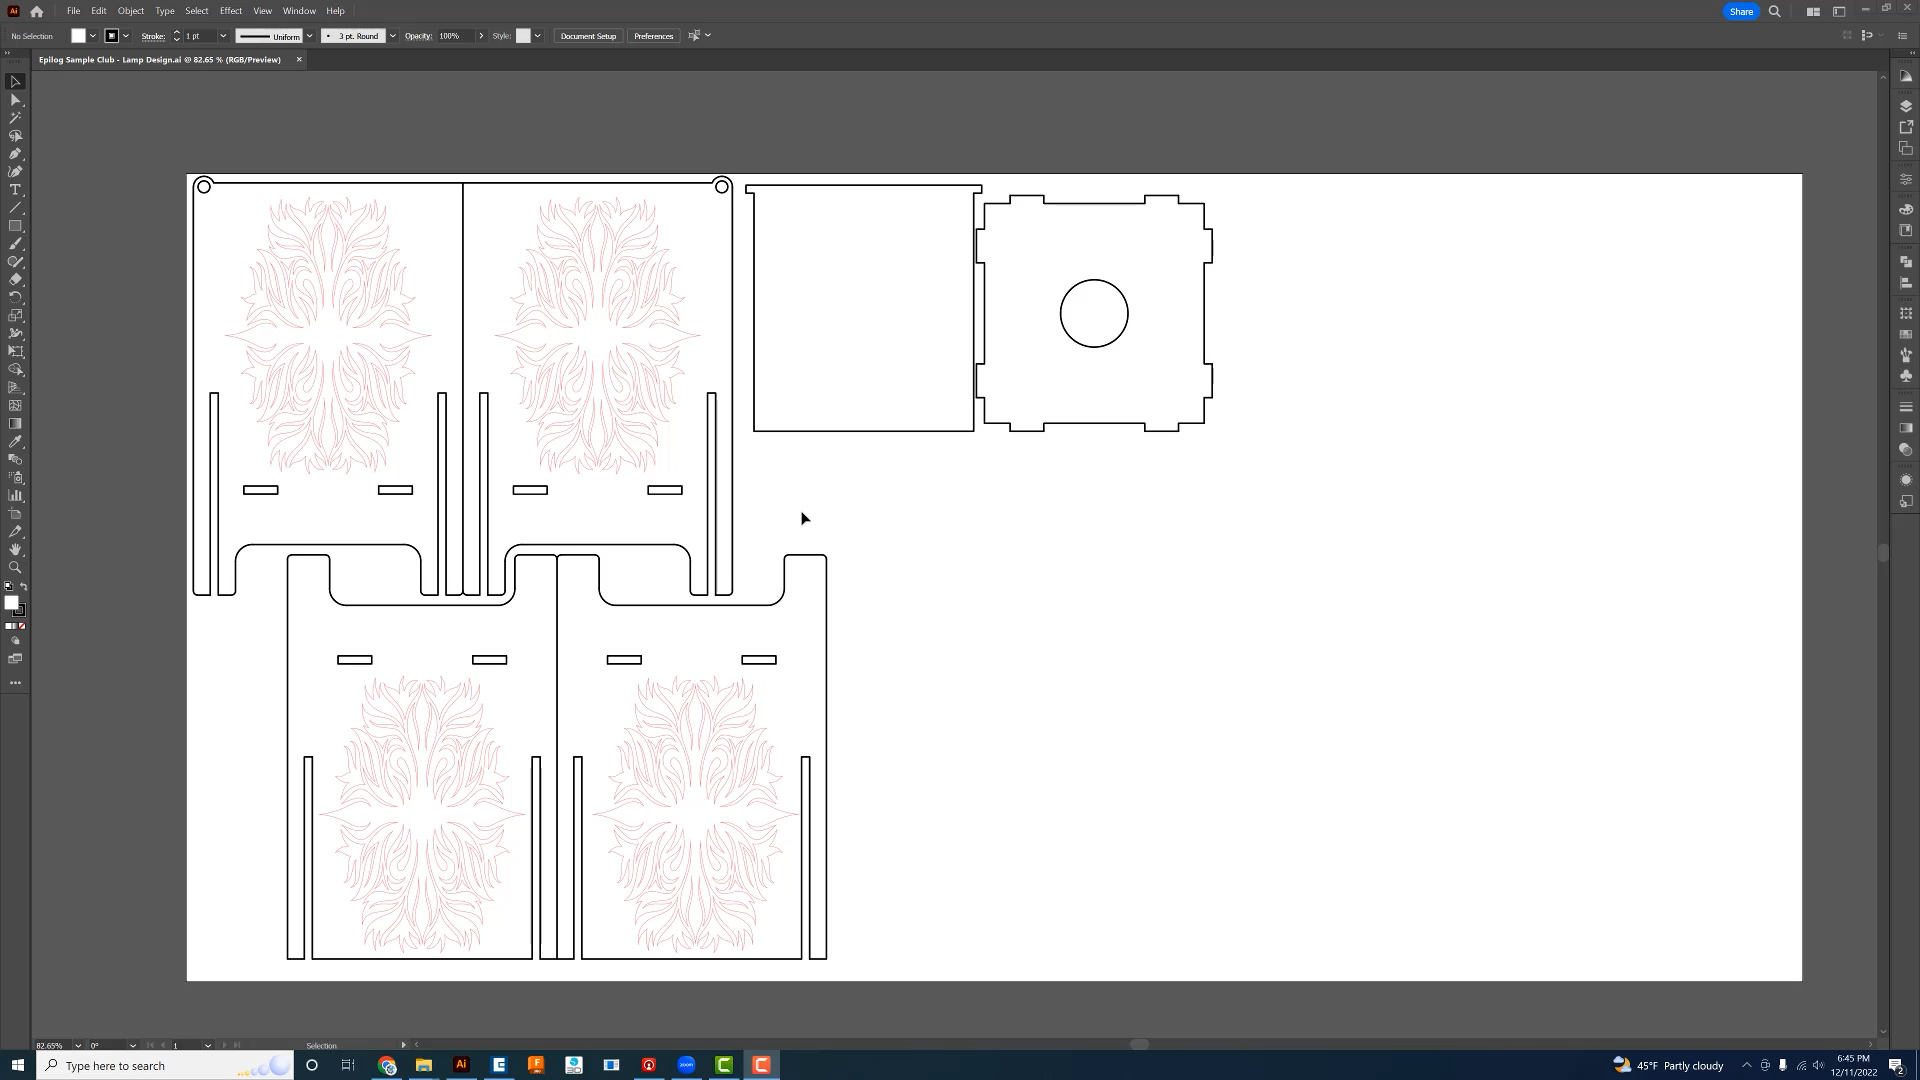
Send the Job to the Laser
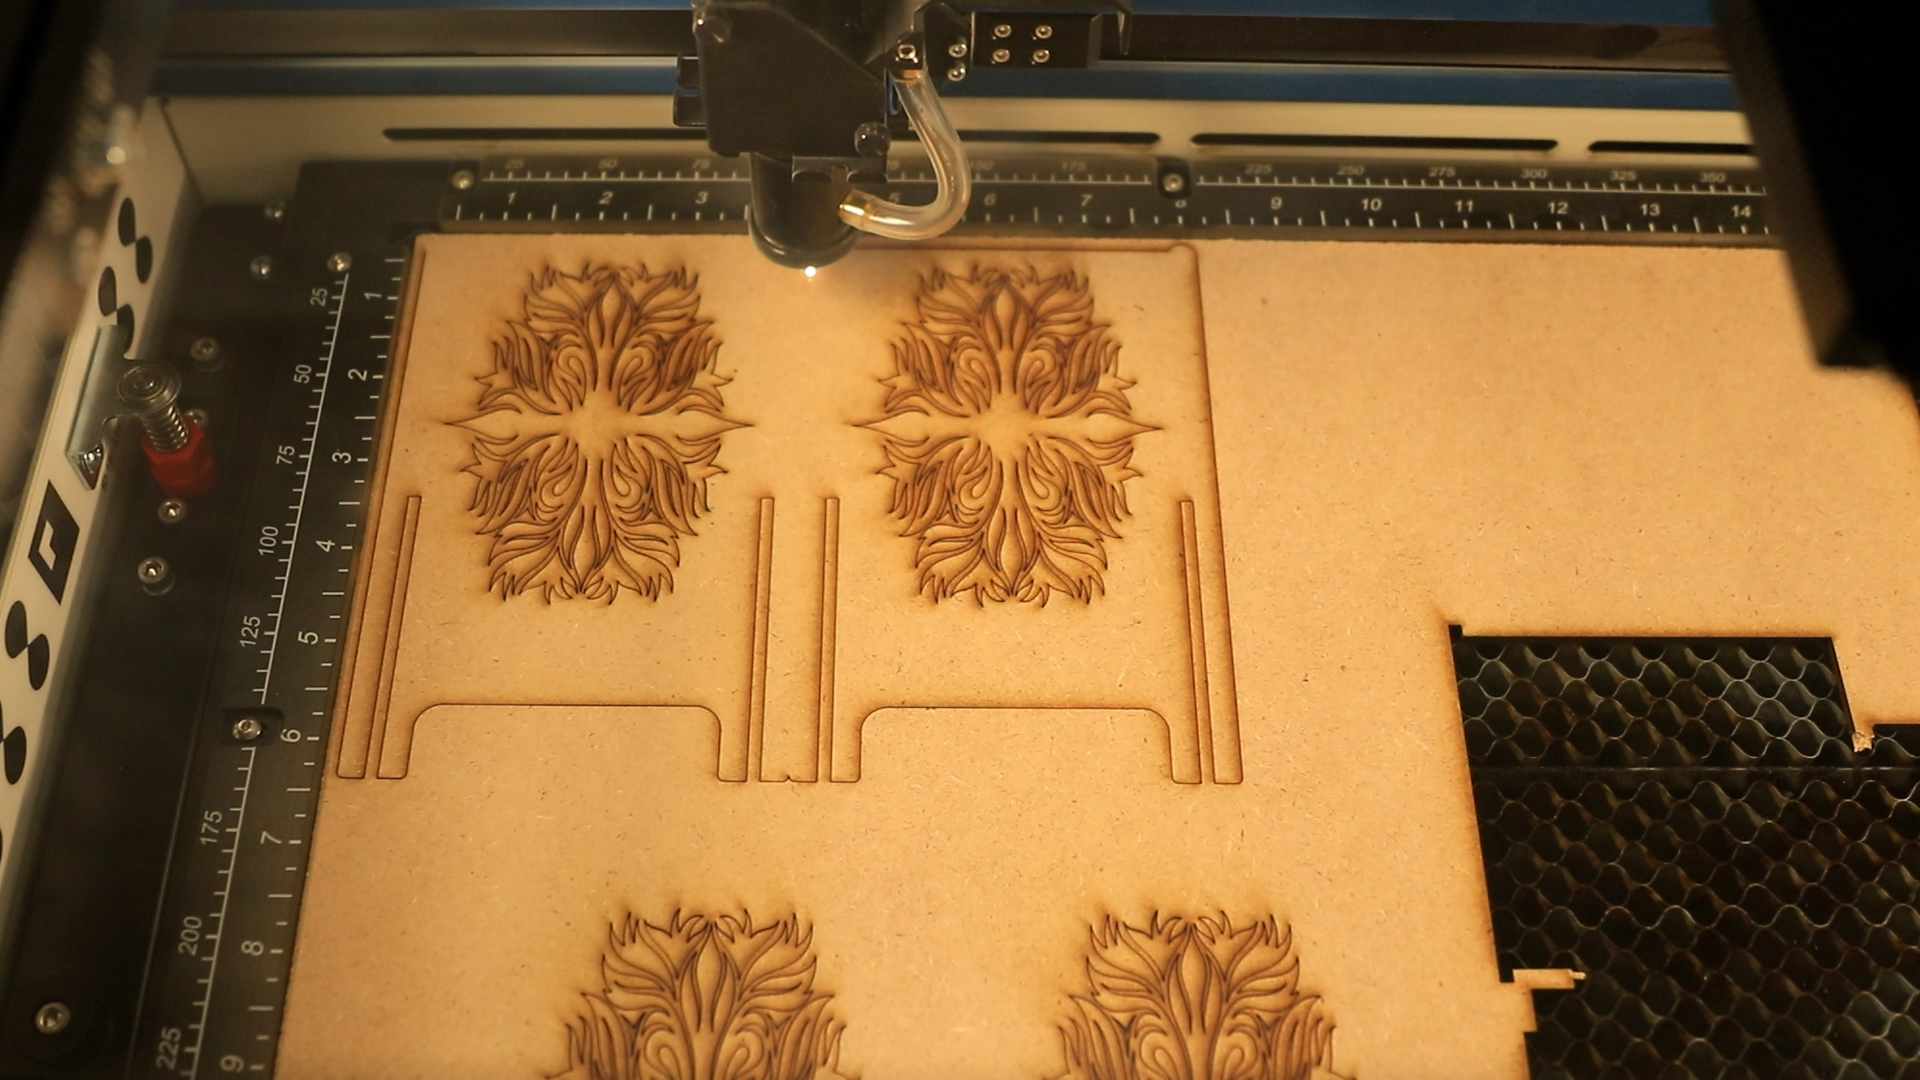
After you’ve modified the artwork to your liking, insert your MDF material into the laser and send the job over with the correct parameters for your machine.
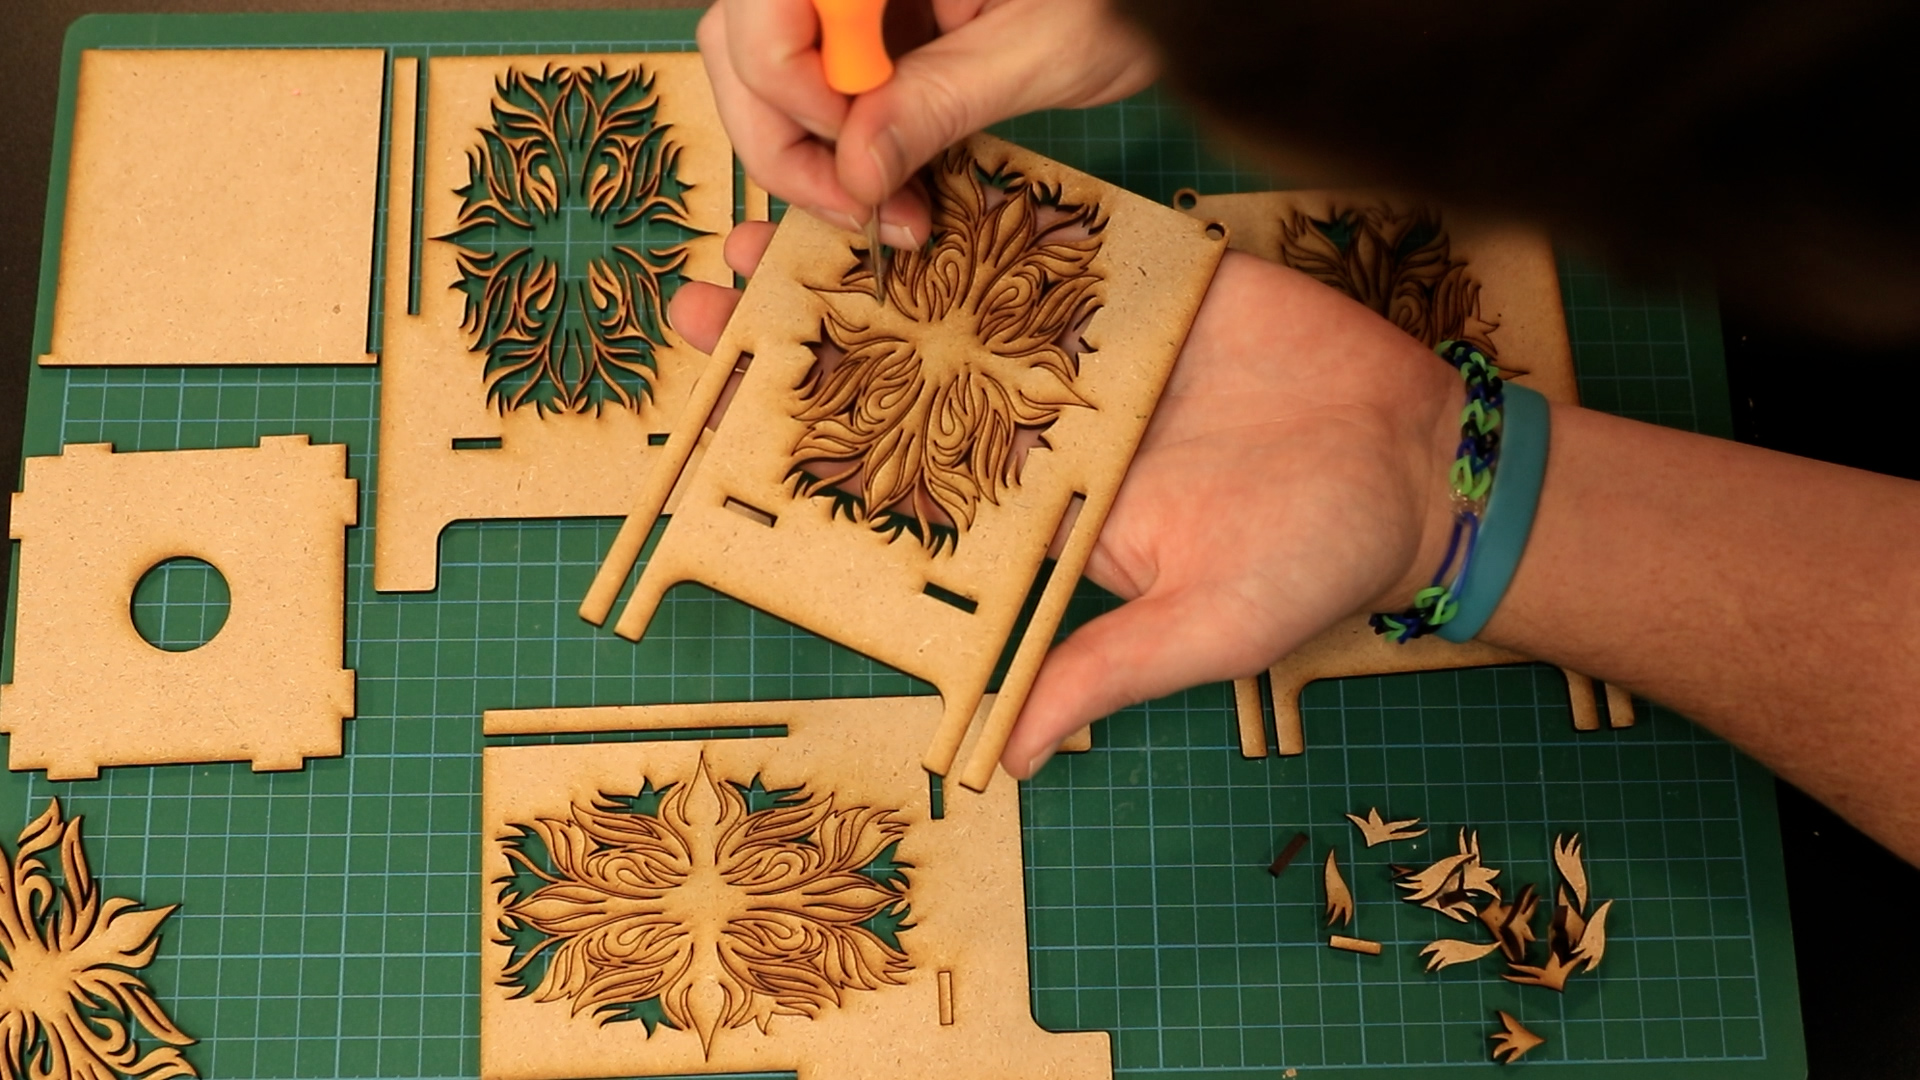
Remove inner pieces
After your lamp has been cut, carefully remove any pieces cut out from the middle.
Assemble
After your 3D lamp pieces have been cut,it’s time to put it together.
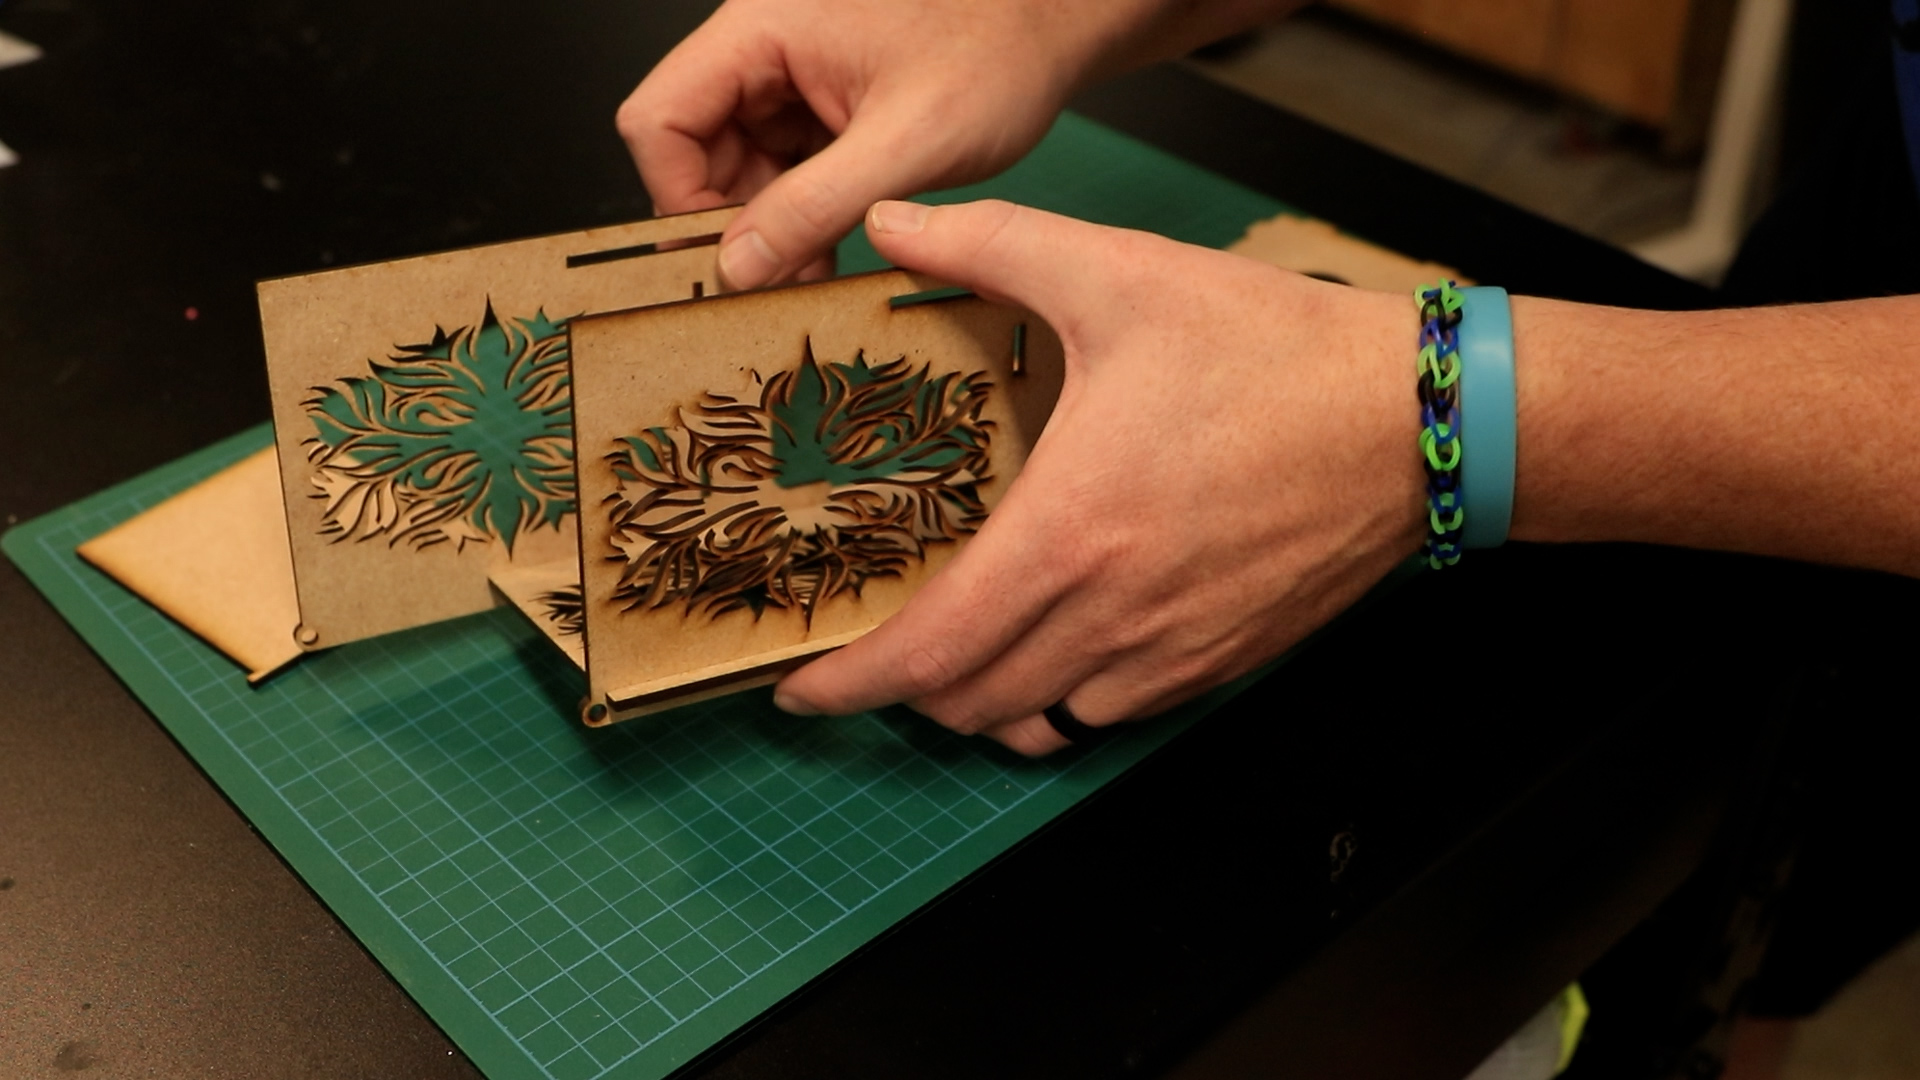
Carefully attach both side panels with holes aligned on top, interlocking them with the back panel.
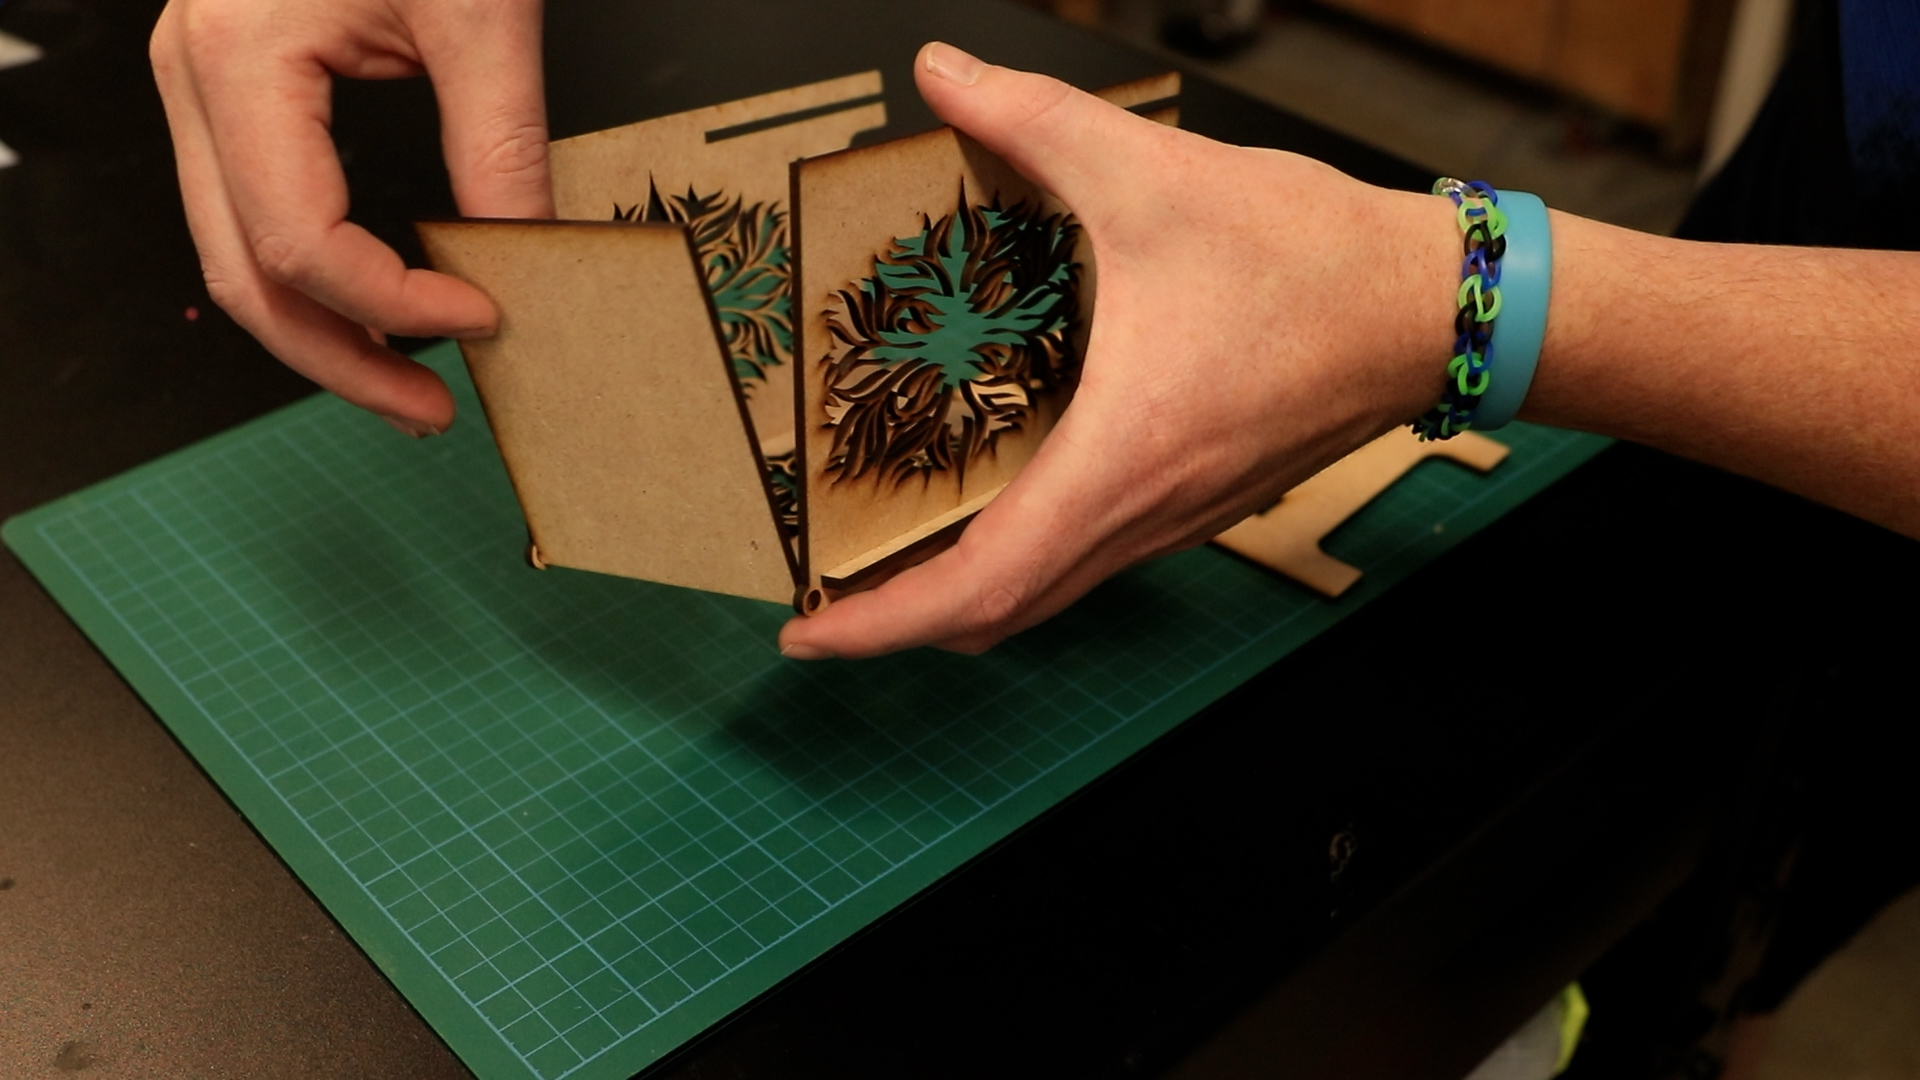
Connect the top panel by inserting the tabs into the holes of the side panels, creating a hinge.
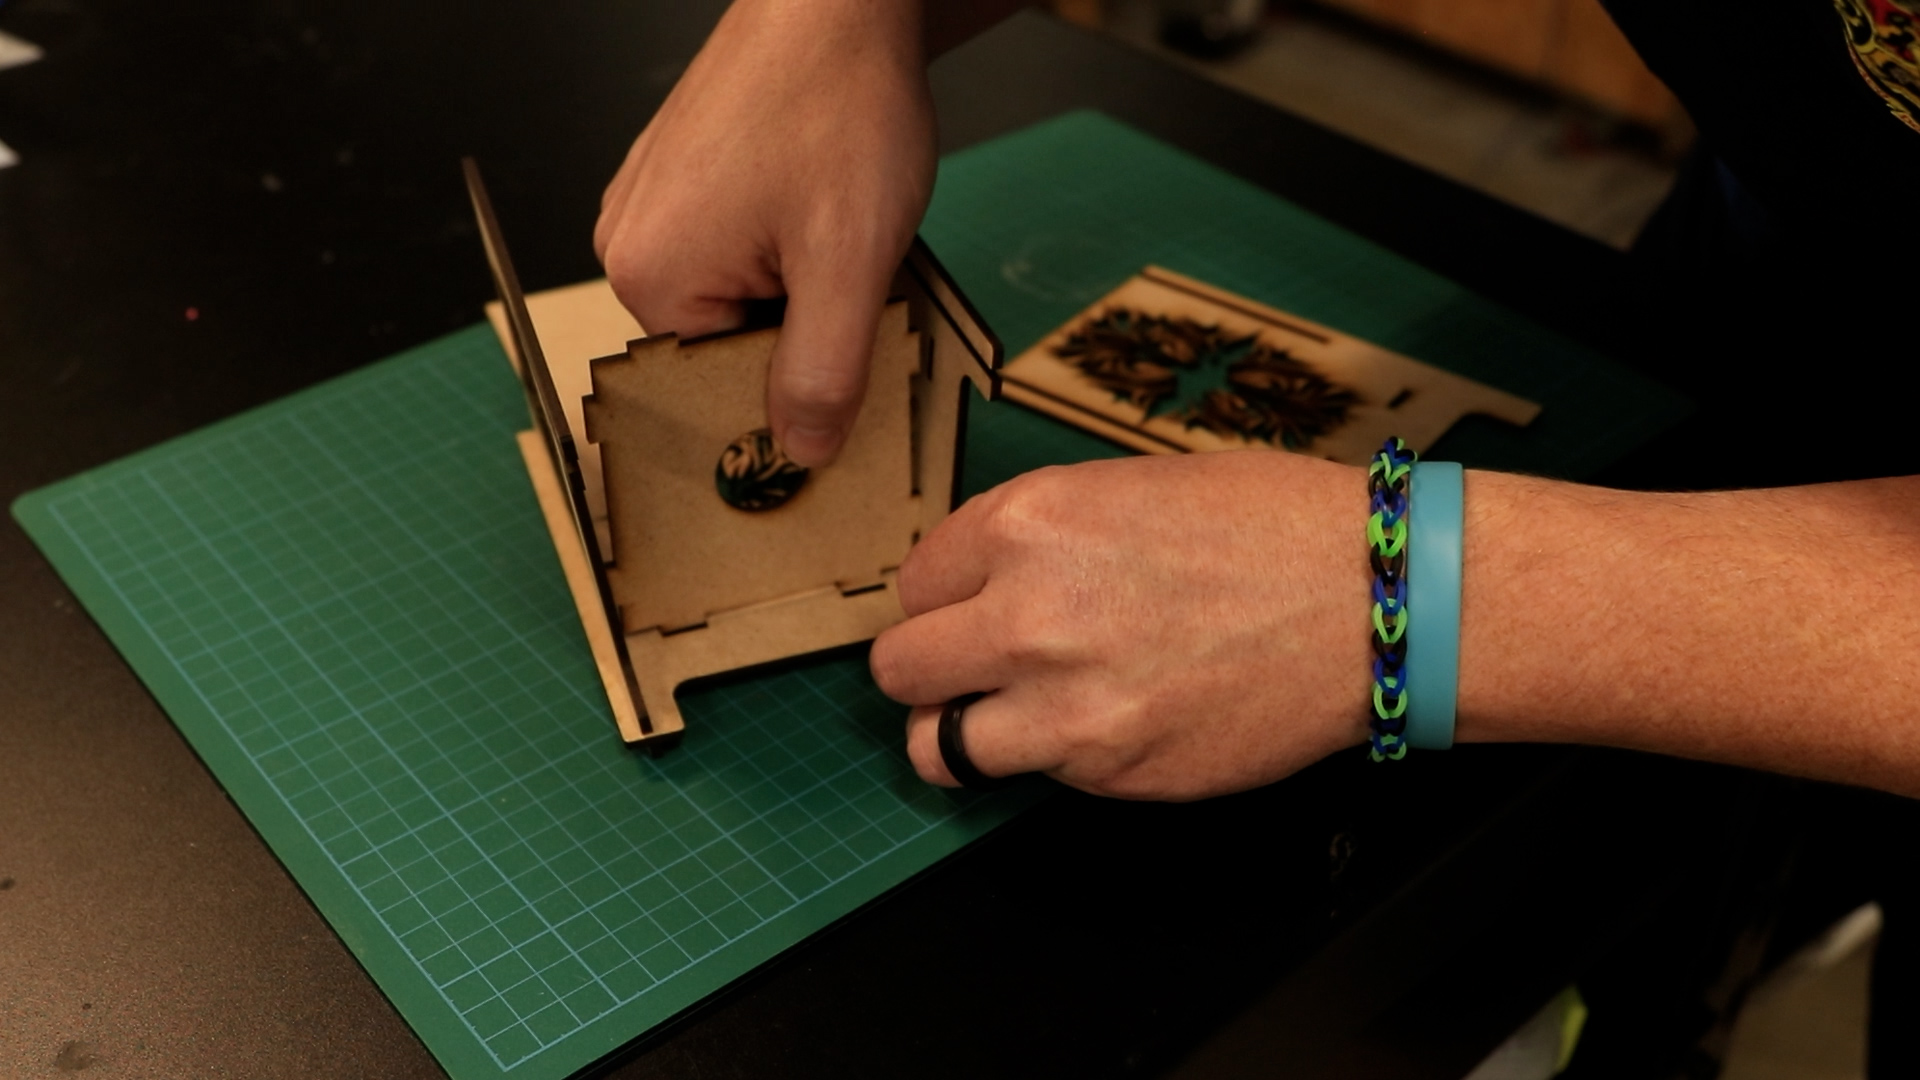
Insert the middle panel, making sure the tabs line up with the holes on all 3 sides.
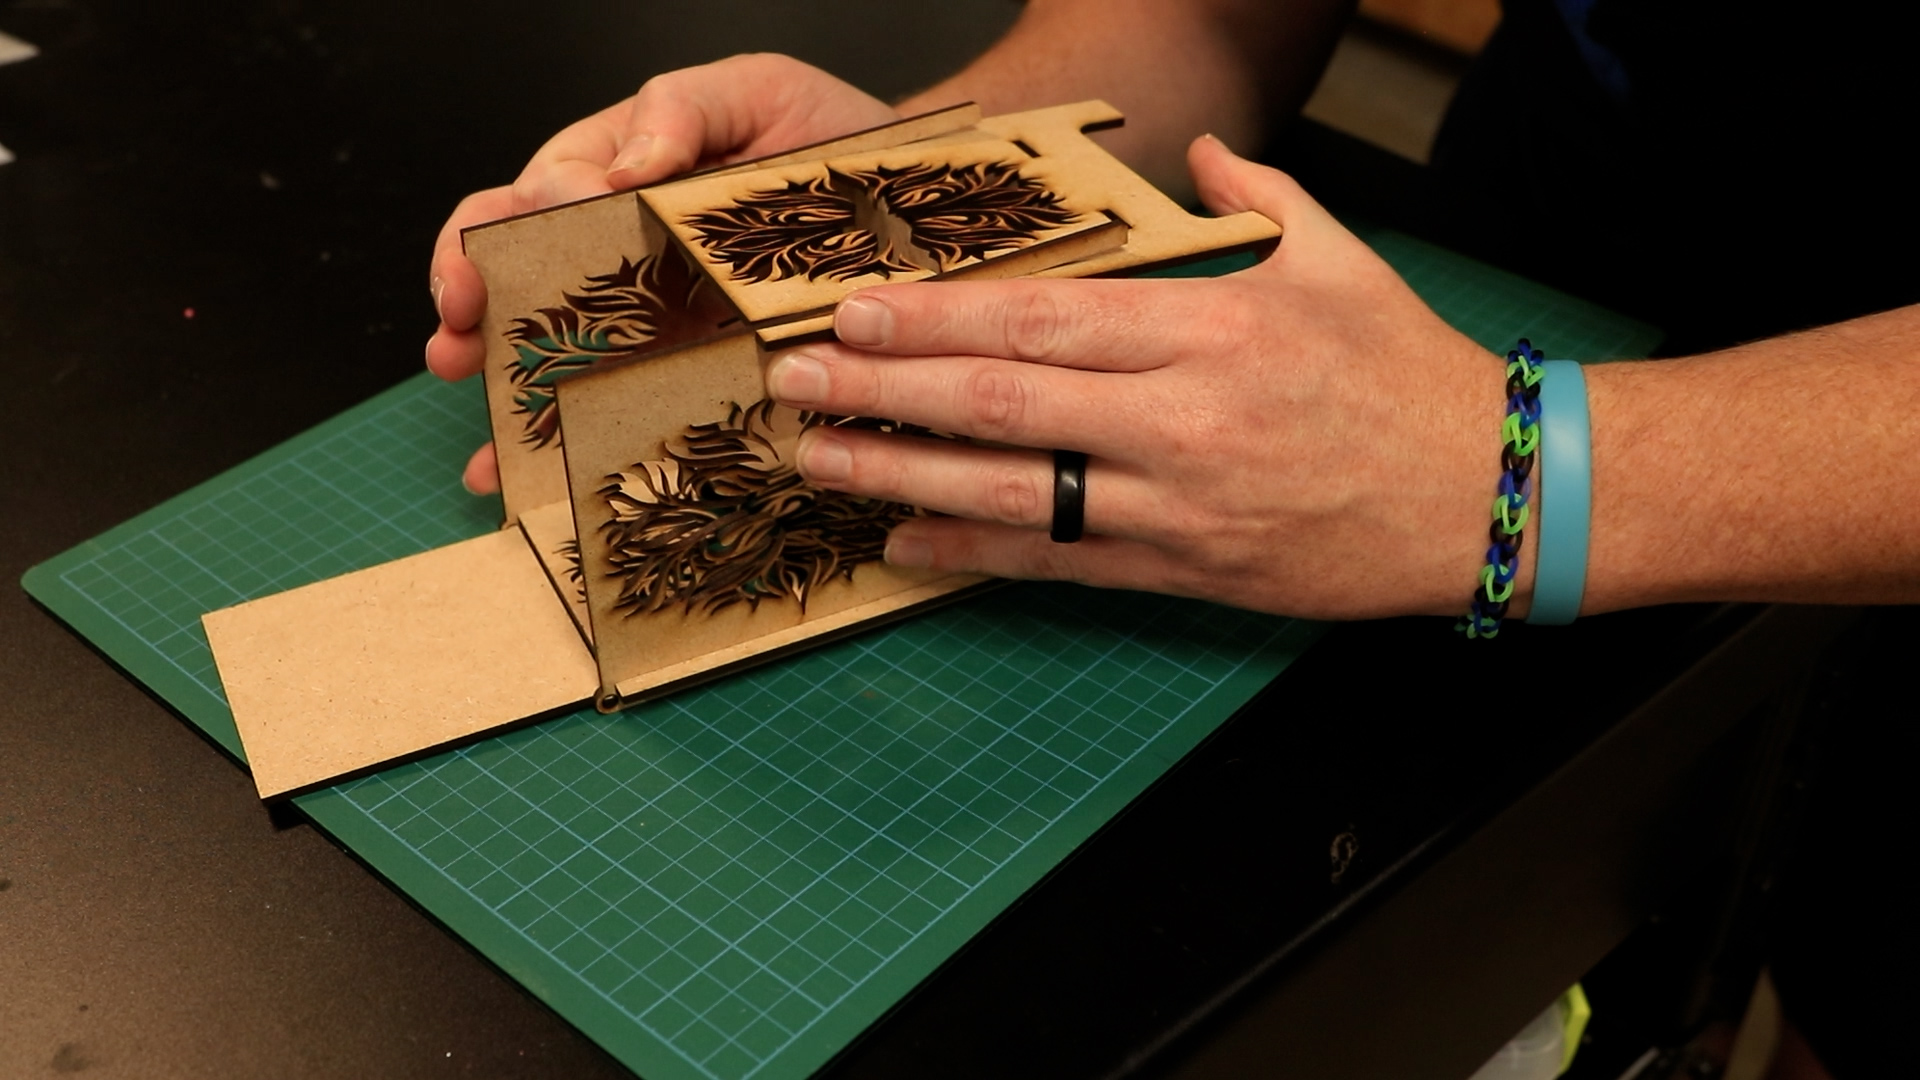
Slowly slide the final panel in from the bottom at an angle until it locks into place.
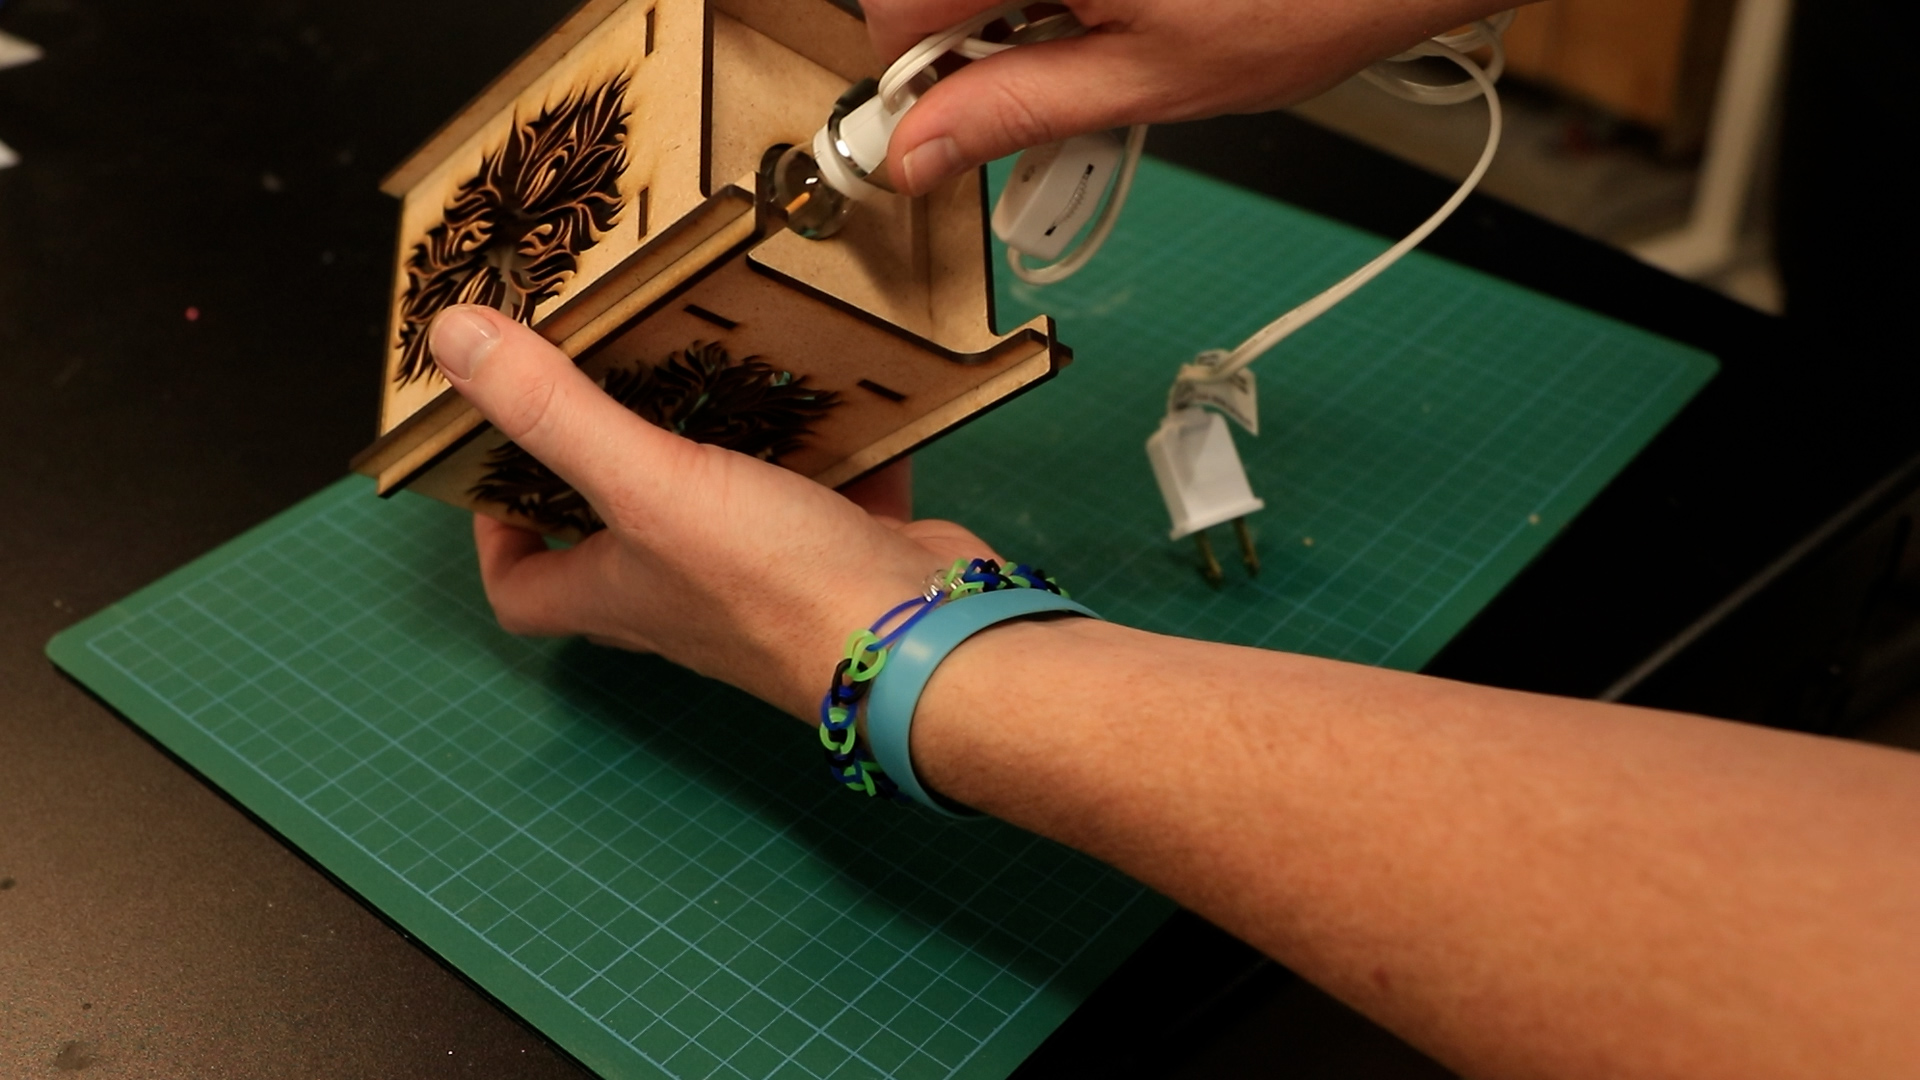
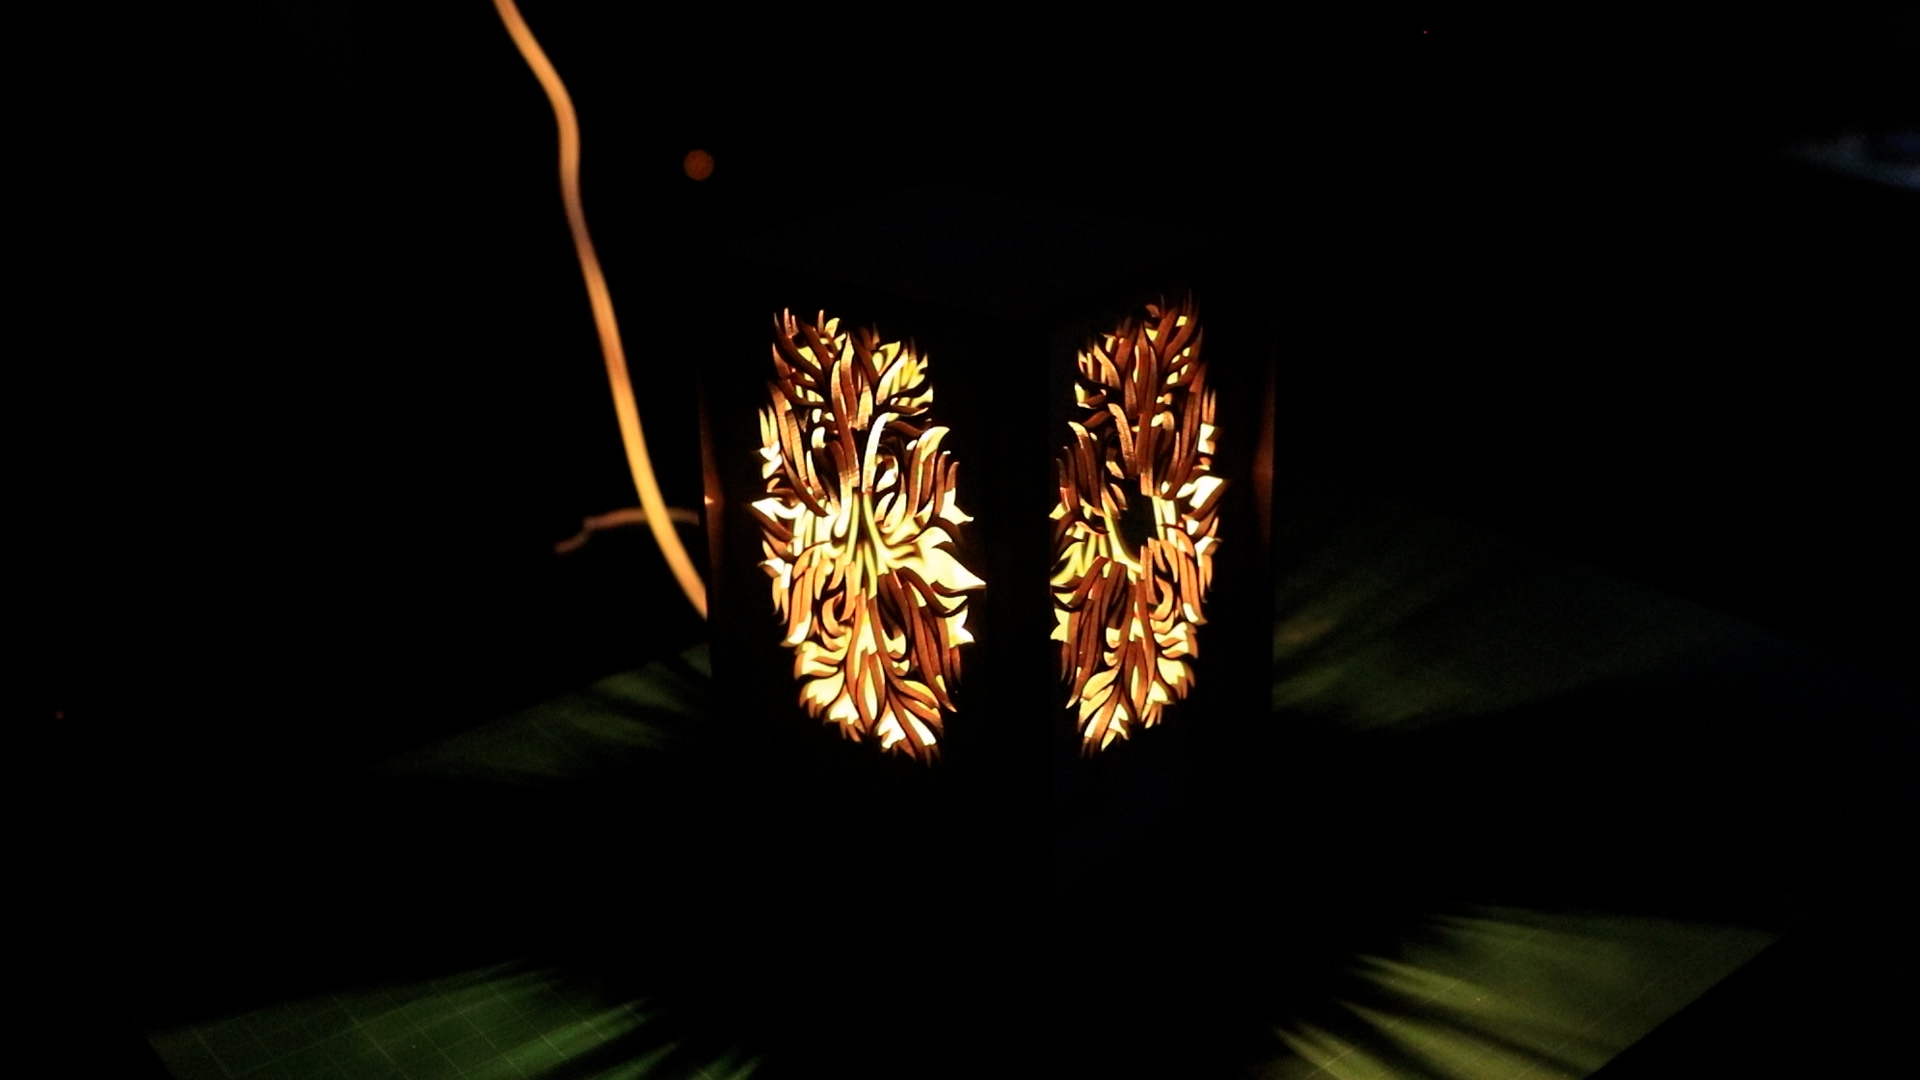
Squeezing the prongs on both sides of the light bulb, insert the bulb through the bottom hole of the lamp. Now you may enjoy your new laser cut 3d lamp!
Where can you sell laser cut 3D Lamps?
You can sell wooden lamps already assembled or as kits for customers to put together themselves.
- Online shops
- Specialty gift stores
- Home décor outlets
