Engraving on a Wooden Napkin Ring
Wood
Introduction
Whether you’re adding the final touches to a new restaurant or maybe looking for take-home favors for a wedding or other special occasion, these customized wooden napkin rings add style and personality to any event!
Read on to learn the machine settings and other tips for engraving your very own wooden napkin rings. Pick from one of our styles or design something unique for customers to ensure their event is truly one of a kind.
Project Settings
-
We purchased ours through Amazon, but you may elect to find a wholesale supplier for bulk orders.
Prepare the Artwork
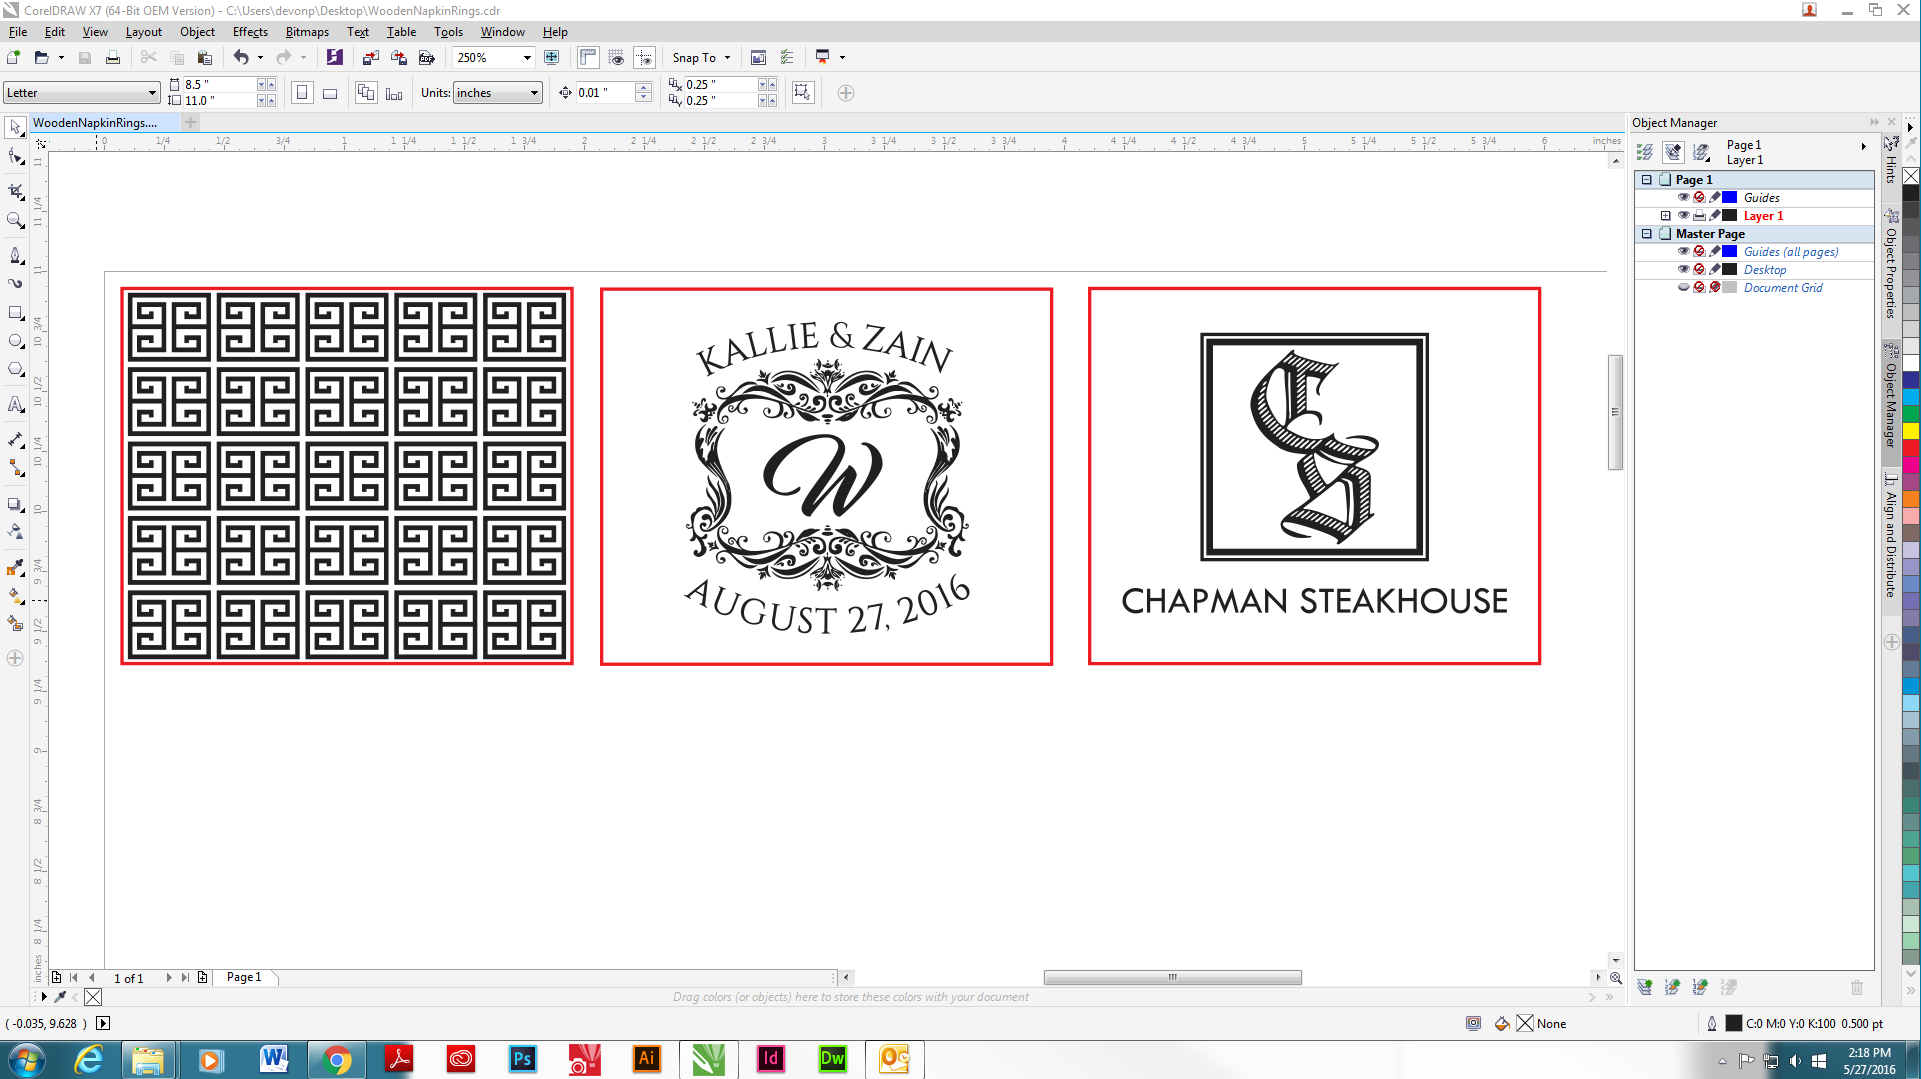
Download the engraving files and adjust the artwork accordingly. A handy tip is to scan in your napkin ring and create a template for your engraving. You can use the Red Dot Pointer on your Epilog Laser to preview the area to make sure the napkin ring is perfectly positioned on your engraving table.
To Create the Napkin Ring Outline: Scan the napkin ring and bring it into your graphic design software. Create an outline around the napkin ring for the laser to follow using your software’s pen tool. With the lid of your laser open and Red Dot Pointer turned on, send the vector outline to the laser and adjust your napkin ring’s positioning on the engraving table.
This will give you a visual indicator of where the design will engrave – adjust the template accordingly for each napkin ring. When you’re happy with the placement, send the raster job over.
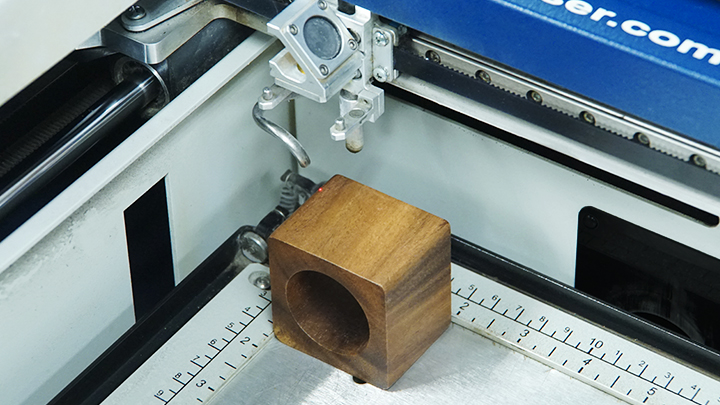
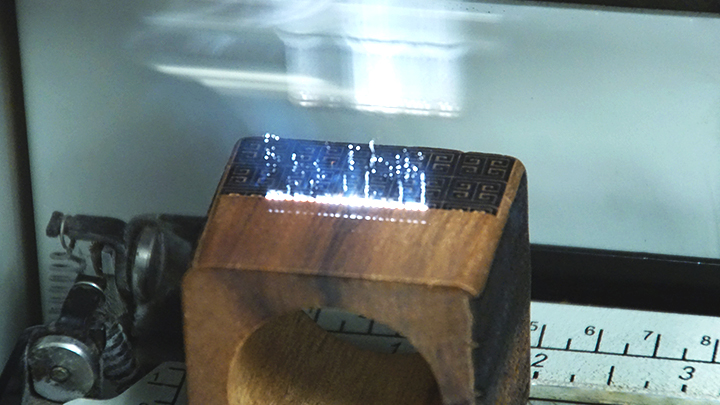
Once you have modified the artwork to your liking, it’s time to laser. Insert the napkin ring into the system and move to the upper left corner of the table.
Send to the Laser
Next, run the vector outline (remember to have the red dot pointer on and leave the lid open) to ensure your placement is where you want. Once you’re satisfied, send the job to the laser and press go!
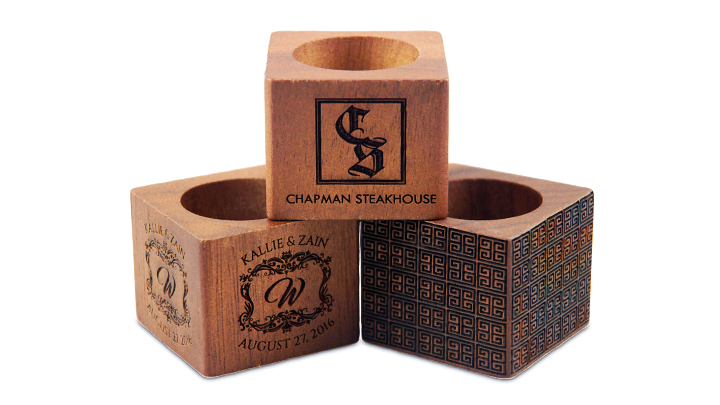
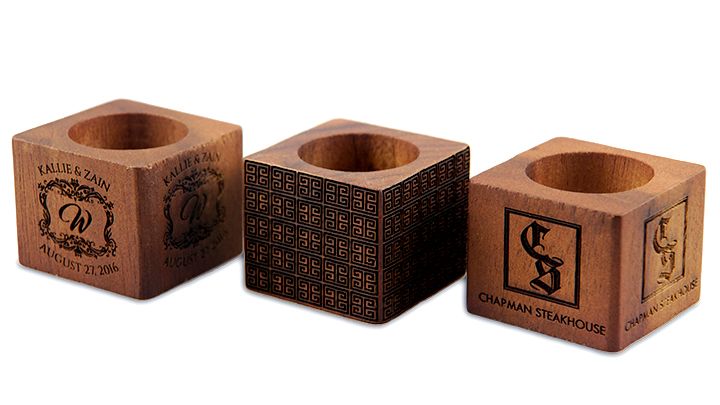
Where can you sell engraved napkin rings?
- Restaurants
- Bars/pubs
- Weddings
- Corporate events/parties
