Laser Engraving Baseball Bat Mugs
Wood
Introduction
Project Settings
-
we purchased ours through Amazon
-
Rotary attachment
Prepare the Artwork
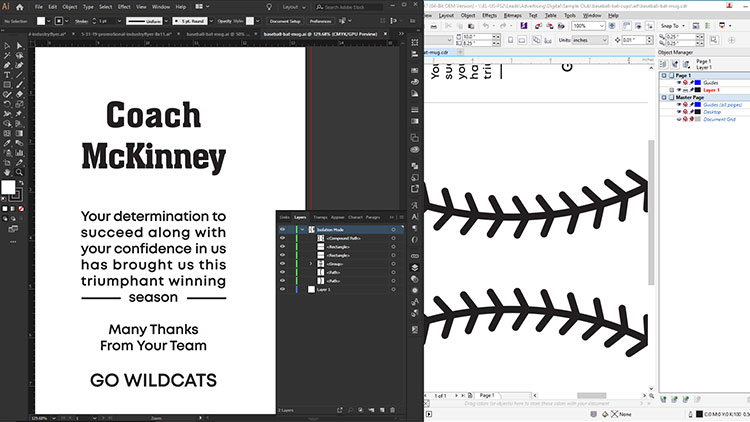
Open the design file and modify as necessary. Since we are doing a cylindrical item on the rotary attachment, you’ll need to rotate your artwork 90 degrees, so it matches the orientation of the piece. Our file examples include simple baseball stitching as well as a sample message ideal for a coach’s gift.
Setup
Install the rotary attachment: Lower your engraving table, remove the vector or engraving table as well as the crumb tray, and power off your machine. Plug in your rotary attachment and then restart the laser. The laser head will relocate to a new home position for the rotary.
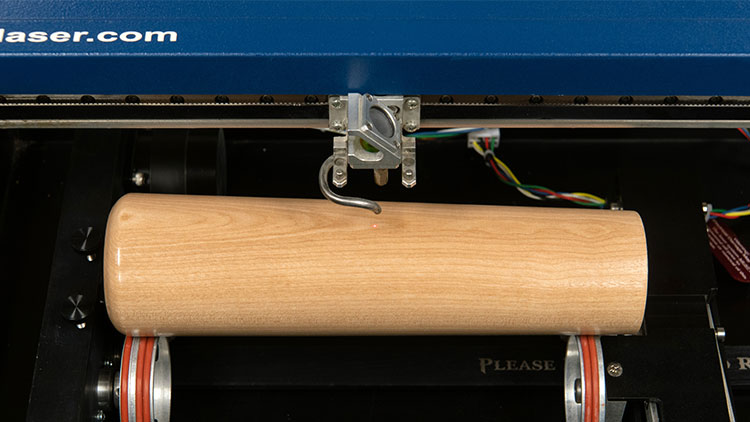
Insert the mug: Place your baseball bat mug on the rotary attachment. Use a level to make sure the piece is level throughout, and manually focus your machine. If you are using the Center-Center engraving feature, set a new home position in the center of your piece using the red dot pointer as a guide (pictured below.)
Send to the Laser
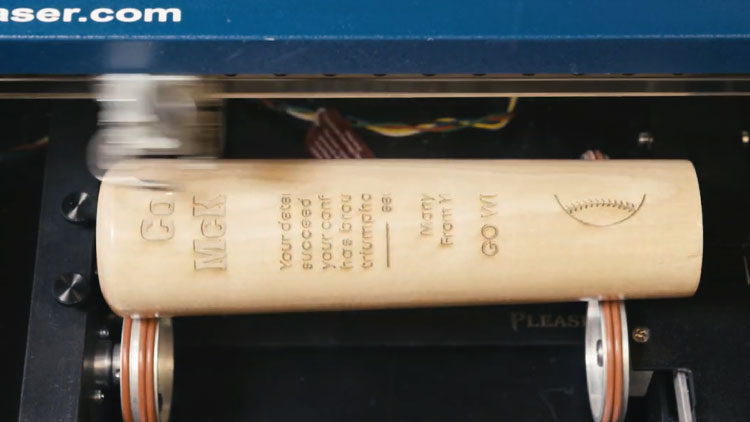
When you’re satisfied with your graphics and placement, send the job to the laser with the correct parameters for your machine. Press the GO button and in minutes you’ll have an incredible gift or sample!
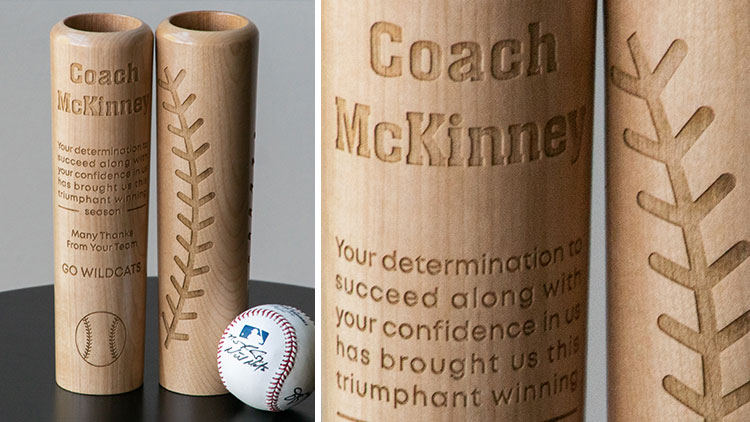
Where can you sell laser engraved baseball bat mugs?
- Online gift stores
- Sporting goods stores
- Father’s Day gifts
- Groomsmen gifts
