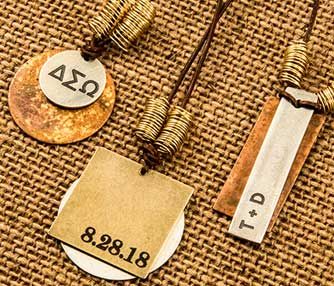
Laser Engraving Stainless Steel Ice Cubes
Metal
Introduction
Project Settings
-
Note: If you have a fiber laser system there is no need for a metal marking agent. You are able to directly mark upon the metal.
Setup
Spray the cubes with an even coat of your metal marking compound over the desired engraving area. Let dry for at least five minutes. If you have a fiber laser system you can skip this step. Download the graphics above and import it into your graphics software. Modify as necessary.
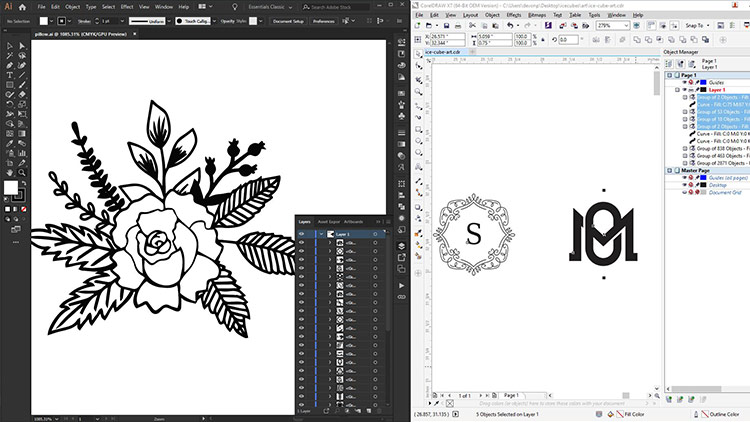
Prepare the Artwork
With the Fusion Pro’s live camera, we are able to easily move the artwork into place within the Epilog Dashboard. If you don’t have a Fusion Pro, you will need to ensure the graphic is placed where you want it. You may draw an outline around the graphics and send the outlines to the laser, then turn on the red dot pointer at your machine’s control panel. Keep the lid to the laser open while you run the test and watch the red dot pointer trace the outline. Back in your graphics software, adjust the graphic as necessary to fit the blocks.
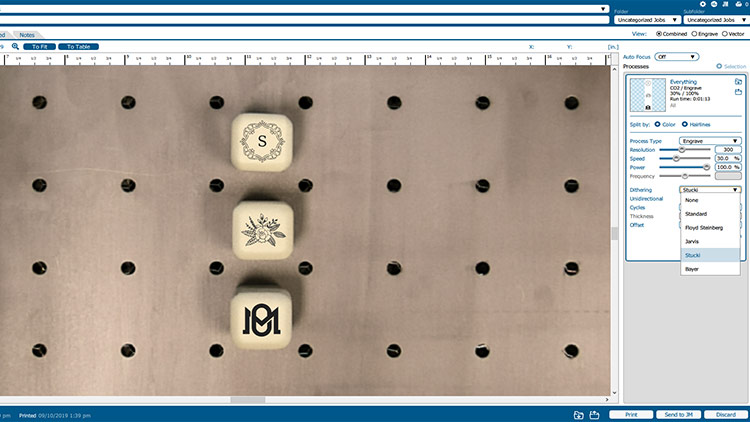
Send to the Laser
Send the job to the laser with the correct parameters for your machine wattage. You can find recommended material settings in your machine’s manual. When using a metal marking compound, start with low speed and high power settings.
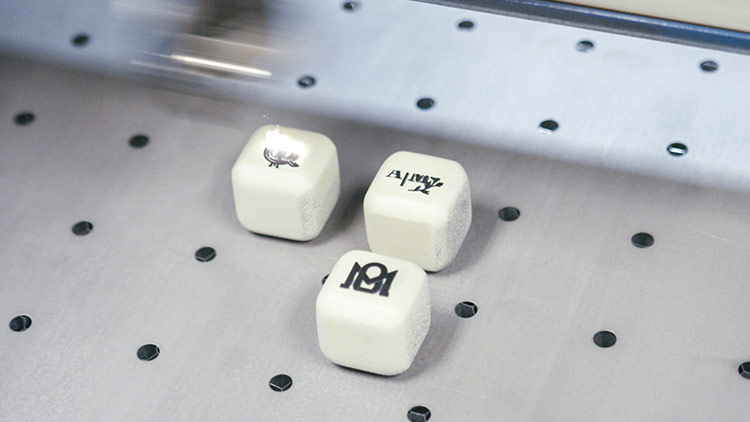
Enjoy!
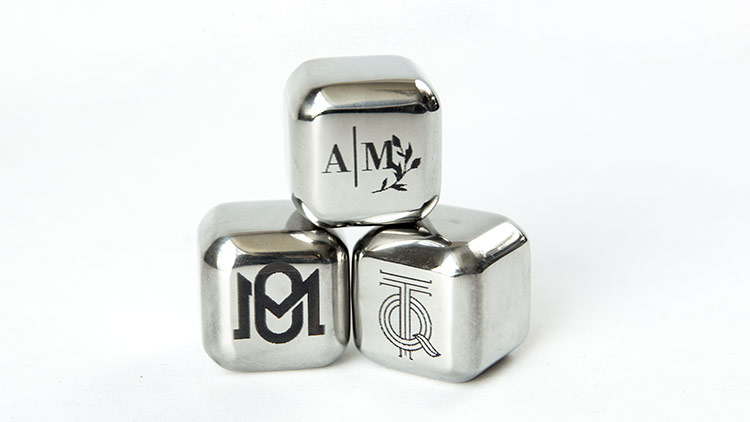
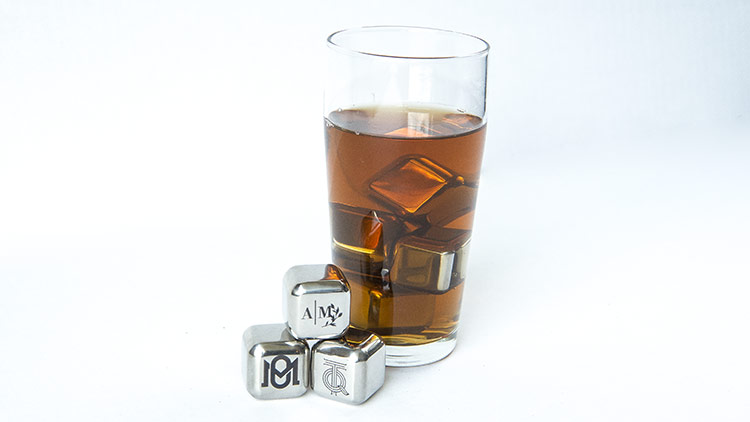
Where can you sell laser engraved stainless steel ice cubes?
- Food & beverage stores
- Online stores
- Specialty gift shops
- Restaurants & bars
- Distilleries

