Laser Engraving Growlers
Metal
Introduction
With a huge uptick in local brew pubs and taprooms, laser engraving growlers is quickly becoming a popular laser application. Not only can you brand your business, but throw a customer’s name on a growler and you’ve got a fan for life!
Using a laser bonding agent like CerMark or TherMark makes laser engraving these metal growlers easy! How does it work? The heat from the laser bonds the marking agent to the metal, resulting in a permanent mark.
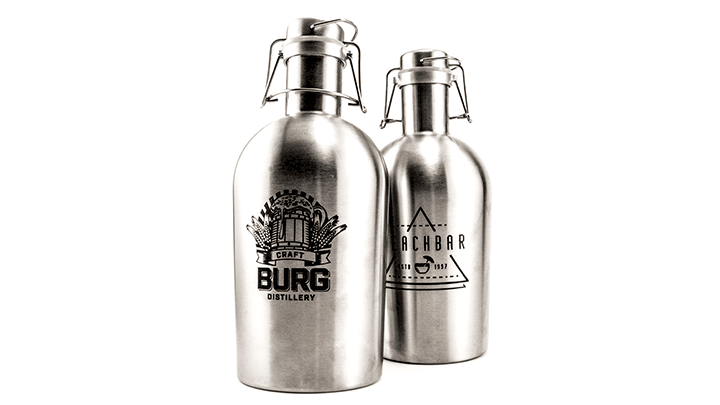
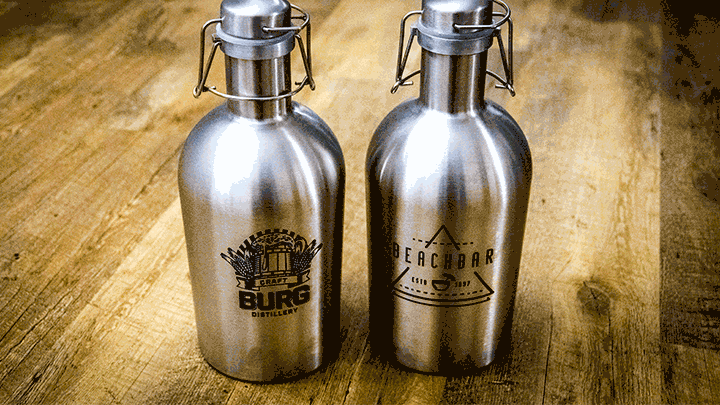
Here we’ve used a bonding agent to mark these stainless steel growlers. Read on to learn how we did it!
Project Settings
-
we purchased ours through Amazon
-
CerMark
Prepare the Artwork
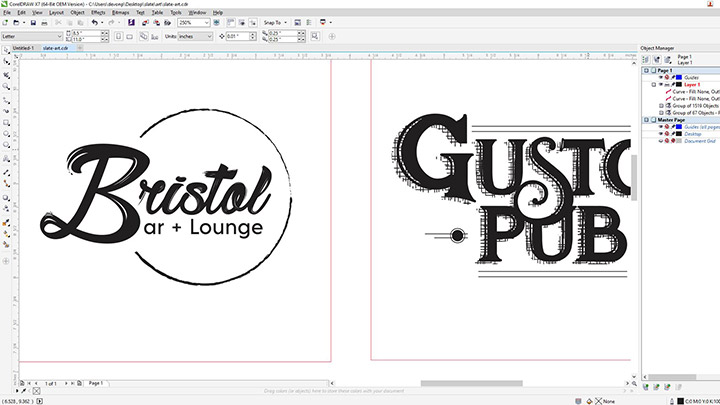
Download the engraving files and adjust the artwork accordingly. Depending on the size of your growler, you may need to change the dimensions of the design to fit properly.
CerMark
Coat your growler with CerMark and let dry. If you have a fiber laser, you can skip the pre-treating step, as these systems were designed for bare-metal marking. Just be sure to check your fiber laser user manual for recommended settings for your particular metal.
Install the Rotary
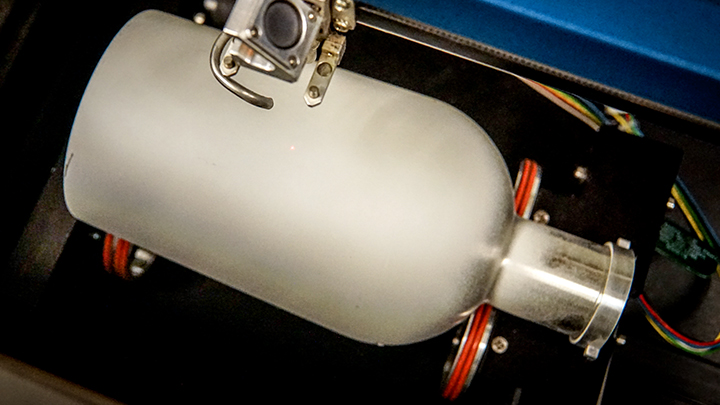
Now it’s time to set up the rotary. To insert the rotary, lower your engraving table, remove the vector or engraving table, and power off your machine. Plug in your rotary attachment and then restart the laser. The laser head will relocate to a new home position for the rotary.
Send to the Laser
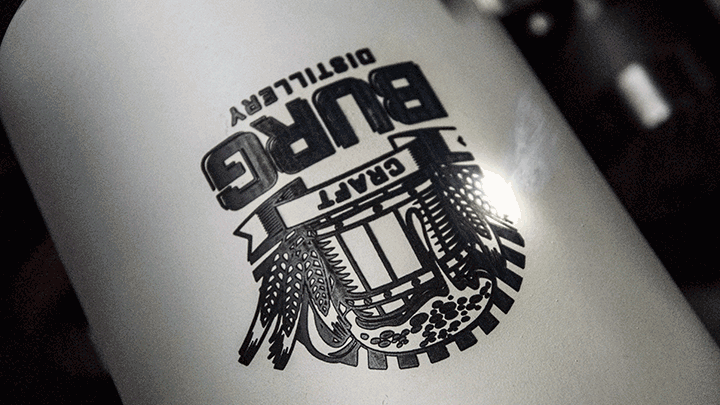
Once you’ve customized your graphics, send the job to the laser and press GO!
The laser bonds the marking agent to the metal and you’re left with a permanent design. Once engraved, remove the remaining bonding agent with a wet cloth and that’s all there is to it!
Enjoy
Where can you sell laser engraved growlers?
- Breweries
- Taprooms
- Bars/pubs


